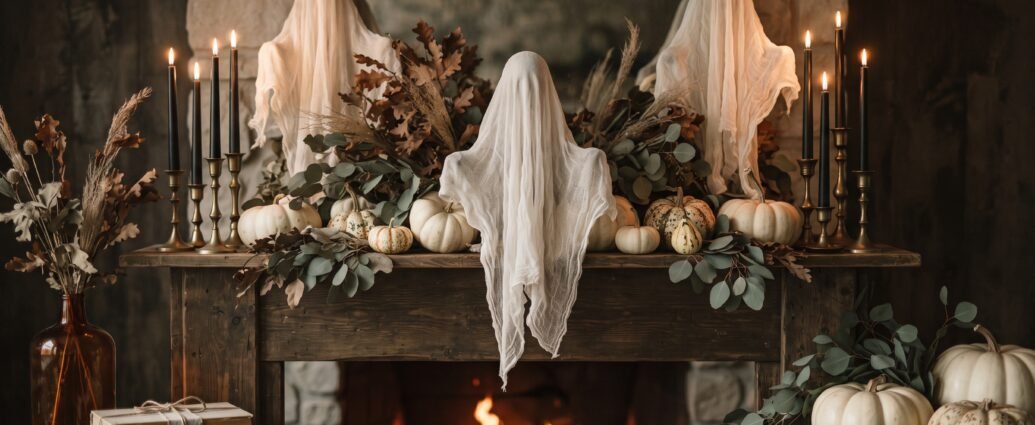
Halloween is the one holiday where handmade genuinely beats bought. Most store-bought Halloween decor is plastic, glossy and saturated in a very specific shade of orange, which is why so many living rooms in October look like a party-supply aisle fell over in them. DIY Halloween decorations, made with a little restraint, look better than almost anything on the seasonal shelf and cost a fraction as much.
Most tutorials leave out the parts you need in order to plan: what materials really cost, how long a project takes once you include drying time, and what goes wrong. So all eighteen projects below carry real numbers — materials, cost, working time plus dry time, and a difficulty rating.
One organising principle first. The Halloween decorating that reads as designed rather than costumed always does the same thing: it holds a tight palette and leans on texture instead of novelty. Cream, bone, warm white, matte black, aged brass, amber glass, dried botanicals. Almost every project here lives inside that palette, which means they all work together on one surface without you having to think about it.
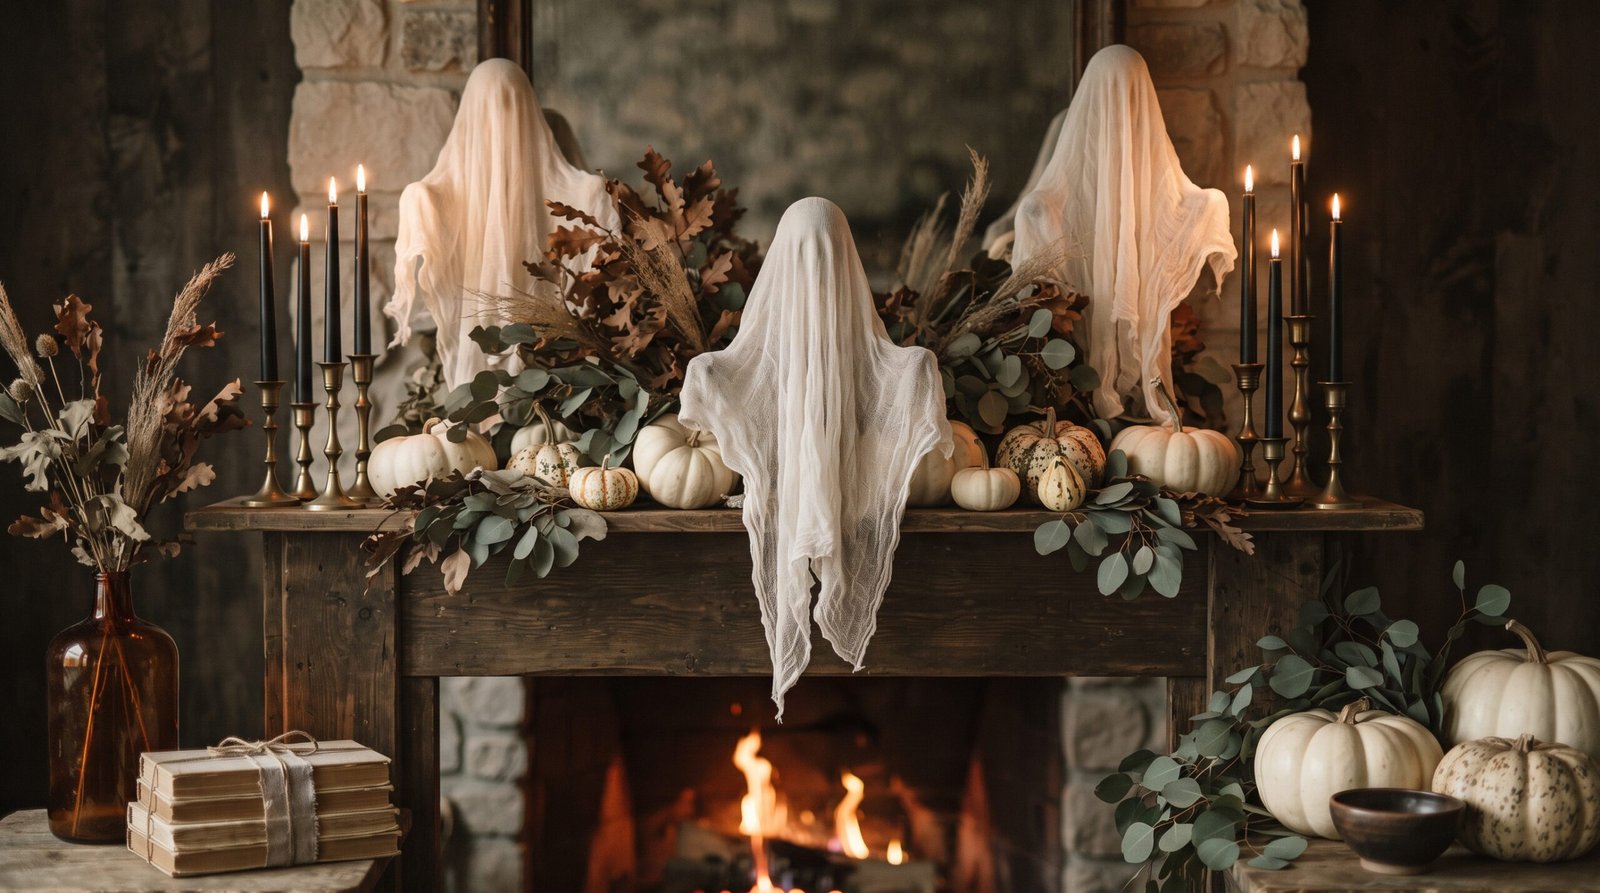
The five materials that do most of the work
Buy these once and you can make roughly two-thirds of this list. Prices are typical US craft-store and hardware-store pricing this season.
| Material | Typical cost | What it is for |
|---|---|---|
| Grade 10 bleached cheesecloth, 5 yd | $8–$14 | Ghosts, table runners, mantel swags |
| Flat black spray paint, 12 oz | $6–$9 | Pumpkins, thrifted birds, frames, branches |
| Chalk-finish paint, 30 oz | $10–$16 | Brush-painted pumpkins, bottles, terracotta |
| White school glue, 7.6 oz | $3–$5 | Stiffening fabric, papier-mâché, texture pastes |
| Battery LED tea lights, 24 ct | $10–$16 | Luminaries, cloches, bottles, jars |
Two notes. Cheesecloth comes in grades, and the number matters more than anything else on the label. Grade 10 is the loose, open, gauzy weave — that is what you want for anything meant to look ethereal. Grade 50 and grade 90, often sold as butter muslin, are tighter and heavier and make a ghost that looks like a bedsheet. Bleached reads bright and spectral; unbleached reads warm and antique.
And on lighting: look for warm white LEDs in the 2200K to 2700K range. Blue-white ones are the fastest way to make a beautiful handmade project look cheap.
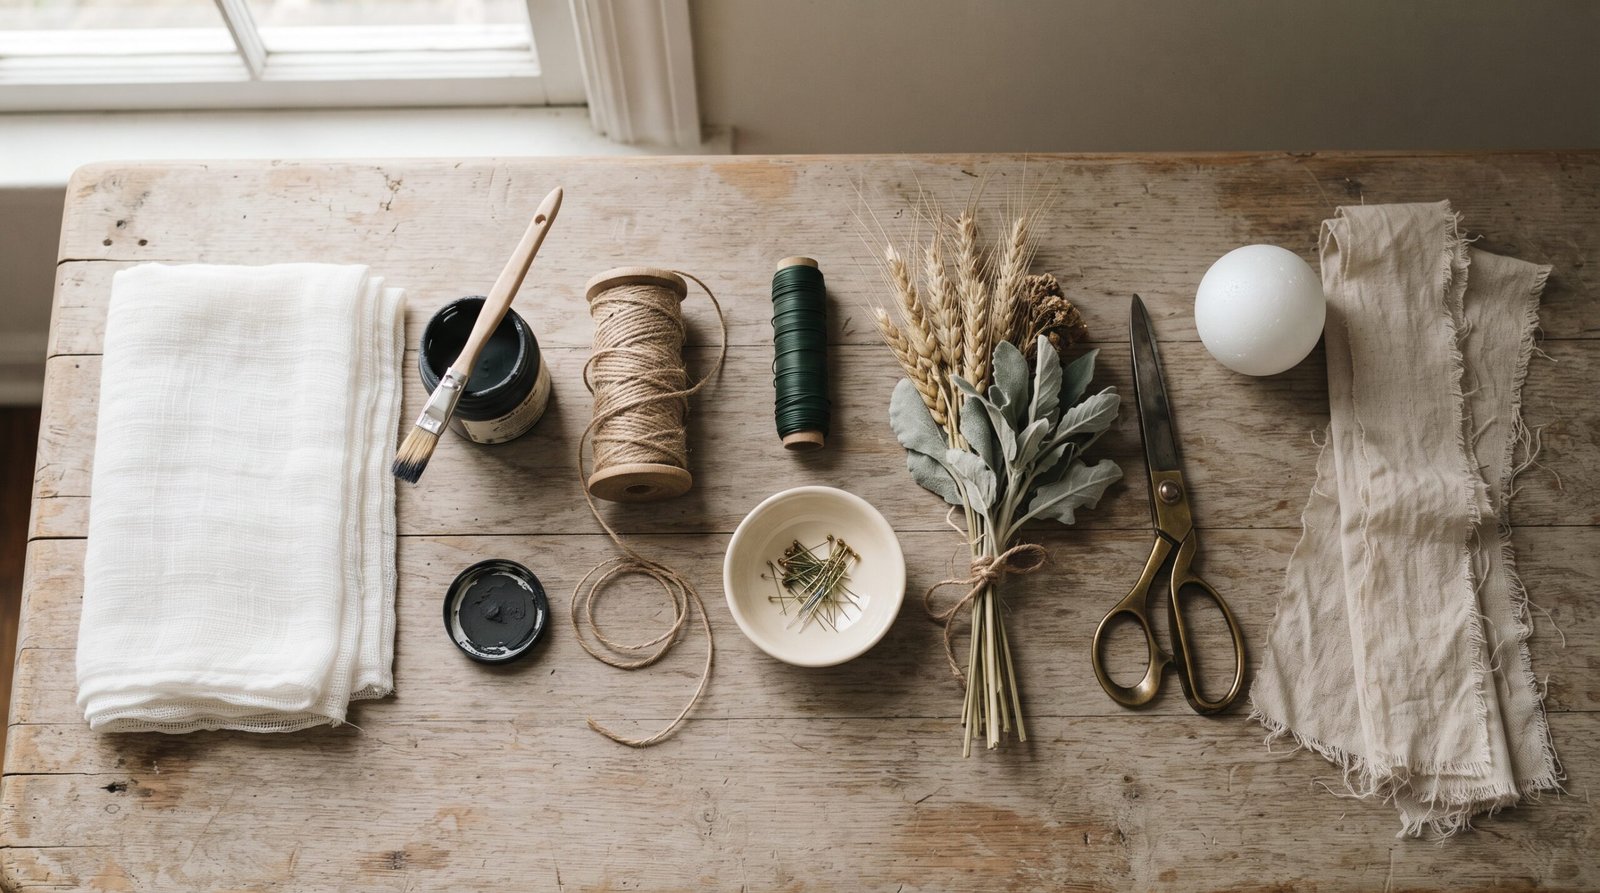
Projects 1–5: the ones that cost almost nothing
1. Cheesecloth ghosts
Materials: grade 10 cheesecloth, stiffening solution, a balloon or foam ball armature, fishing line.
Cost: $2–$4 per medium ghost · Time: 20 minutes hands-on, 12–24 hours drying · Difficulty: easy
The highest-impact project on the list. Drape wet, stiffened cheesecloth over a balloon set on a bottle, let it harden into sculptural folds, pop the balloon, and hang the shell on invisible thread. Two layers of grade 10 is the sweet spot — one layer looks like a rag, three gets heavy and loses its float.
There is a lot to get right here, so we broke it out: how to make cheesecloth ghosts covers all four stiffening methods, armature options and real drying times.
The failure mode: hanging the cloth dripping wet. Too much solution and the fabric dries flat and slightly plasticky instead of holding soft folds. Squeeze it out until it stops dripping, then drape.
2. Matte black pumpkins
Materials: real or faux pumpkins, flat black spray paint.
Cost: $6–$9 of paint covers five or six medium pumpkins · Time: 10 minutes, 1 hour between coats · Difficulty: easy
Flat black, not gloss. Gloss reads as plastic; flat kills the highlight and leaves you looking at the ribbed silhouette. Two light coats beats one heavy one — a heavy coat pools in the ribs and stays soft for hours. Wipe real pumpkins down first, because the natural bloom on the skin makes paint bead. Faux pumpkins at $5 to $15 are better if you want to store them, and the obviously plastic ones improve dramatically once matte. If you would rather brush than spray, our guide to painted pumpkin ideas covers which paints stick to real pumpkin skin.
3. Bat silhouettes
Materials: 65 lb black cardstock, small scissors, removable poster putty.
Cost: $7–$10 for a 50-sheet pack, yielding well over a hundred bats · Time: 45–90 minutes for a flock of 25 · Difficulty: easy but tedious
Cut them in three sizes — roughly 3, 5 and 7 inch wingspans — and fold the wings up slightly at the body so they throw a shadow. Cluster them densely at one corner and let them scatter and thin as they travel. Evenly spaced bats look like wallpaper.
The failure mode: tape. Poster putty comes off painted drywall cleanly; masking tape and washi will lift paint after six weeks in a warm room. Use a pea-sized dot behind the body only.
4. Bare branch arrangement
Materials: branches from your yard, a heavy vessel, pea gravel.
Cost: free to $20 · Time: 20 minutes · Difficulty: easy
Cut branches 30 to 40 inches long, strip the lower third clean, and stand four or five in a genuinely heavy vessel over two inches of pea gravel. This is the best-value tall element in all of Halloween decorating, and in October you can cut it for nothing. Spray flat black for graphic contrast or leave raw for a warmer palette.
5. Amber and smoked glass bottle cluster
Materials: thrifted amber, brown or smoked glass bottles, LED tea lights.
Cost: $2–$10 per bottle thrifted · Time: 15 minutes · Difficulty: easy
Group five to seven bottles of varied height on a tray with tea lights tucked behind them. Amber glass glows from the inside rather than reflecting, which nothing else in this palette does. Translucent stained-glass spray paint converts clear bottles for about $9 a can, though the finish comes out more even and less antique-looking than the real thing.
Projects 6–10: mantel and shelf
6. Cheesecloth mantel swag
Materials: 3–4 yards of grade 10 cheesecloth, small clear hooks or pushpins under the shelf lip.
Cost: $6–$11 · Time: 15 minutes · Difficulty: easy
Loosely twist a length of cheesecloth and drape it with the ends trailing well past each side — at least 18 inches of trail on the heavy end. Do not swag it evenly; weight it about 60/40 to one side, the same composition logic that governs any good mantel. Our guide to fall mantel decor ideas goes deep on the three-height rule that makes this work.
Tea-stain it if bright white feels too clean: steep four black tea bags in a quart of hot water for 20 minutes, submerge the cloth 10 to 15 minutes, wring and air dry. A soft aged tan for about forty cents.
7. Dripping taper candles
Materials: bone or cream tapers, brass or black candlesticks, a fireproof tray.
Cost: $4–$14 per pair of tapers, $3–$12 each for thrifted candlesticks · Difficulty: easy
Real dripping wax is the effect, and non-dripless tapers are what produce it. Most modern tapers are sold as dripless, which is exactly what you do not want. Burn them at a slight angle on a tray and let the wax build over several evenings.
Safety, not a footnote: dried botanicals and cheesecloth are genuinely flammable. Treat a two-foot radius around any live flame as a no-fabric zone and never leave tapers burning unattended. On a mantel layered with cheesecloth and wheat, use warm-flicker LED tapers and keep the real wax somewhere safer.
8. Stone-finish pumpkins
Materials: faux pumpkins, chalk paint, baking soda or a texture medium.
Cost: about $3 per pumpkin · Time: 30 minutes, 2–4 hours drying · Difficulty: medium
Stir roughly two tablespoons of baking soda into a quarter cup of chalk paint until it looks like thin cake batter. Brush it on in one deliberately uneven coat and let it dry completely. You get a chalky limestone surface that turns a $6 craft pumpkin into something that reads as a garden antique. Dry-brush grey or raw umber into the ribs for depth.
The failure mode: the mixture goes lumpy if it sits. Mix small batches and use them within twenty minutes.
9. Black-dipped white pumpkins
Materials: white or cream pumpkins, flat black paint, painter’s tape.
Cost: $2–$5 per pumpkin · Time: 20 minutes plus dry time · Difficulty: easy
Tape a horizontal line at roughly the lower third and paint everything below it flat black. Two things make it look intentional: keep the line low, at a third rather than half, and press the tape edge hard into every rib with a fingernail so paint cannot creep under. For the fully reversible version, our roundup of no-carve pumpkin decorating ideas has options that wash off.
10. Bell jar cloches
Materials: a glass cloche or large upturned vase, one small object, a wood base.
Cost: $8–$30, less thrifted · Time: 5 minutes · Difficulty: easy
A cloche makes an ordinary object look like a specimen. Put one thing under it: a single black pumpkin, a bundle of dried wheat tied with jute, a spray-painted crow, two stacked books. The rule is one object, not three. A crowded cloche loses the whole effect, which is that the glass announces the thing inside is worth looking at.
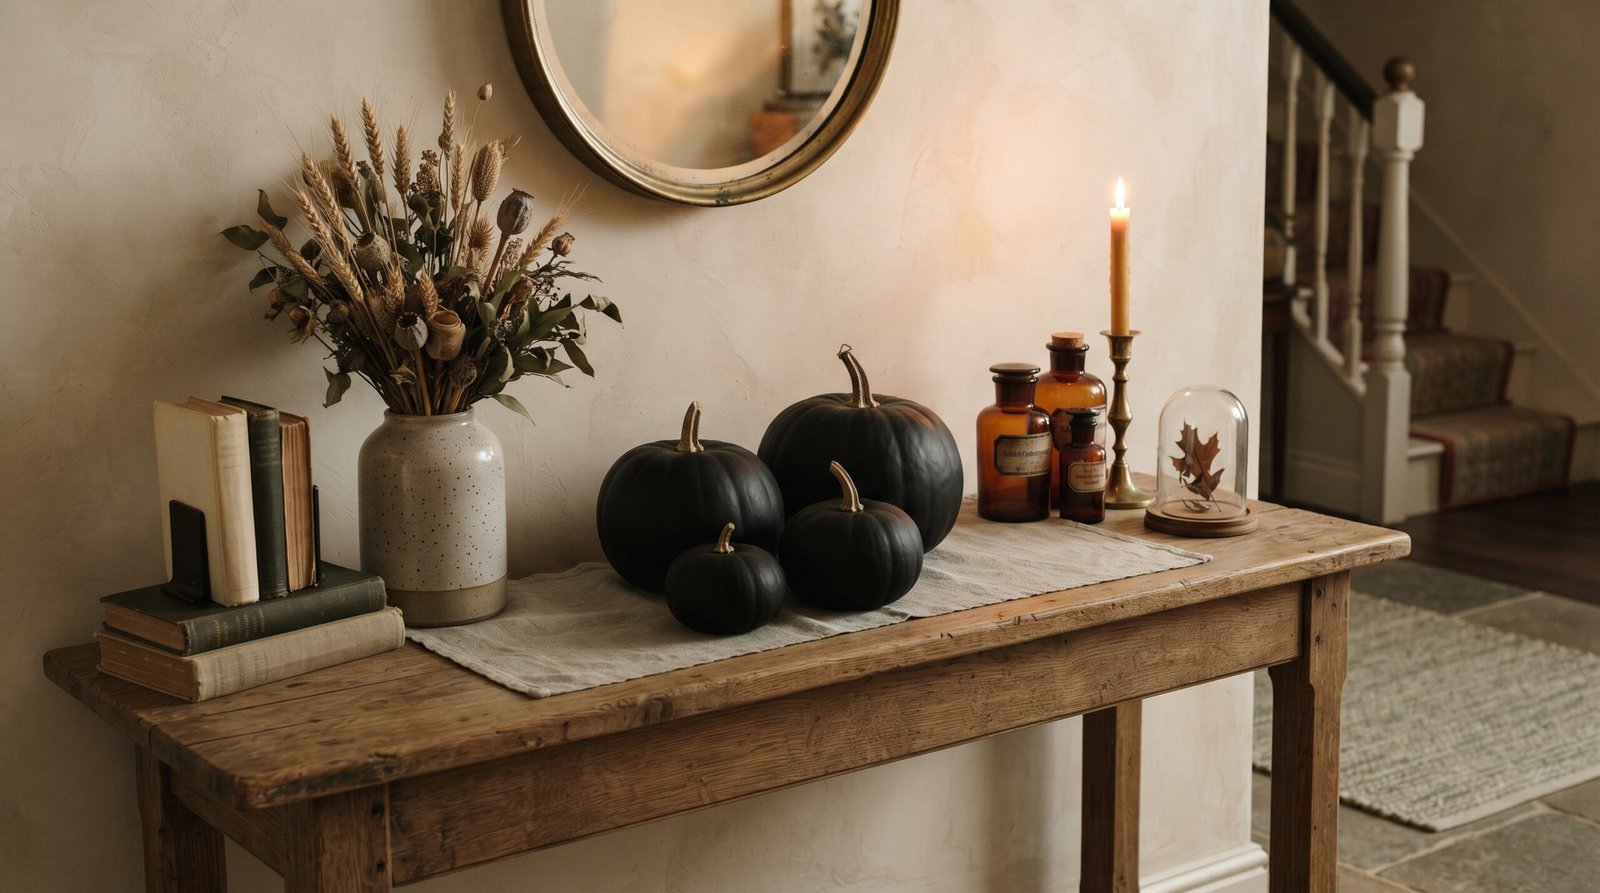
Projects 11–14: entry, door and porch
11. Black dried botanical wreath
Materials: a grapevine or wire form, dried wheat or grasses, floral wire, flat black spray.
Cost: $18–$35 · Time: 60–90 minutes · Difficulty: medium
Build a standard dried wreath, then spray the whole thing flat black. The single-colour treatment turns a fussy craft object into a graphic silhouette, and it reads as Halloween without a single pumpkin. Work in one direction with every stem angled the same way — that consistency is the difference between a wreath that looks made and one that looks bought. The mechanics are all in our step-by-step DIY fall wreath tutorial; only the palette changes.
12. Jar luminaries
Materials: mason or recycled jars, LED tea lights, play sand, jute twine.
Cost: under $2 per jar if you save the jars · Time: 10 minutes for six · Difficulty: easy
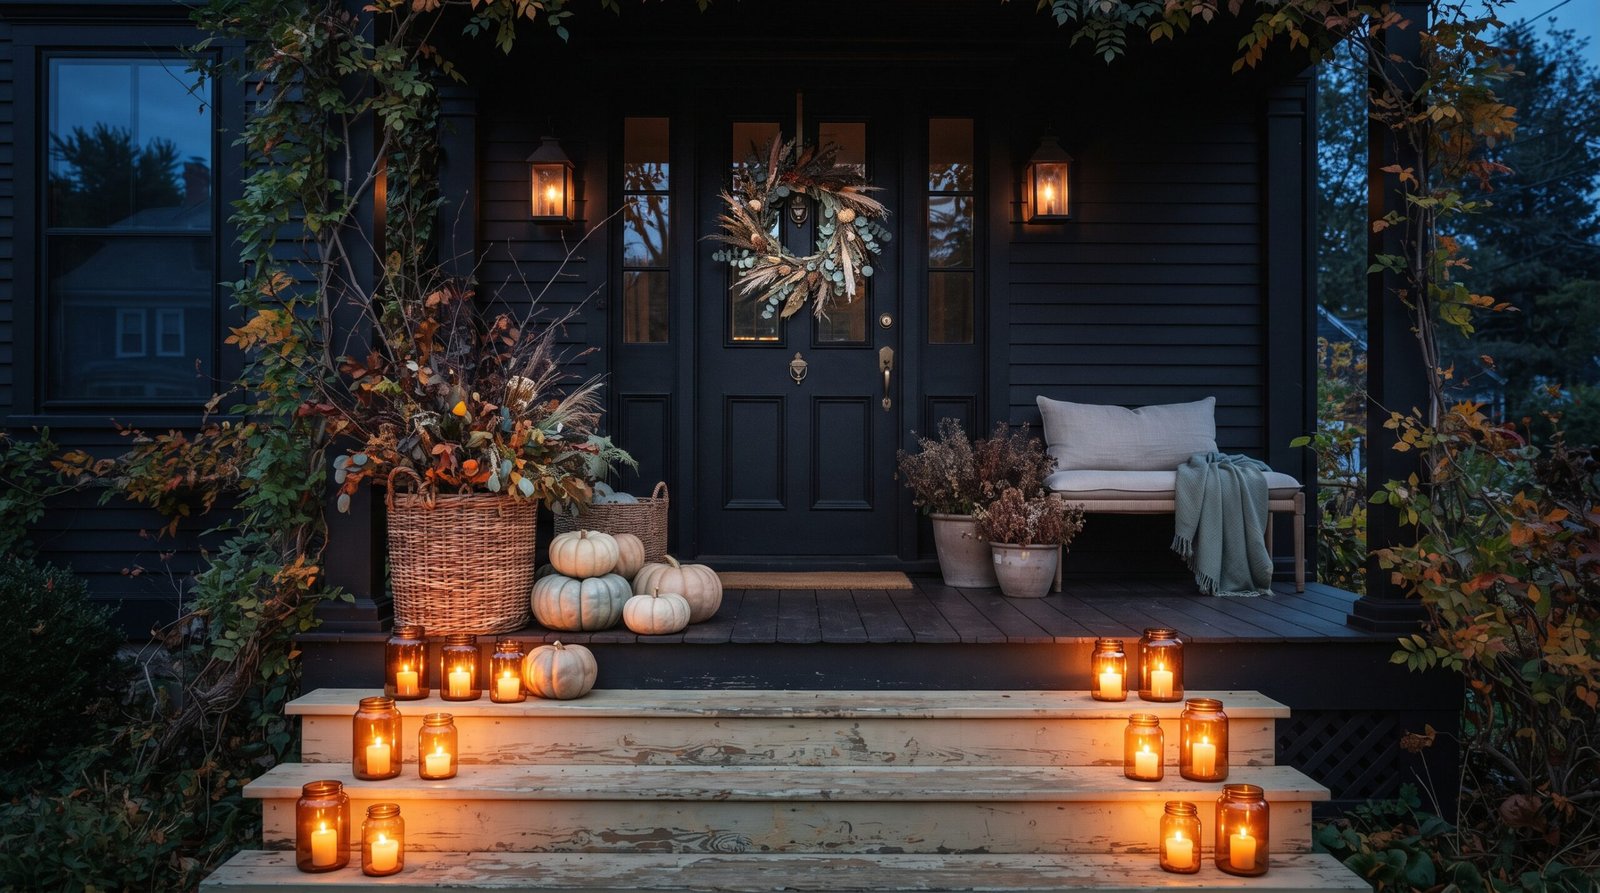
Two inches of play sand in each jar hides the tea light base and keeps the jar from blowing over on a windy porch. Line them up the outside edge of each step, alternating with small pumpkins. Battery lights outdoors, always — open flame on a step where children in costume are walking is not worth the atmosphere.
13. Spray-painted crow perch
Materials: thrifted or craft-store faux birds, flat black spray, a branch or book stack.
Cost: $3–$8 per bird · Time: 15 minutes plus dry time · Difficulty: easy
The garish feathered decoy birds in thrift stores and clearance bins become genuinely elegant once they are uniformly flat black. Three of them beats a dozen. Hold the can 10 to 12 inches away and do several very light passes — feathers clump and mat the moment they get wet with paint.
14. Oversized porch ghosts
Materials: a tomato cage, a foam ball, 4–6 yards of cheesecloth or lightweight drop cloth, zip ties.
Cost: $12–$25 each · Time: 45 minutes · Difficulty: medium
Invert a tomato cage so the narrow end points up, zip-tie a foam ball to the point, and drape the fabric so it just skims the ground. A four- to five-foot figure for under $25. These need no stiffening, which is what makes them the outdoor-friendly version. Stake the cage legs into the ground or a pot of gravel, because an unweighted one becomes a sail in the first real wind. For everything else out front, our fall porch decor guide handles layout and pumpkin arrangement.
Projects 15–18: table and dining
15. Cheesecloth table runner
Materials: 3 yards of grade 10 cheesecloth, optional tea for staining.
Cost: $6–$9 · Time: 5 minutes · Difficulty: trivial
Run it down the table loosely gathered rather than pulled flat, with a foot puddling off each end. No hemming, no ironing — the wrinkles are the point. Wash cold and line dry to reuse next year.
16. Aged apothecary bottles
Materials: clear glass bottles, cream cardstock, black ink, strong tea, twine.
Cost: under $2 per bottle · Time: 40 minutes for six · Difficulty: easy
Tear — do not cut — label shapes from cream cardstock, soak them briefly in strong black tea, then blot and air dry until stiff and slightly warped. Hand-write botanical names in black ink (belladonna, wormwood, henbane, nightshade) and glue them on slightly crooked. Tearing rather than cutting, and writing rather than printing, are the two things that keep this from looking like a downloaded printable.
17. Blackened and gilded votives
Materials: thrifted votive holders, matte black spray, gilding wax.
Cost: $2–$6 each · Time: 20 minutes · Difficulty: easy
Spray a mismatched set flat black so it finally reads as a set, then rub a fingertip of antique-gold gilding wax across the raised edges. A small tube runs about $7 and will do dozens of pieces. The result looks like tarnished antique metal and takes about ninety seconds per holder.
18. Dried orange and bay leaf garland
Materials: oranges, jute twine, bay leaves, cinnamon sticks.
Cost: $6–$12 · Time: 20 minutes hands-on, 3–4 hours in the oven · Difficulty: medium
Slice oranges about a quarter inch thick, blot them hard between paper towels, and dry them on a wire rack at 200°F for three to four hours, flipping hourly. Thinner slices dry faster but tear when threaded; thicker ones stay leathery and eventually mould. String on jute with bay leaves between. Our DIY fall garland tutorial has the full method and lengths for mantel scale.
What a full set of DIY Halloween decorations costs
Starting from an empty craft drawer, a representative selection lands here:
| Project | Cost | Hands-on time |
|---|---|---|
| Six cheesecloth ghosts | $14–$25 | 90 min plus overnight dry |
| Five matte black pumpkins | $15–$40 | 30 min |
| Flock of 25 bats | $7–$10 | 60 min |
| Cheesecloth mantel swag | $6–$11 | 15 min |
| Six jar luminaries | $8–$14 | 10 min |
| One cloche vignette | $8–$30 | 5 min |
| Branch arrangement | $0–$20 | 20 min |
| Total | $58–$150 | about 4 hours |
That covers a mantel, an entry, a dining table and a porch, and most of it stores and comes back next year.
The mistakes I see most often
Too many colours. Orange, purple, lime green and black in one room is the biggest single reason DIY Halloween decorations read as homemade in the bad sense. Cream plus matte black plus one warm metal is close to foolproof.
Gloss where matte belongs. Gloss black reads as plastic under every kind of light. Flat finishes read as stone, iron and shadow. That one substitution improves more projects here than any other change.
Everything at the same scale. A shelf of twelve medium objects is visually flat no matter how nice each one is. You need one thing that is clearly big — a branch arrangement, a large cloche, a 30-inch ghost — and several that are clearly small.
Decorating the objects instead of the room. A lone black pumpkin on a bare console looks like an afterthought; the same pumpkin among dried grasses, books and a lamp looks deliberate. If the room is not there yet, start with fall decorating ideas for the living room and add the Halloween layer on top.
When to make what
- Late September: ghosts, stone-finish and black-dipped pumpkins, the wreath — everything with real dry or cure time.
- Early October: bats, bottles, votives, spray-painted birds. Fast, and the ones most likely to multiply once you start.
- Mid October: cheesecloth swags and runners, dried orange garland, branch arrangements. Making these later means they still look good on the 31st.
Storing it so it comes back out
Cheesecloth pieces should never be compressed. Store ghosts upright in a box with tissue loosely stuffed in the cavity, and keep them out of the attic — water-based stiffeners soften in sustained heat and go tacky, and basement humidity does the same from the other direction. An interior closet is the right answer.
Painted pumpkins stack badly: wrap each in tissue, single layer, shallow bin. Bats flatten into an envelope. Dried orange slices go in a paper bag with a silica packet, never sealed plastic, where they will mould.
Where to take it next
If you build only one thing off this list, build the ghosts — about three dollars each, and the most convincing piece of Halloween decorating you can make in an afternoon. The full method is in our cheesecloth ghost tutorial.
Beyond that, work the surfaces you already have. A styled fall coffee table needs one cloche and one black pumpkin to cross over into Halloween, and if budget rather than time is the constraint, our Dollar Tree fall decor guide covers which cheap pieces are worth painting and which are beyond saving.
The rule underneath all eighteen: matte, warm, and fewer things at bigger scale. That is the whole difference between decor that looks made and decor that looks bought in a hurry. — Quinn