
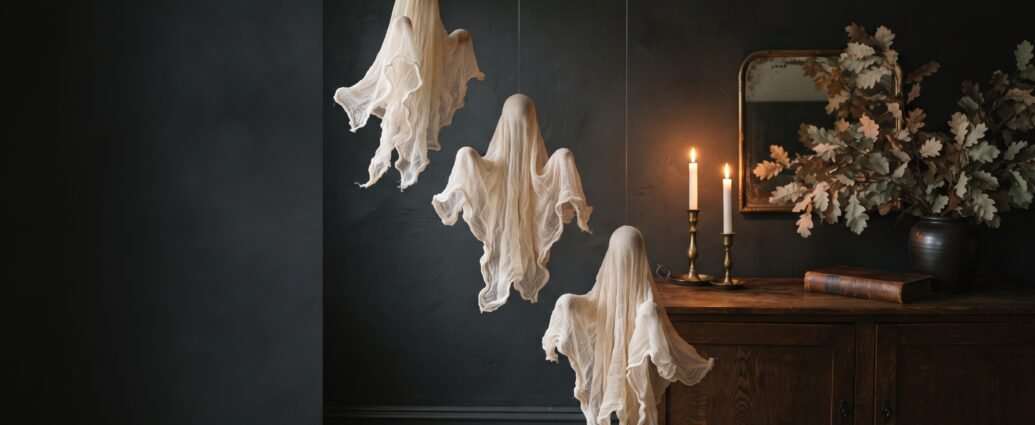
Cheesecloth ghosts are the rare Halloween project where the cheap version and the beautiful version are the same version. Two dollars of loose-weave cotton gauze, a balloon and a bowl of stiffening solution gets you a floating figure that looks like it cost forty dollars at a boutique. They are also one of the few Halloween decorations I am happy to leave up in a seriously styled room, because a well-made one reads as sculpture rather than costume.
They are also easy to get wrong in about six specific ways, all avoidable if you know about them first. The fabric can dry flat instead of draped. The balloon can bond to the cloth. The whole thing can sag back into a limp rag two days later. Humidity can undo a week’s work overnight.
So this is the full method — the four stiffening options and what each actually costs and does, the armature choices, real drying times, how to get the floating look, and what survives outdoors.
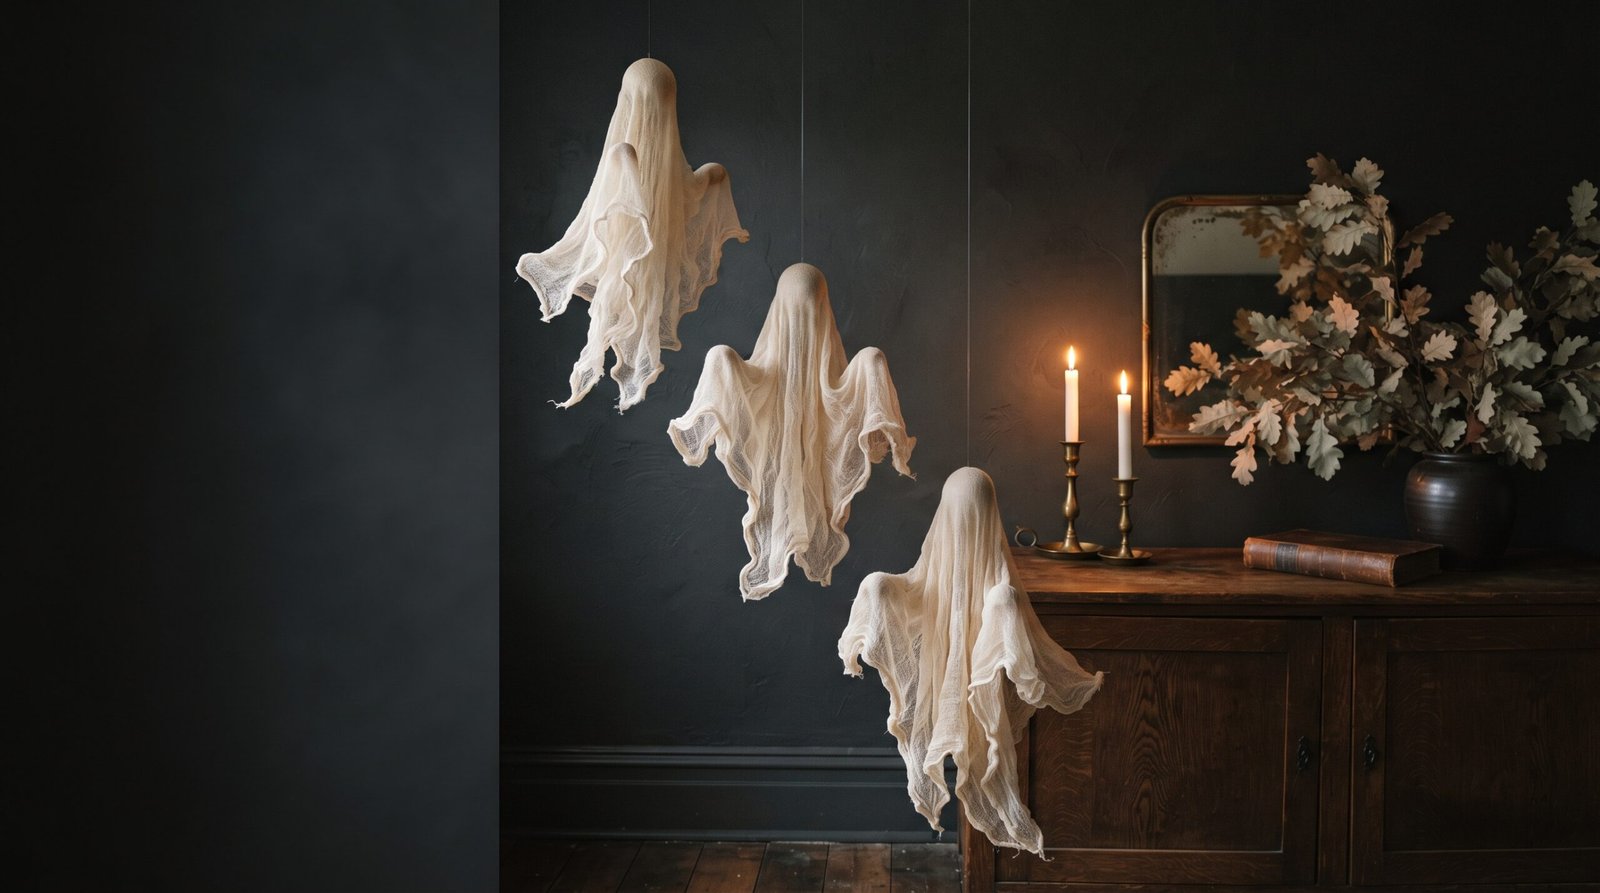
Buy the right cheesecloth first
This is the decision that determines whether the finished ghost looks ethereal or looks like a dish towel, and most tutorials skip it entirely.
Cheesecloth is sold by grade, which is really a thread count. Grade 10 is the loose, open, almost transparent weave you want — it is the standard grocery-store and craft-store cheesecloth. Grade 50 and grade 90 (often labelled butter muslin) are progressively tighter and heavier. They stiffen fine, but they hang like fabric instead of floating like vapour, and the light does not pass through them.
Bleached cheesecloth is bright white and reads spectral. Unbleached is a warm oatmeal colour and reads antique — lovely against dark wood or a moody wall, less obviously ghost-like. If you are making a group, do them all in the same one.
How much you need. Standard cheesecloth is 36 inches wide off the bolt or in a package. Working in two layers, which is the right number:
| Ghost size | Finished height | Cheesecloth | Armature |
|---|---|---|---|
| Mini | 6–9 in | 1/3 yd (two 18 x 18 in squares) | 2–3 in foam ball on a skewer |
| Tabletop | 12–16 in | 2/3 yd (two 24 x 30 in pieces) | 5 in balloon or 4 in foam ball |
| Standard hanging | 18–24 in | 1 yd (two 36 x 36 in pieces) | 9 in balloon or 6 in foam ball |
| Statement | 28–36 in | 2 yd | 11–12 in balloon or foam wig head |
A five-yard package, which runs $8 to $14, makes about five standard hanging ghosts or a dozen minis. Cut generously — the fabric shrinks visually once it drapes, and a hem that stops short of where you wanted it cannot be fixed after it hardens.
The four stiffening methods, compared honestly
All four work. They differ in hold, cost, dry time and how they behave in humidity, and picking the wrong one for your conditions is the most common reason a batch fails.
1. Commercial fabric stiffener
Sold as fabric stiffener or draping liquid in the craft-store fabric aisle. Use it undiluted, straight from the bottle.
Cost: roughly $8 for 8 oz, $13 to $16 for 16 oz. One 8 oz bottle does two to three standard ghosts. Hold: the hardest and most reliable of the four — a properly saturated ghost is rigid enough to hold a curled hem in the air. Dry time: firm in 8 to 12 hours, fully cured at 24 to 48. Verdict: the right choice if you want the ghost to survive multiple seasons or hang somewhere breezy.
2. White glue and water
Standard white school glue (Glue-All, not the washable school-glue formula, which is deliberately weaker) mixed with water.
Ratio: 1 part glue to 1 part water for a soft flowing drape; 2 parts glue to 1 part water for a firm shell that holds a raised hem. Cost: about $3 for a 7.6 oz bottle, which mixed 2:1 covers three or four standard ghosts — roughly 75 cents a ghost. Hold: very good, slightly less rigid than commercial stiffener. Dry time: touch-dry in 6 to 8 hours at 70°F and moderate humidity; 24 hours to full hardness. Watch for: a faint sheen and a slight ivory cast, which most people prefer anyway. Verdict: the best value, and what I would use for a batch of six.
3. Mod Podge and water
Ratio: 1:1 with water for drape, 2:1 for stiffness. Matte formula, not gloss — gloss dries with a plastic shine that kills the effect. Cost: $6 to $9 for 8 oz. Dry time: 8 to 12 hours. Watch for: tackiness. Mod Podge stays slightly grabby in humid rooms and can amber over several years of storage. Verdict: fine if you already have a jar, not worth buying specially.
4. Cornstarch and water
Whisk 1/4 cup cornstarch into 1/2 cup cold water until completely smooth, then stir that into 1 1/2 cups of simmering water. Cook two to three minutes until it thickens to about the consistency of thin gravy, then cool it completely before use.
Cost: pennies. A $2 box of cornstarch will make a dozen ghosts. Hold: the softest of the four — good for gentle drape, not for a hem held out in the air. Dry time: 12 to 24 hours, the slowest, because you are drying a thicker layer of water. Watch for: humidity. Cornstarch is hygroscopic; a cornstarch ghost in a damp basement or a coastal August will go soft and start to droop. It can also attract insects over long storage. Verdict: excellent for a kids’ craft afternoon or a one-week display. Not for anything you want to keep.
If you are weighing this against the rest of a Halloween project list, the cost-per-piece comparison sits alongside everything else in our roundup of DIY Halloween decorations.
Choosing an armature
The armature is the form the wet cloth dries over. It determines the silhouette more than anything else you do.
Balloons are the classic and the cheapest. A 9-inch latex balloon inflated to about two-thirds gives a good head-to-shoulder curve; inflate it fully and you get a perfect sphere, which looks less like a figure. Set the balloon knot-down into the neck of a bottle so it sits upright. The catch is that latex bonds enthusiastically to drying glue. Wipe the balloon with a thin film of cooking oil or petroleum jelly first, or slip it inside a plastic grocery bag. When you deflate it, snip the neck and let it down slowly — popping it can crack a brittle shell.
Smooth foam balls on a bamboo skewer pushed into a bottle cork are the most controllable option and completely reusable. A 6-inch ball gives a standard hanging ghost. Wrap it in plastic wrap so it releases cleanly.
Foam wig heads ($8 to $15) produce the most convincing shape of all, because you get a real head-and-neck taper rather than a sphere. Wrap in plastic wrap first. Worth it for one large statement ghost.
Bottles underneath do more work than people expect. A tall wine bottle gives a slender elongated figure; a 2-litre soda bottle gives a wider, rounder one.
Wire is what you add when you want gesture. A loop of 16-gauge aluminium armature wire or a bent coat hanger taped across the form at shoulder height gives you outstretched arms and a trailing sleeve — the difference between a ghost that hovers and one that appears to be reaching. Tape the wire ends so they do not tear the cloth.
Inverted tomato cages handle anything over three feet. Zip-tie a foam ball to the narrow end, drape, and skip the stiffener — at that scale the frame carries the shape.
The method, step by step
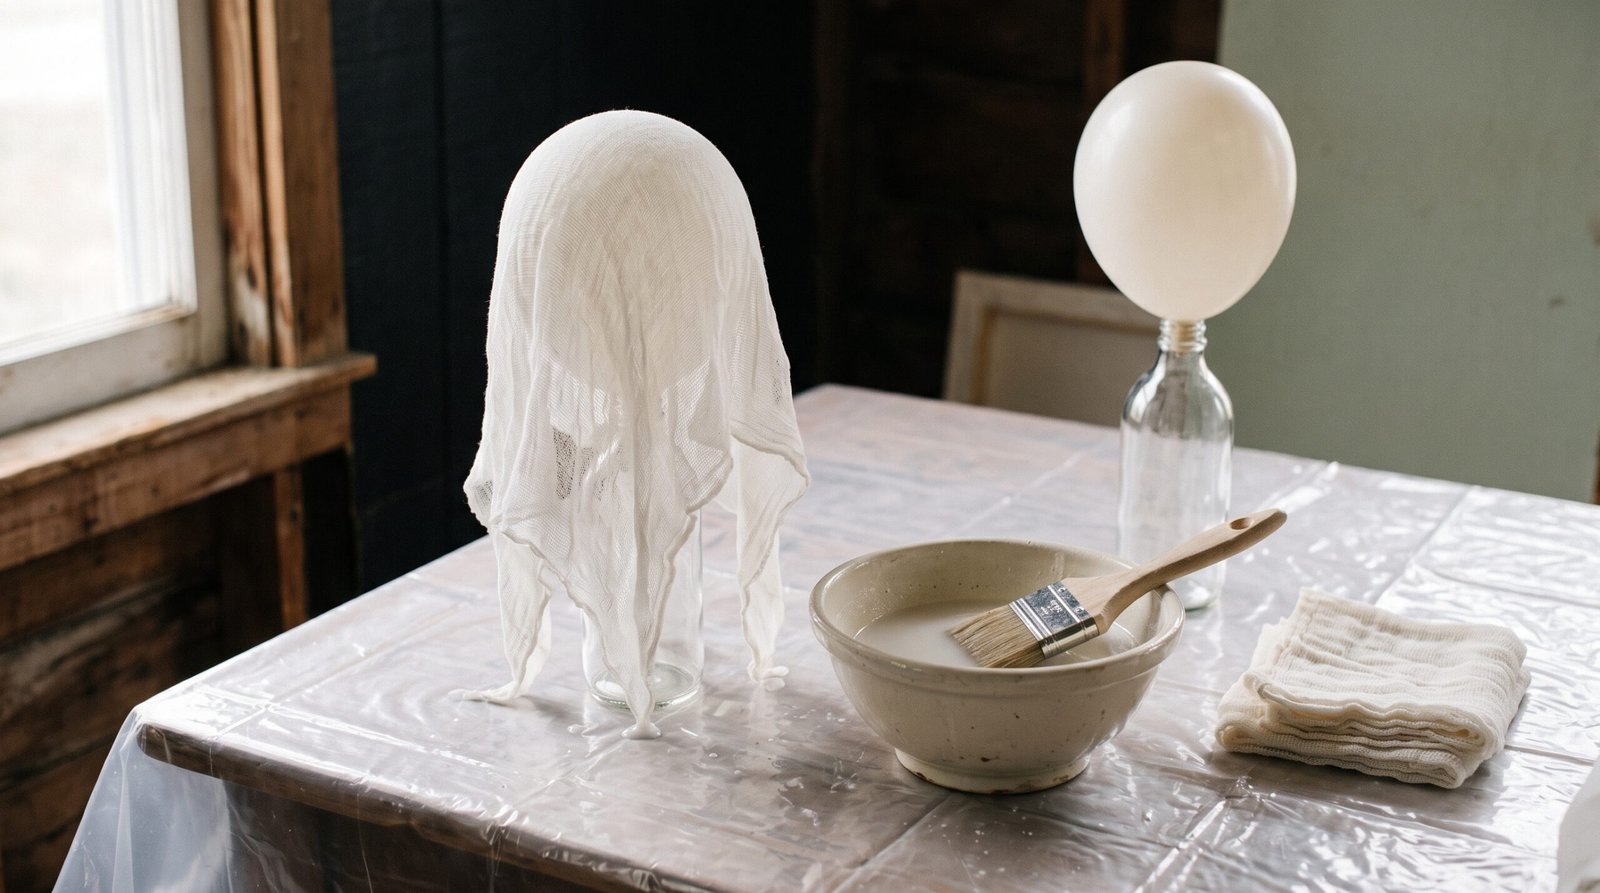
1. Cover the work surface. Plastic sheeting, a garbage bag, wax paper or parchment. Never newspaper — wet newsprint transfers ink into the cloth and you will not see it until it dries grey.
2. Set up the armature and, if you are using a balloon, oil it or bag it.
3. Cut two pieces of cheesecloth per the sizing table. Cut them slightly different sizes — one an inch or two shorter — so the hems land at different heights and the layers read separately.
4. Saturate. Pour the solution into a wide bowl and press the cloth in until it is fully wet. Cheesecloth floats, so hold it under. About a minute is enough.
5. Squeeze it out properly. This is the step that decides everything. Wring gently and keep squeezing until the fabric stops dripping and feels heavy but not sodden. Cloth carrying too much solution dries into a flat plasticky sheet with no folds. Cloth that is too dry will not hold its shape at all.
6. Drape the first layer centred over the head, and fuss with it. Pull folds forward, let one side hang lower, gather a little at the shoulder. Whatever shape it is in when you walk away is the shape it has forever, so three extra minutes here is the best return on the whole project.
7. Drape the second layer rotated 30 to 45 degrees from the first, so the corners fall at different points around the hem. This is what gives the finished ghost its depth.
8. Shape the hem. If you want it lifting and curling as though caught in a draft, prop it: crumpled wax paper, small jars or balled-up plastic wrap tucked under the edge holds the curl while it dries. Remove the props once it is hard.
9. Dry. Leave it alone. A box fan on low, aimed across the table rather than at the ghost, roughly halves the drying time. No hair dryer or heat gun — heat expands the balloon, which stretches the shell and can crack it.
10. Release. Once the fabric is hard to the knuckle everywhere, including the deepest folds, snip the balloon neck and let it deflate slowly.
Realistically that is about 15 minutes hands-on per ghost plus overnight — four ghosts is one evening’s setup and one morning’s release.
What actually goes wrong
The ghost sags after two days. Not enough binder. Either the solution was too dilute or you wrung the cloth too hard. Fix: re-drape it over the armature, brush a coat of full-strength stiffener over the outside, and let it dry again.
It dried flat and shiny with no folds. Too much solution left in the cloth, or gloss Mod Podge. There is no fix; this one is a remake.
The balloon fused to the fabric. No release layer. If it has already happened, snip the neck, deflate slowly, and pick the latex out in pieces with tweezers. It is tedious but usually recoverable.
Grey patches. Newsprint. Cover your surface with something else.
The head collapsed. Released too early. The crown is the thinnest, most stretched part of the shell and it is always the last to cure. Give it the full 24 hours.
It looks like a rag, not a ghost. Almost always a single layer, or grade 50 cheesecloth instead of grade 10. Two layers of grade 10, rotated.
It went soft again in October. Humidity, and probably cornstarch. Every water-based binder softens above roughly 70 percent relative humidity; cornstarch is by far the worst.
Getting the floating look
A finished ghost weighs two to six ounces. Almost anything will hold it; the trick is making the support invisible.
Line. Six-pound monofilament fishing line is the standard and disappears at more than about four feet. Avoid white thread, which catches light and reads instantly.
Anchors. Small clear adhesive hooks rated to half a pound are far more than enough and come off painted ceilings cleanly. On a porch use a small screw eye into a rafter instead, because adhesive fails in heat and damp.
Two-point suspension is the real secret. Hang from a single point and the ghost spins slowly and shows you its hollow back. Run one line from the crown and a second from a shoulder or the inside of the hem to a point 6 to 10 inches away, and the ghost holds a forward-leaning attitude and stays facing the room.
Height and spacing. In a walkway keep the hem at 6.5 to 7 feet so nobody wears one; against a wall or in a stairwell, 5 to 6 feet is more dramatic. Group them in odd numbers, 12 to 18 inches apart, with at least 8 inches of height difference between neighbours. A row at identical heights is the fastest way to make the effect ordinary.
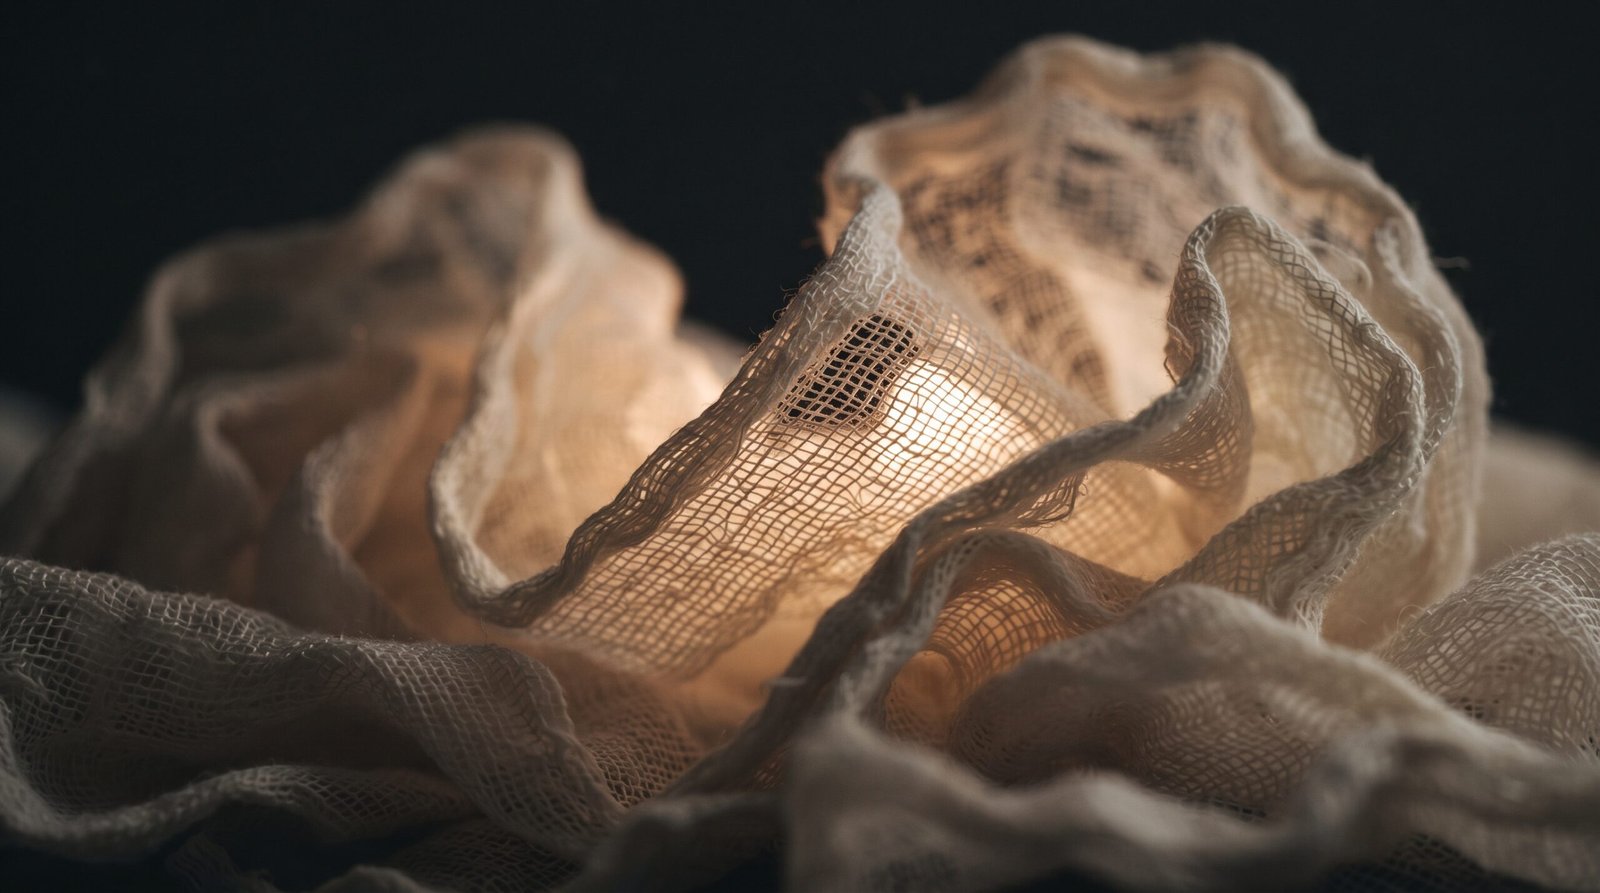
Light. Uplighting is what makes them glow. A battery puck light or warm LED tea lights on the floor below, shining up through the weave, does more than anything else. Keep it in the 2200K to 2700K range — cool white makes the cloth look grey and dead. Keep real flames well away; stiffened cheesecloth is fabric soaked in dried glue and it burns readily.
A cluster of three hanging in front of a mirror or over a mantel is the highest-impact placement in the house. If you are building the surface underneath as well, our guide to fall mantel decor ideas covers the height and asymmetry rules that keep the whole arrangement from going flat.
Indoor versus outdoor durability
Indoors, a properly stiffened ghost is essentially permanent — kept out of direct sun and away from a humidifier, it holds its shape for years. Outdoors is a different problem, and the honest answer is that every binder in this article is water-soluble. A ghost hit by a real downpour comes back as a wet rag. What works on a covered porch:
- Use commercial fabric stiffener, not cornstarch and not glue-water. It has the most moisture tolerance of the four.
- Seal it. Two or three light coats of clear matte acrylic sealer, or an outdoor-formula decoupage medium, sprayed on all sides after it is fully cured. This buys real resistance to dew and mist — not to rain.
- Site it under cover and back from the drip line of the roof. Wind-driven rain reaches a lot further under an eave than people expect.
- Accept the fade. Bright white cheesecloth greys after three or four weeks of weather and dust. Treat outdoor ghosts as consumables, or bring them in when rain is forecast.
For anything fully exposed, skip stiffening altogether and build the tomato-cage version, where the frame holds the shape and the fabric can get wet without consequence. That approach and the rest of the front-of-house layout are covered in our fall porch decor guide.

Storing them so they survive the year
Cheesecloth ghosts are hollow shells and they crush. Almost every one that does not come back for a second season was stored badly, not made badly.
Never compress them. No lids pressing down, nothing stacked on top. Store upright, head up, with tissue loosely stuffed inside the cavity so the shell has something to lean on.
Choose the location carefully. An attic is the worst place: sustained summer heat softens every water-based binder, and a softened ghost slumps and then re-hardens in its slumped shape. A basement is second worst, because humidity does the same thing more slowly. An interior closet is right.
A cardboard box beats a sealed plastic bin, because it lets moisture move. If you must use plastic, add silica gel packets and do not seal the lid fully.
Reviving a sad one is easy. Set it back over an armature, brush a light coat of the original solution over the outside, reshape the folds by hand, and let it dry overnight.
Three variations worth making
Tea-stained antique ghosts. Steep four black tea bags in a quart of hot water for 20 minutes, soak the dry cheesecloth 10 to 15 minutes, wring and air dry before stiffening. You get a warm ivory that sits far better in a room with wood tones than bright white does.
Table-top cluster. Three minis at 6, 8 and 10 inches on a tray with a single tea light behind them. Twenty minutes of work, and it holds a console all month.
The reaching ghost. Wire armature at shoulder height, one arm raised, a long trailing sleeve of extra cheesecloth. This is the one that makes people stop, and it costs ten minutes more than a plain one.
Where this fits
Cheesecloth ghosts do their best work as one element inside a room already styled for autumn, not as a standalone stunt. Hang three over a mantel that already has dried branches, black tapers and a cream pumpkin or two, and the whole thing reads as intentional.
If the room is not there yet, start with fall decorating ideas for the living room and add the ghosts on top. For the pumpkins that pair with them, our roundup of no-carve pumpkin decorating ideas covers the cream, bone and matte black treatments in the same palette. The full project list, including the oversized outdoor version, is in our guide to DIY Halloween decorations.
Make four the first time, not one. The second one is always better than the first, and once you have the bowl mixed and the table covered, the marginal cost of another is about seventy-five cents. — Quinn


1 Comment