
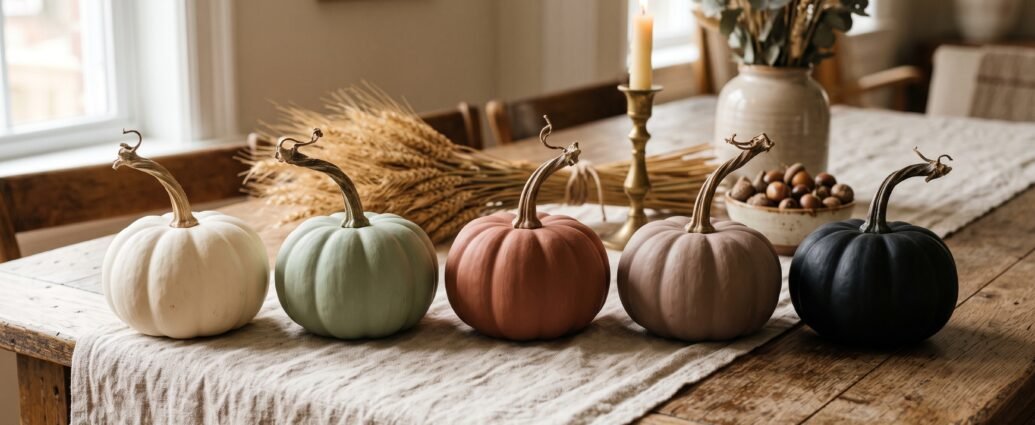
Painting a pumpkin is a fifteen-minute project that goes wrong about half the time, and almost always for the same reason. The paint isn’t bad and the design isn’t the problem. The surface was never prepped.
A pumpkin comes with a waxy cuticle on its skin. That’s a feature for the pumpkin — it’s how it holds moisture through a long fall on a vine — and a problem for you, because it’s an excellent paint repellent. Faux pumpkins have the opposite issue: a glossy factory coating so slick that acrylic sits on top of it like water on a windshield and comes off with a fingernail.
Fix those two things and everything on this list works. Skip them and you’ll be re-doing your pumpkins in the second week of October.
So here’s the whole thing: 25 painted pumpkin ideas grouped from easiest to most involved, a straight comparison of which paints belong on which surface, real dry times, actual costs, and the specific failure modes. This is the project I get asked about more than any other seasonal craft, mostly because the finished version people see online is a chalk-paint finish that costs eleven dollars, and the version they got at home peeled.
The prep, in four minutes
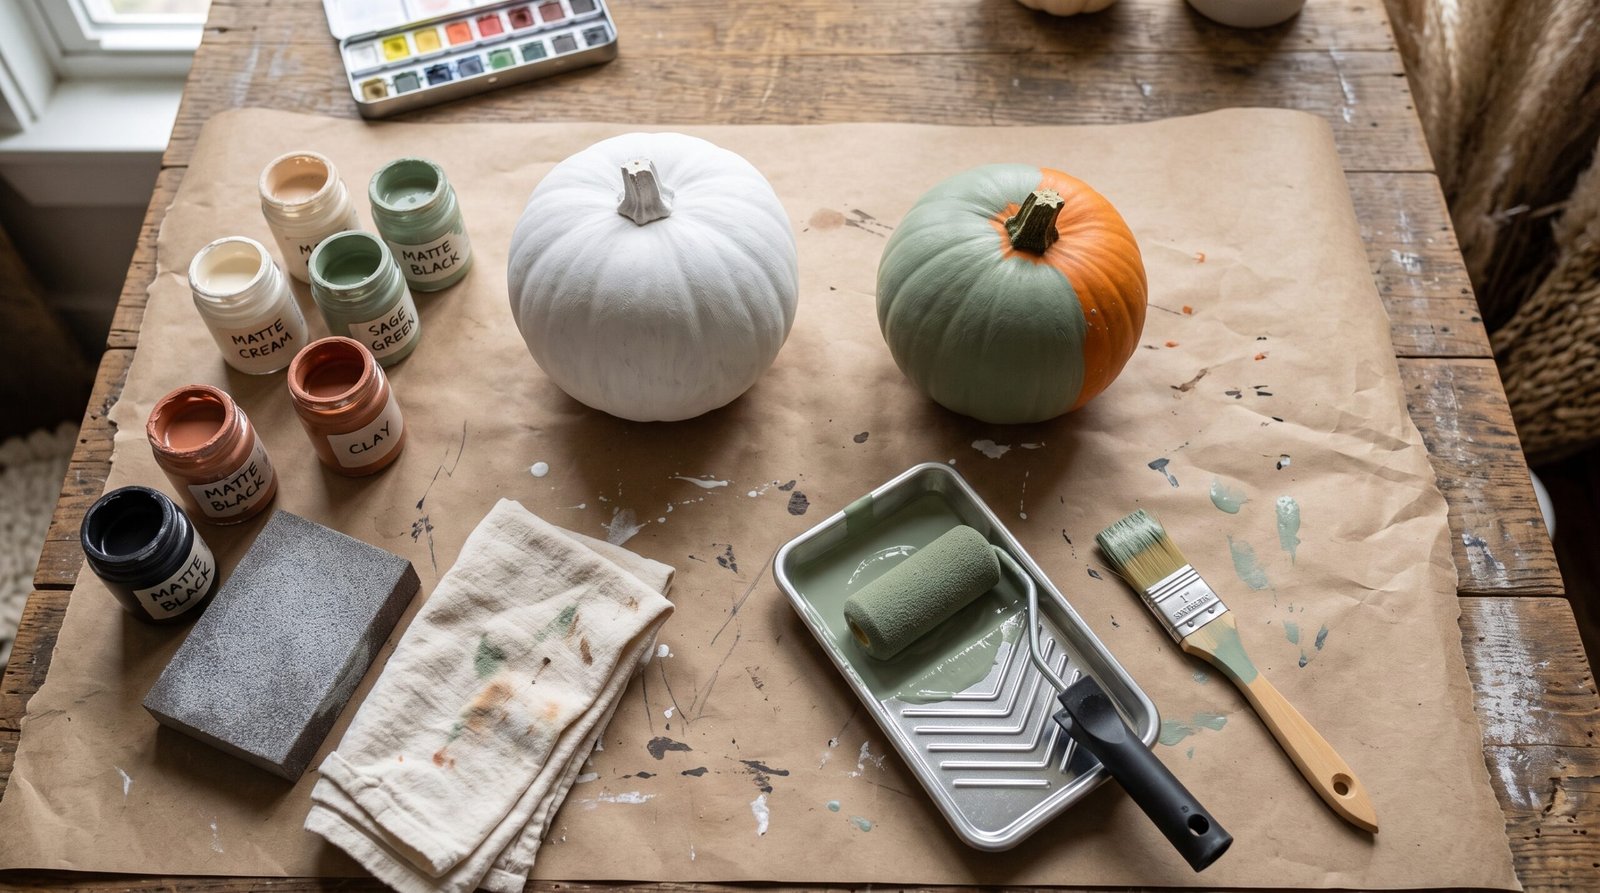
On a real pumpkin: wash it with mild dish soap and warm water to get the field dirt off. Dry it completely. Then wipe the entire surface with a lint-free cloth dampened with 70% isopropyl alcohol and let it flash off for a minute or two. That strips the wax. While you’re there, wipe it with a weak bleach solution — about a tablespoon of household bleach per quart of water — to kill surface mold spores, and dry it again. Paint after that bonds properly and the pumpkin lasts longer.
On a faux pumpkin: scuff the whole surface with a 220-grit sanding sponge until the shine is dulled everywhere, including the ribs. Wipe the dust off with a damp cloth. Then prime. A single light coat of spray primer is enough, and it’s the difference between paint that survives being packed in a bin and paint that flakes.
One warning on faux: many inexpensive craft pumpkins are polystyrene foam under the coating, and a solvent-heavy lacquer spray will eat straight into it and leave pitted craters. Water-based acrylic sprays are the safe default. If you don’t know what you’ve got, spray a test patch on the bottom and give it ten minutes before committing.
Which paint for which pumpkin
| Paint | Real pumpkin | Faux pumpkin | Typical cost | Notes |
|---|---|---|---|---|
| Chalk-finish paint | Best choice | Excellent over primer | $6–$9 / 8 oz | Self-priming, very matte, hides skin texture and blemishes |
| Craft acrylic (2 oz bottles) | Good after alcohol wipe | Needs primer first | $1–$2 / bottle | Best for detail work and multi-color designs |
| Spray paint (2X-type) | Good; leave base bare | Excellent over primer | $6–$9 / can | Fastest for solid color; one can covers roughly 4–6 medium pumpkins |
| Leftover latex wall paint | Workable, goes on thick | Needs primer, chips easily | Free | Flat and matte sheens work; skip semi-gloss |
| Chalkboard paint | Fine | Fine over primer | $8–$12 | Needs a 24-hour cure before you write on it |
| Milk paint | Chips and flakes by design | Not recommended | $10–$18 | Only if you want a deliberately distressed look |
The short version: chalk-finish paint for anything you want to look expensive, craft acrylic for anything with a design on it, spray for volume.
Dry times worth planning around
- Craft acrylic and chalk paint: dry to touch in 20–30 minutes, safe to recoat at an hour. Full cure takes several days, so don’t stack or wrap them the same evening.
- Spray paint: dry to touch in about 20 minutes, handleable at an hour, fully cured at 24 hours. Recoat either within the first hour or after 48 hours — the window in between is what causes that wrinkled, alligator-skin texture.
- Spray primer: topcoat after about 30 minutes.
- Matte spray sealer: touch-dry in 15 minutes, handle at two hours.
Easy painted pumpkin ideas (under 20 minutes)
1. Solid matte, in an unexpected color. Two thin coats of chalk paint in warm white, mushroom, sage, clay, or matte black. Thin coats, not one thick one — thick chalk paint cracks as it dries over the pumpkin’s ribs. Leave the natural stem completely unpainted. Painting the stem is the single fastest way to make a beautiful pumpkin look like a craft project.
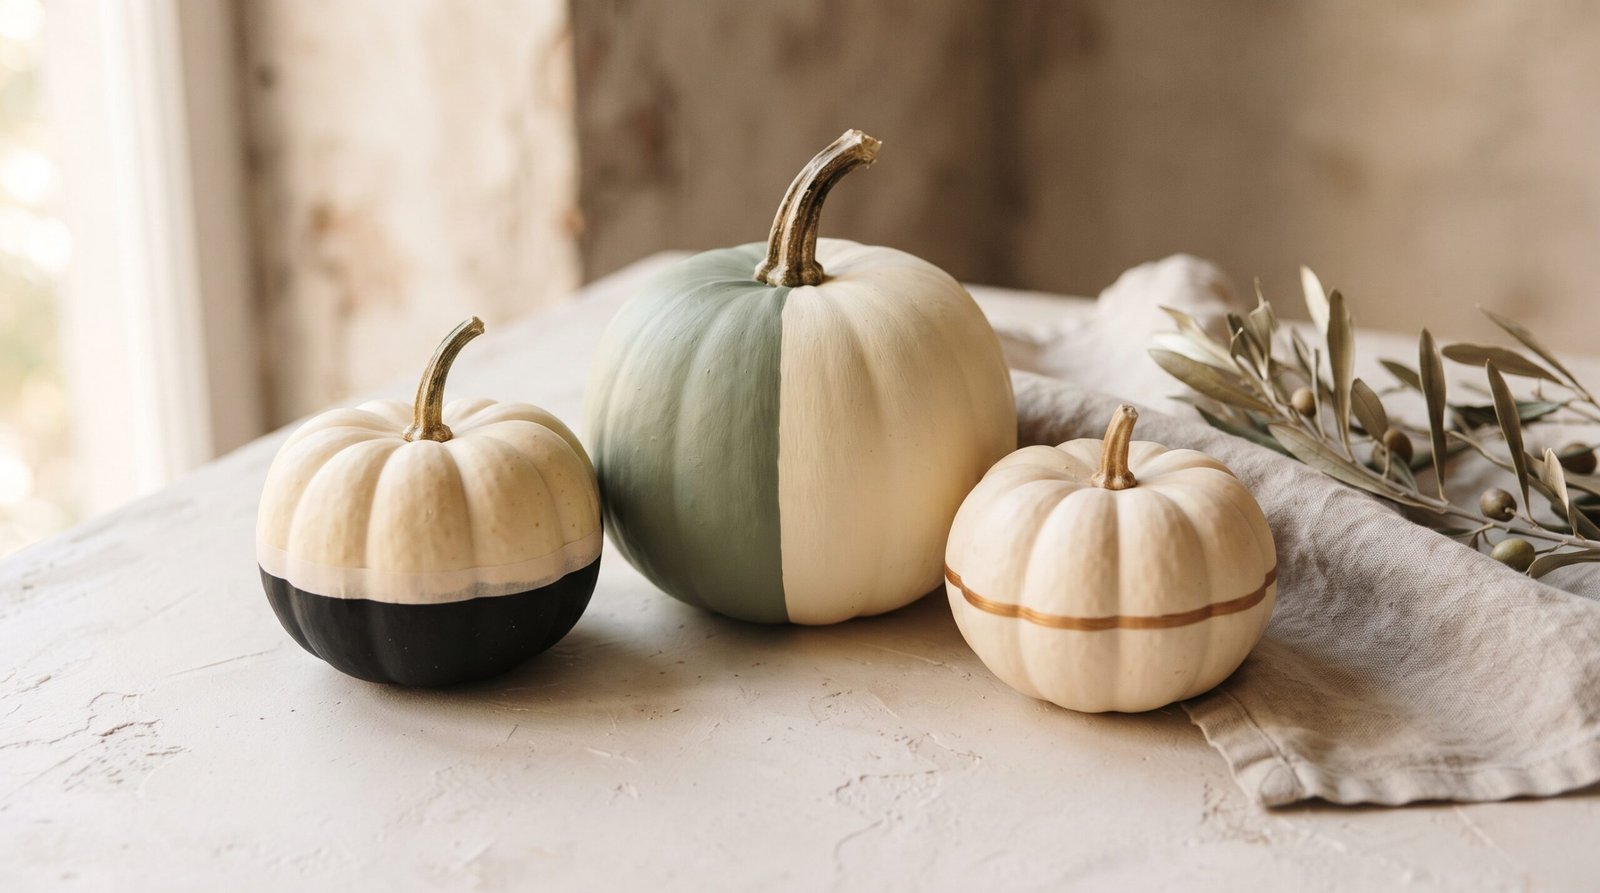
2. Dipped. Run a strip of painter’s tape around the bottom third, burnish the edge down hard with a thumbnail, paint below it, and pull the tape while the paint is still slightly tacky. Cream body, matte black bottom is the version that reads most expensive.
3. Color block. Same technique, but split it on a diagonal or vertically along the ribs. Two related tones — sage and cream, taupe and white — beat two contrasting ones almost every time.
4. Dry-brushed whitewash. Thin white paint with a little water, load a stiff brush, wipe most of it off on a rag, then drag it across the pumpkin so paint catches the ridges and the natural color stays in the grooves. Best on a green, gray, or tan pumpkin.
5. One brass stripe. A single thin hand-painted metallic line around the widest point of an otherwise plain matte pumpkin. Ninety seconds, disproportionate payoff.
6. Painted stem, unpainted body. The reverse of the usual advice, and it works: gilding wax or metallic craft paint on just the stem of a natural white pumpkin.
7. Ombré family. Take one color and mix progressively more white into it for each pumpkin in a set of three or five. Uses one bottle of paint and produces a display that looks planned rather than thrown together.
Pattern and design ideas
8. Checkerboard. Paint the pumpkin a base color, let it cure, then lay out a grid with thin tape and fill alternating squares. Follow the natural ribs as your vertical guides rather than fighting them.
9. Polka dots. The end of a pencil eraser makes a small, perfectly consistent dot. A wine cork makes a large one.
10. Leopard spots. Irregular tan blobs, then a broken black outline around roughly two-thirds of each blob. The gaps in the outline are what make it read as animal print rather than clip art.
11. Terrazzo speckle. Load a stiff brush with contrasting paint, hold it a few inches away, and drag your thumb across the bristles to flick specks onto a cream base. Do this outside or over newspaper — it travels much further than you expect.
12. Arches and half-moons. A simple arch shape in a contrasting color on the front face. Trace around a bowl or a roll of tape for a clean curve.
13. Moon phases. A horizontal row of small circles moving from full to crescent, in white or gold on matte black. One of the few genuinely graphic designs that doesn’t look juvenile.
14. Faux ceramic glaze drip. Paint the body one flat color, then load a brush heavily with a second color and let it run down from the stem in irregular drips. Lay the pumpkin on its side while it dries so the drips set where you want them.
15. Plaid. Wide bands one direction, narrower bands crossing them, then a very thin accent line. Works best in muted colorways — charcoal, cream, and rust — rather than traditional red-and-green.
16. House numbers. Adhesive vinyl numerals or a stencil and a stiff stencil brush, matte black on white, by the front door. Dab the brush straight down through the stencil rather than brushing sideways, or paint bleeds under the edges.
17. Monogram. Same technique, one large letter, centered on the front face.
18. Botanical line drawing. A single continuous-line branch or fern in black on cream, done with a fine liner brush or an oil-based paint pen.
Texture and specialty finishes
19. Stone or concrete texture. Stir a tablespoon of baking soda into a few ounces of gray or greige paint until it’s gritty, then brush it on thick and let it dry hard. It looks like cast concrete, costs about a dollar, and is the closest thing on this list to a genuine designer dupe.
20. Hot glue relief. Draw a pattern on the pumpkin with a hot glue gun, let it set for ten minutes, then paint over everything in one flat color. The raised glue reads as carved pottery. Much better on faux pumpkins — hot glue struggles to bond to real pumpkin skin.
21. Crackle finish. A crackle medium between two contrasting paint layers. Follow the medium’s instructions exactly on timing; this is one of the few products where being ten minutes off ruins the effect.
22. Metallic leaf. Brush on adhesive size, wait until it goes tacky (usually 15–30 minutes), then lay composition gold or copper leaf and buff off the excess with a soft brush. Partial coverage looks far better than full.
23. Hydro-dip marbling. Fill a bucket with room-temperature water, spray two or three colors of spray paint onto the surface so they float, then dip the pumpkin in and lift it straight out through the film. Messy, unpredictable, and genuinely spectacular about a third of the time. Wear gloves.
24. Chalkboard pumpkin. Two coats of chalkboard paint, cured a full 24 hours, then season the surface by rubbing the side of a piece of chalk over the whole thing and wiping it off. Skip the seasoning step and your first drawing ghosts permanently.
25. Velvet or flocked finish. Flocking adhesive and fibers, or a can of flocking spray, over a base coat in the same color family. Indoor only.
Choosing a palette that doesn’t look like a costume
The reason most painted pumpkin displays look cheap isn’t the technique. It’s twelve colors, all at full saturation, all fighting.
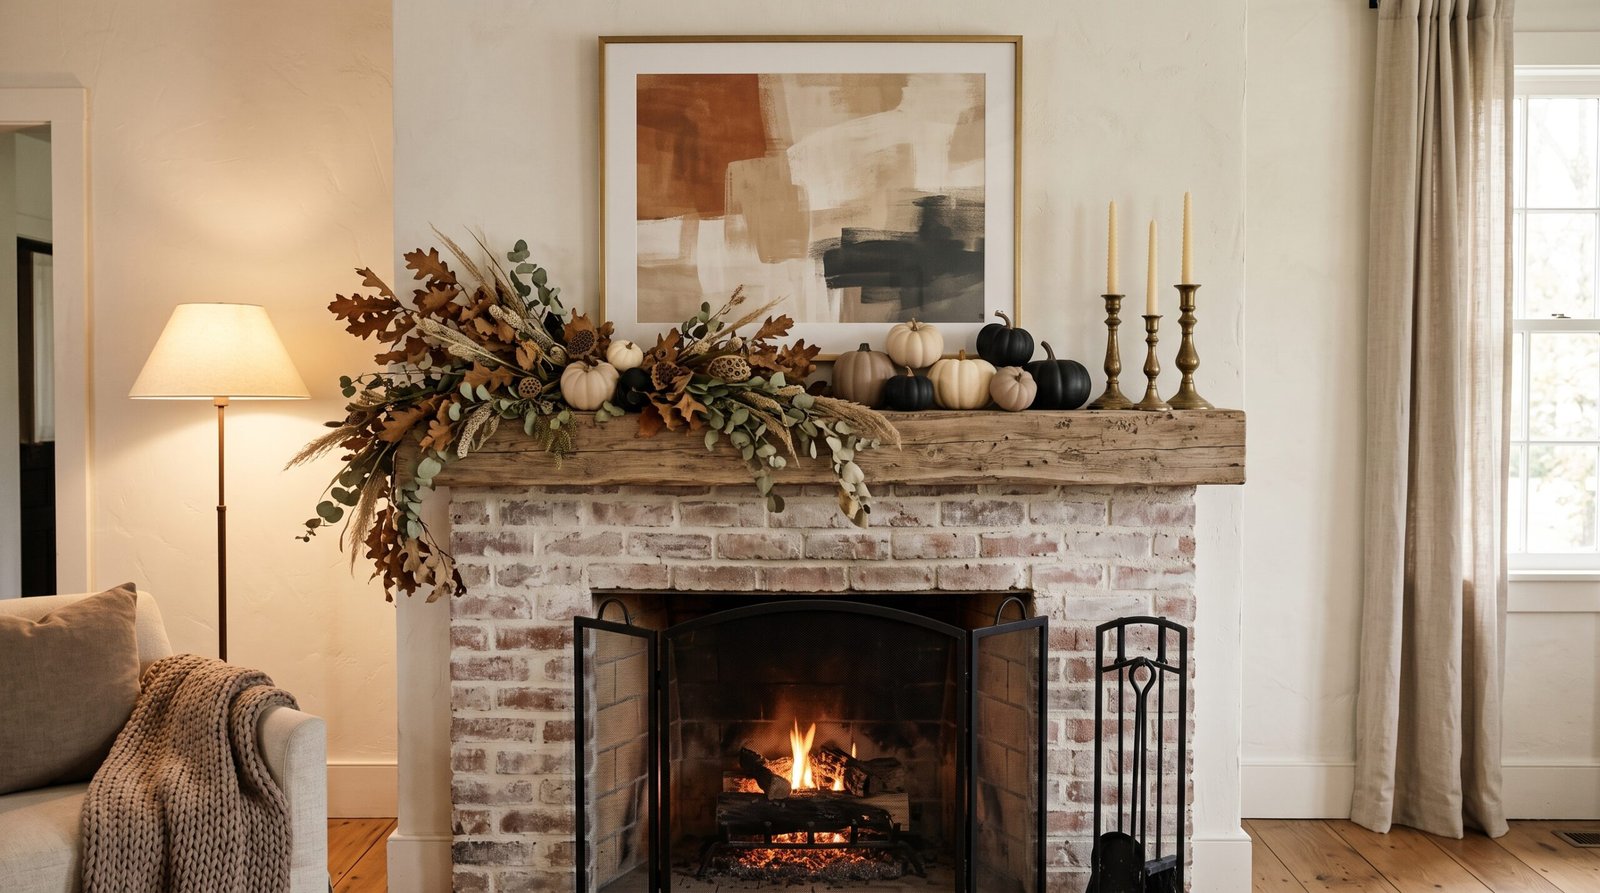
Pick three colors maximum for a whole grouping, and let one of them dominate. The palettes that hold up year after year are quiet: warm white with mushroom taupe and a single matte black; sage green with cream and raw wood; clay and terracotta with warm white; charcoal with bone and a touch of brass. All of these still read as autumn without a single fluorescent orange in sight.
If you want to pull that same palette onto the walls rather than stopping at the accessories, our guide to cozy autumn paint colors covers the warm, earthy hues that work with this kind of styling, and the broader principles in how paint changes a room with color and technique apply at any scale, including a nine-inch pumpkin.
Painting with kids without ruining the palette
The realistic compromise, and it works: give kids their own pumpkins and let them go completely wild, but keep those on a separate surface — a side table, the kitchen island, their own step. Keep the front-of-house grouping to your palette. Everyone gets what they want and nothing has to be diplomatically relocated in November.
Practical notes for kids’ pumpkins: craft acrylic washes out of most fabric while wet and is a nightmare once dry, so aprons and a covered table are worth the two minutes. Foam craft pumpkins are lighter and won’t bruise a foot if dropped. And skip the sealer entirely on kids’ pumpkins — they’re going to be handled constantly, and a spray sealer just adds an hour of waiting to a project a six-year-old has already emotionally finished.
If your kids like the painting part more than the pumpkin part, our tutorials on hand-painted stones and painted terra cotta pots use the same paints and the same brushes, and both store better than a pumpkin does.
Cost, honestly
| Setup | What you’re buying | Cost |
|---|---|---|
| Bare minimum, one color | 1 jar chalk paint, 1 flat brush | $10–$14 |
| Three-color palette | 3 craft acrylics, primer spray, brush set | $16–$24 |
| Spray setup for a full porch | Primer + 2 color cans, sanding sponge, drop cloth | $22–$30 |
| Detail work add-ons | Painter’s tape, liner brush, stencil, paint pen | $12–$18 |
Pumpkins themselves are the variable. Standard orange field pumpkins generally run about $4 to $12 depending on size and where you buy them, and those are the ones to paint — there’s no reason to pay heirloom prices for a pumpkin you’re going to cover in sage green. Faux craft pumpkins run roughly $4 to $15 apiece at craft stores, and considerably less if you buy the small plastic ones at a dollar store and prime them properly, which is covered in detail in our Dollar Tree fall decor guide.
Why paint peels, and four other failures
- Peeling in sheets off a real pumpkin. The wax was never removed, or the pumpkin was still damp. Wash, dry fully, wipe with 70% isopropyl alcohol.
- Scratching off a faux pumpkin with a fingernail. No sanding, no primer. Both steps, every time.
- Cracking as it dries. The coat was too thick. Two thin coats always beat one heavy one, especially with chalk paint over the ribs.
- Wrinkled, alligator-textured spray finish. You recoated in the dead zone between one hour and 48 hours. Go fast or go tomorrow.
- Mold blooming under the paint on a real pumpkin. Almost always caused by sealing it all the way around with a brush-on medium like Mod Podge. A live pumpkin is still respiring; trapping that moisture accelerates rot. Use a light spray sealer at most and leave the base unpainted so it can breathe.
One more that isn’t a paint problem: an uncarved painted pumpkin sitting directly on damp concrete will collapse from the bottom regardless of how well you painted it. Set every pumpkin on felt furniture pads, a cork round, or a thin wood slice so air can move underneath.
Making them last, and storing them
An uncarved pumpkin with an intact stem, painted properly and kept off damp surfaces, typically holds for two to three months indoors and six to ten weeks outdoors in mild weather. That’s the whole advantage of painting instead of carving, and it’s the reason a display set up in the first week of October comfortably reaches Thanksgiving. Bring real pumpkins inside if a hard frost is forecast — frost ruptures the cell walls and the pumpkin liquefies as it thaws.
Faux painted pumpkins store indefinitely. Let them cure a full week before packing so the paint hardens completely, then wrap each one loosely in tissue or a paper towel — not plastic — and store them in a lidded bin somewhere that doesn’t swing between freezing and baking. An attic in a hot climate will soften cheap foam pumpkins and warp them.
Where to go next
If you’d rather not paint at all, or want techniques that layer on top of paint, our roundup of no carve pumpkin decorating ideas covers wrapping, dried florals, upholstery tacks, and texture finishes, and there are more variations in pumpkin decor ideas beyond carving. For the fabric side of things, no-sew fabric pumpkins pairs well with a painted grouping and costs almost nothing if you use a thrifted sweater.
Once the pumpkins are done, cozy fall table settings shows how to use them as centerpieces without them dominating the table, and if you liked the specialty finishes above, faux finishes that look expensive but are easy to DIY applies the same stone-texture and metallic-leaf techniques to furniture and accessories.
Common questions
What paint sticks best to real pumpkins?
Chalk-finish paint. It’s self-priming and heavily pigmented, so it grips a slick surface better than anything else and its flat sheen hides the pumpkin’s natural blemishes. Craft acrylic and spray paint work well too, but only after you wash the pumpkin and wipe it down with 70% isopropyl alcohol to remove the waxy cuticle.
Do you have to prime a pumpkin before painting?
Real pumpkins don’t need primer if you’ve done the alcohol wipe-down, especially with chalk paint. Faux pumpkins absolutely do — sand with 220-grit first, then one light coat of spray primer, or the paint will scratch off.
How long does painted pumpkin decor last?
Painted real pumpkins usually last two to three months indoors and six to ten weeks outdoors, as long as the stem is intact and they’re kept up off damp surfaces. Painted faux pumpkins last indefinitely if you cure them fully before storing.
Can you use regular wall paint on pumpkins?
Yes, and leftover flat or matte latex works well on real pumpkins after the alcohol wipe. It goes on thicker than craft paint, so keep the coats thin. Skip semi-gloss and satin — the sheen highlights every bump in the skin. On faux pumpkins, latex needs primer underneath or it chips.
Should you seal painted pumpkins?
Only lightly, and only with a spray. Brush-on sealers form a moisture-trapping film that speeds rot and bubbles the paint from underneath. Leave the bottom of every real pumpkin unsealed.
Where to take it next
Painted pumpkins tend to be the opening move rather than the whole plan. If you’re working through the rest of October, our DIY Halloween decorations guide lists 18 projects with real costs and timings attached, including several that cost nothing beyond paper and the paint you already opened. For anything going outside, Halloween porch decor is worth reading first — it covers which finishes survive six weeks of weather.
Prep the surface, keep the palette to three colors, and pick two techniques instead of ten. That’s genuinely most of it. — Quinn

4 Comments