
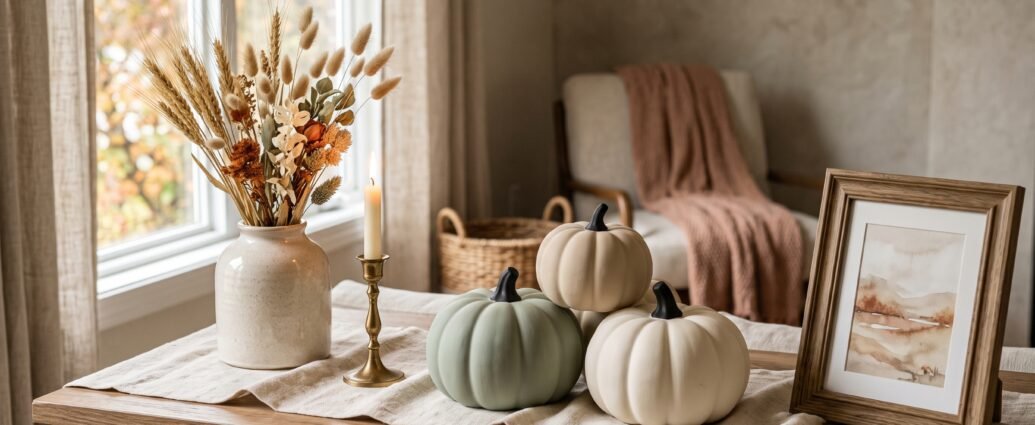
Dollar Tree fall decor has a reputation problem, and it is mostly deserved. Walk in during August and the seasonal aisle is a wall of high-gloss orange plastic, glitter-flocked stems and foam pumpkins with a shine you can see from across the store. Buy an armful of it, set it on a console table, and the result looks exactly like what it cost.
But that is a materials problem, not a price problem. Nearly everything wrong with cheap seasonal decor comes down to three things: the finish is too shiny, the color is too saturated, and there is too much of it spread too evenly. All three are fixable in an afternoon for the price of a can of spray paint.
The difference between decor that reads as expensive and decor that reads as cheap almost never comes down to the price tag. It comes down to finish and restraint. A matte cream pumpkin from the dollar store, grouped with two others in graduated sizes on a wood tray, will out-style a $60 boutique pumpkin sitting alone next to a lamp.
A note on what Dollar Tree actually costs now
Dollar Tree is not a one-dollar store anymore. The base price sits at $1.25, and most locations carry a multi-price assortment up to $3 and $5 on larger items, so a project needing one big vessel and five stems is closer to $12 than $6. Inventory also varies by store and by week, so I am not going to tell you a specific item is on the shelf right now. What is reliable is the categories: faux florals and stems, plastic and foam pumpkins, clear glass vases and candle holders, wood-look frames, mini wood crates, buffalo-check textiles, jute and burlap ribbon, and unscented pillar and votive candles. Those show up nearly everywhere, every fall.
The dollar store glow-up: five techniques that do all the work
Learn these five moves first. Every idea below is a combination of them.
1. Matte spray paint, always matte
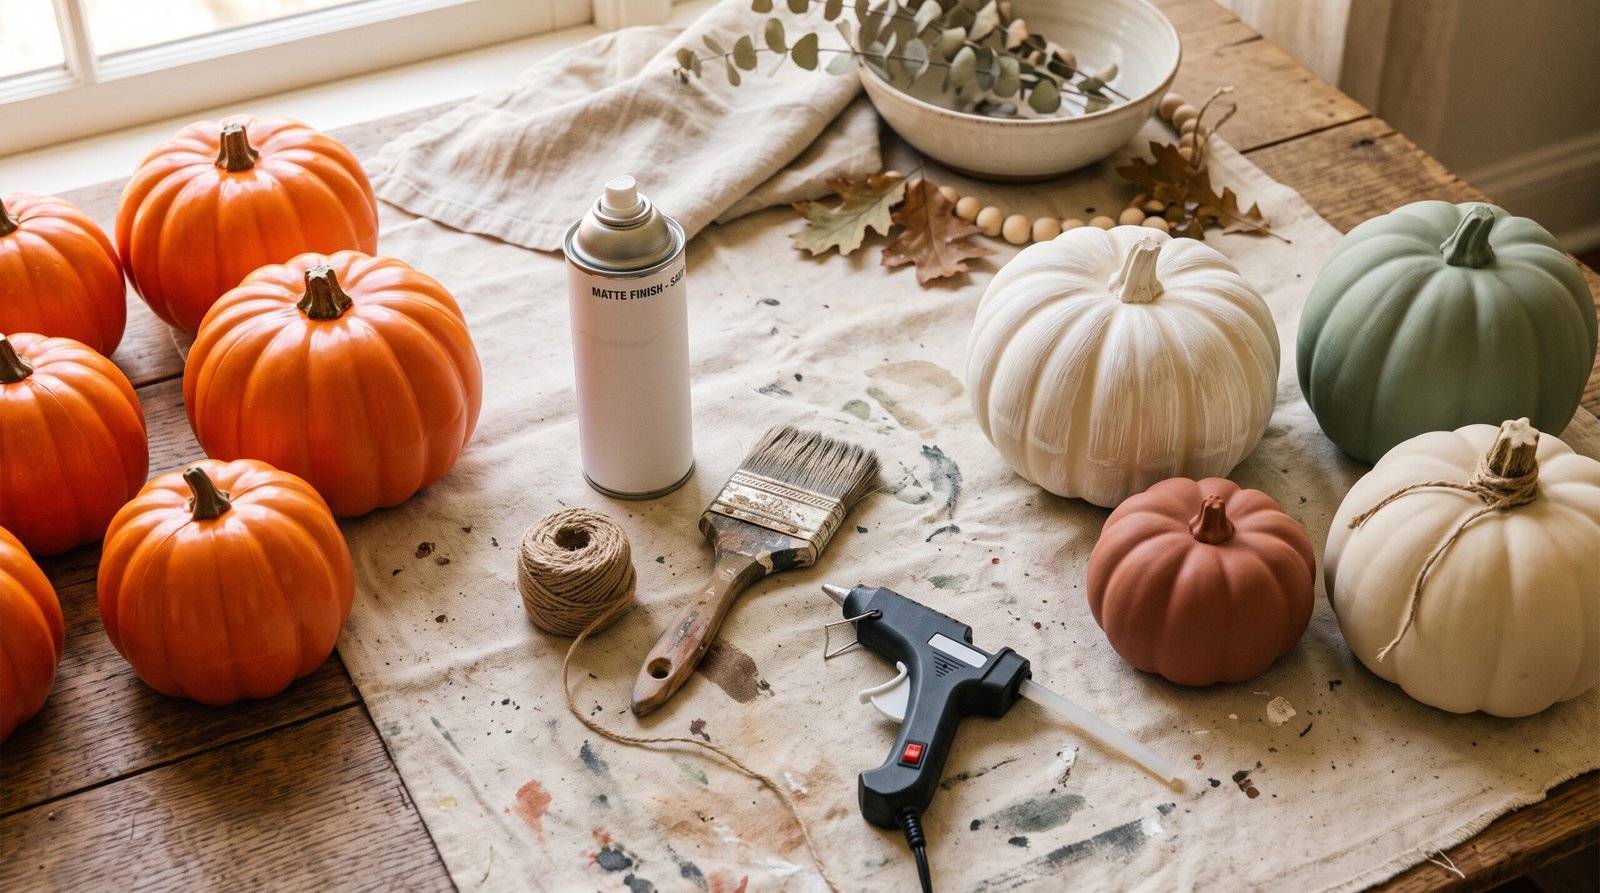
This is the single highest-impact thing you can do, and it is not close. Gloss is what your eye reads as plastic. A matte or chalk-finish spray paint in a muted color turns a $1.25 plastic pumpkin into something that looks like glazed ceramic from four feet away.
Buy it at a hardware or craft store, not the dollar store — $5 to $9 a can for matte or chalky finish. One can covers six to ten small-to-medium pumpkins, so call it $1 an item. Colors that work: warm cream, bone, soft sage, muted clay, greige, and matte black for an accent piece or two. Colors that do not: anything in the bright orange family, metallic copper (too shiny), and stark white, which goes blue in warm light.
Technique matters more than product. Three light passes from about ten inches away, letting each dry ten to fifteen minutes, beats one heavy coat every time — a heavy coat pools in the ribs, and that drip is exactly what makes it look homemade. Budget 20 minutes of work and 90 minutes of drying for a batch of six.
2. Kill the shine on anything you are not painting
Glass you want to keep clear. But faux stems, plastic berries and foam pumpkins come with a factory sheen you cannot paint over without losing the detail. A scuff with fine sandpaper (220 grit or finer) knocks the gloss off foam and hard plastic in about 30 seconds per item, or a matte clear sealer flattens the finish while keeping the color underneath. On glossy stems, a light dusting of matte spray from 18 inches — far enough that it barely lands — kills the glare without gumming up the leaf texture.
3. Dry brushing for age
Dry brushing makes a flat painted surface look like it has been somewhere. Put a little craft paint in a lighter or darker tone on a stiff brush, wipe almost all of it off on a paper towel, then drag the nearly-dry brush across the raised parts — pumpkin ribs, crate edges, a vase rim.
The rule people get wrong: you want almost no paint on the brush. If you can see a wet stroke, there is too much. Cream over sage, or soft taupe over cream, both read as natural wear. Craft paint is about $1.25 a bottle and two minutes per item.
4. Add real texture — twine, jute, linen, raffia
Cheap decor is almost always smooth. Real materials are not. Wrapping a plain glass vase in jute twine, hot-gluing every third or fourth wrap, turns a $1.25 vase into something that reads as a $28 boutique piece — about eight minutes for a 6-inch vase, and a third of a $1.25 spool.
Same logic for torn linen tied around a pumpkin stem, a raffia bow instead of satin, or burlap on a candle holder. Anything woven, frayed or slightly irregular reads as real.
5. Group in odd numbers, vary the height
This is free and the one most people skip. Three pumpkins in graduated sizes clustered on a tray beats five identical ones spaced evenly along a mantel. Your eye reads a cluster as intentional and an evenly spaced row as inventory.
Give any grouping three heights: tall (stems in a vase, 14 to 18 inches), mid (a pumpkin or candle holder, 5 to 8 inches), low (a bowl, a book stack, a mini gourd under 4 inches). If everything on the surface is the same height, that is the whole problem — the same principle behind our guide to fall mantel decor ideas.
12 Dollar Tree fall decor projects, with real costs and times
1. The matte pumpkin trio — $4 to $6, 25 minutes
Three plastic or foam pumpkins in three sizes, spray painted matte cream, sage and muted clay. Pull off the shiny fake-vine stems first; a cinnamon stick or a short twig hot-glued in the hole looks dramatically better and costs nothing. Cluster them on a wood tray. Highest return on effort on the list, and the one I would do first.
2. Jute-wrapped vase with dried-look stems — $5 to $8, 15 minutes
One clear glass vase, one spool of jute twine, three to five wheat- or grass-look stems. Wrap from the base up, hot-gluing every few rounds. Cut stems to about one and a half times the vase height — a 6-inch vase wants stems topping out around 15 inches from the table. Fan them asymmetrically, tighter at the neck than at the tips.
3. Book-page or drop-cloth pumpkins — $2 to $4, 20 minutes
Wrap the cheapest foam pumpkins in overlapping glued strips of drop cloth or canvas. The texture does all the work. Finish with a twine bow and a twig stem.
4. Framed pressed-leaf art — $3 to $9, 30 minutes
Two or three wood-look frames, real leaves pressed flat in a heavy book for a few days, and a neutral backing — kraft paper, drop cloth, a book page. Hung as a set of three, this is the closest a dollar store project gets to looking gallery-bought. If the frame has a shiny black or gold plastic finish, one coat of matte spray and the plastic tell disappears.
5. The wood crate riser — $5, 10 minutes
A mini wood crate, dry brushed with cream to knock back the yellow-orange tone raw pine has. Turn it on its side as a riser under a plant or books, or fill it with three pumpkins and a folded buffalo-check towel.
6. Twine-wrapped candle holders — $4 to $7, 20 minutes
Three glass votive or pillar holders in different heights, wrapped in jute or spray painted matte on the outside only. Painted glass with a candle inside glows in a way plain glass does not. Use unscented — the scented ones tend to be overpowering in a small room.
7. Faux stem swap for existing arrangements — $3 to $8, 5 minutes
You do not have to build anything. Pull the tired stems from a vase you own and put in three to five neutral faux ones — wheat, pampas-look grasses, dried-look eucalyptus. Skip glitter, bright red berries and fire-engine orange leaves. The muted, almost-faded stems are the ones that pass.
8. Buffalo-check textile layer — $1.25 to $5, 2 minutes
Dish towels, small throws and placemats in black-and-cream buffalo check are one of the few items needing no modification. Fold one under a tray, drape one over a basket, or run one down a small console. The pattern is doing the work; do not add more next to it.
9. Terracotta-look painted vessels — $3 to $6, 20 minutes
Plastic or glass containers painted matte in a muted clay, then dry brushed with cream on the rim and high points. The aged-pot look without buying pottery.
10. The stem-and-twine mini garland — $6 to $10, 30 minutes
Take four or five faux stems apart and wire or hot-glue the pieces along a length of jute twine, overlapping so no bare twine shows in the dense sections and thinning out at the ends. Drape it heavy on one end, trailing past the edge. Our DIY fall garland tutorial walks through the wiring method for a fuller version.
11. Painted mini pumpkins as place markers — $3 to $5, 15 minutes
Mini plastic pumpkins in matte cream, one per place setting, with a small tag on twine. Cheap, fast, and the matte finish photographs like the expensive version. Our painted pumpkin ideas cover techniques that transfer directly to faux pumpkins, and our no-carve pumpkin decorating ideas are almost all doable with dollar store supplies.
12. The front door bundle — $6 to $12, 25 minutes
Skip the pre-made wreath, which is usually too sparse and too shiny. Bundle six to eight faux stems with jute, add a torn-fabric bow, and hang it vertically on the door. Same materials, same money, and it looks like it came from a florist. For a full wreath, our DIY fall wreath tutorial uses a wire form and the same stem categories.
What it actually costs
Rough numbers, assuming $1.25 base pricing plus multi-price items and hardware-store supplies.
| Item | Typical cost | Notes |
|---|---|---|
| Plastic or foam pumpkin (small to medium) | $1.25–$5 | Larger ones are usually multi-price |
| Faux stem, single | $1.25 | Buy 5–7 for one full vase |
| Clear glass vase or candle holder | $1.25–$5 | Heavier glass is worth the multi-price |
| Jute twine spool | $1.25 | Covers 3–4 small vases |
| Mini wood crate | $3–$5 | Dry brush to kill the orange pine tone |
| Wood-look frame | $1.25–$5 | Spray matte if the finish is shiny |
| Buffalo-check towel or throw | $1.25–$5 | Needs no modification |
| Matte spray paint (hardware store) | $5–$9 per can | Covers 6–10 pumpkins |
| Craft paint for dry brushing | $1.25–$3 | One bottle does 20+ projects |
| Hot glue gun + sticks | $5–$12 once | Reused every season |
A full first-year setup — one can of spray paint, a glue gun, and enough dollar store material to style a mantel, a coffee table and an entry console — lands around $45 to $60. After that the paint and glue gun are yours and the painted pumpkins store fine in a bin, so the same look refreshes for about $15.
What still looks cheap, and why
Glitter. No technique makes glitter read as expensive. It sheds, and it catches light in a way no natural material does. If a stem is glittered, put it back.
Saturated orange. Bright pumpkin-orange reads as Halloween, not autumn, and it fights nearly every wall color and upholstery fabric in a normal house. Muted rust, clay, ochre, camel and warm brown belong to the same family and none of them do that. This is why the paint step matters so much — you are changing the color, not just the finish.
Visible seams and mold lines. Plastic pumpkins often have a raised seam from stem to base, and paint makes it more visible, not less, because a matte finish catches the ridge. Sand it flat before painting, or turn the seam to the back — thirty seconds either way.
Too many small things. The most common mistake I see with budget decor is quantity substituting for quality. Fifteen small objects across a mantel does not look like money well spent, it looks like clutter — and three good groupings cost less.
Everything at the same height. Worth repeating, because it is the failure mode that survives every other fix. You can paint everything perfectly and still end up with a flat shelf if all of it is six inches tall.
Pre-made arrangements. Finished wreaths, potted arrangements and centerpiece bundles are almost always too sparse, too shiny and glued in a symmetrical fan. Buy the components and build it yourself — same money, different result.
Where to put it, room by room
The mantel
Three heights, weighted 60/40 to one side, with a garland trailing off one end rather than swagged evenly. Painted pumpkins in graduated sizes on the heavy side, a tall vessel of stems as the anchor, a book stack to fill. Our breakdown of how to style a fall mantel goes deeper on composition.
The coffee table
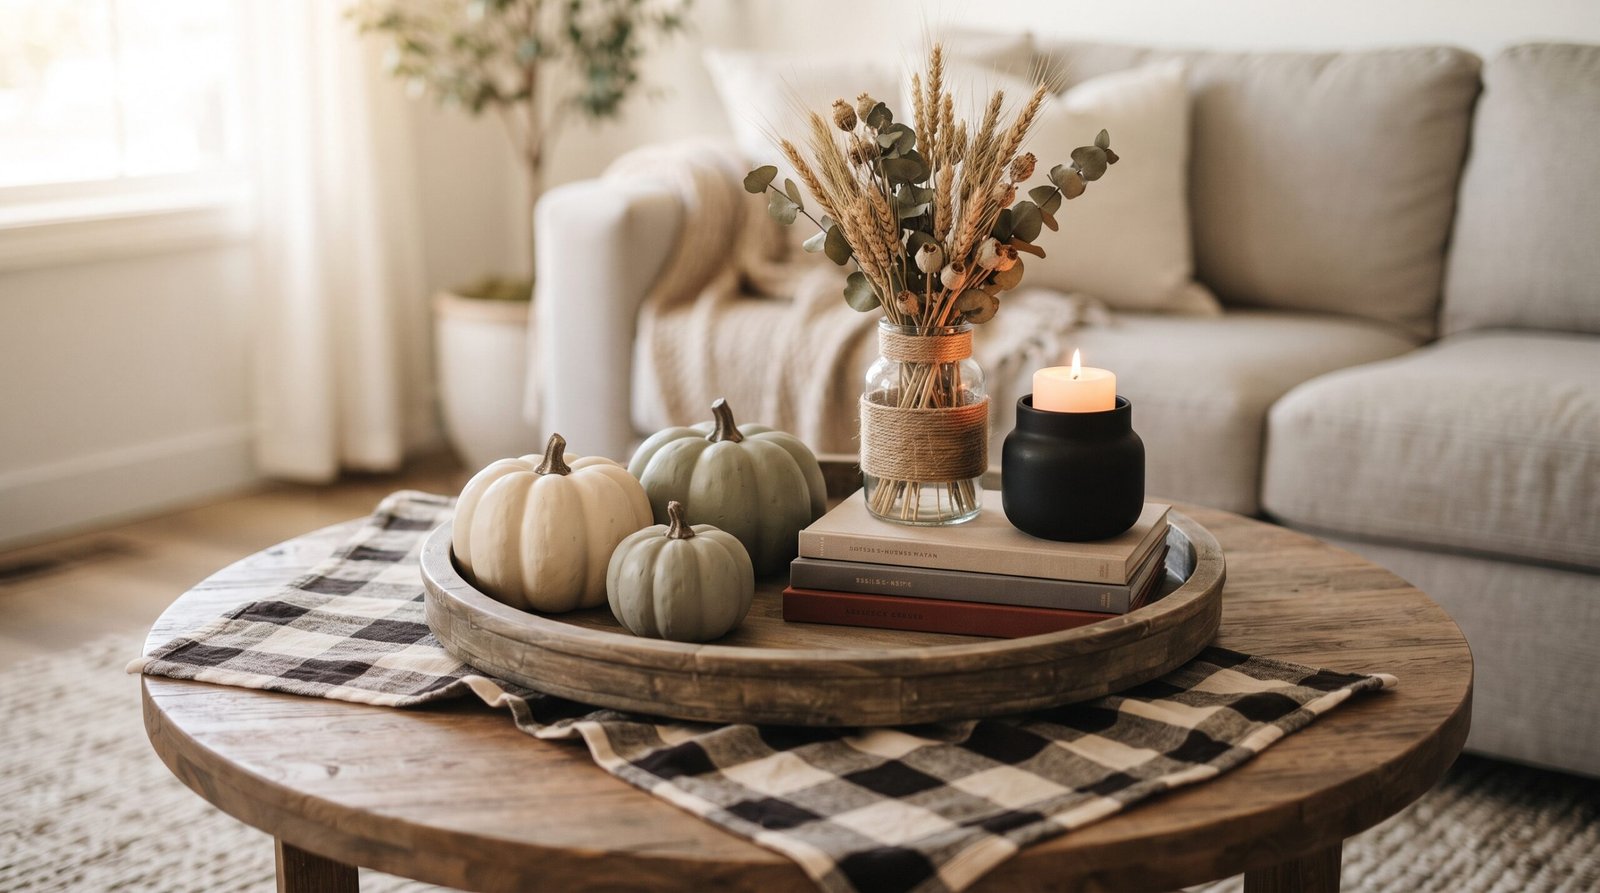
One tray is the whole trick — it gives a loose collection of objects a defined edge, which is what separates a vignette from a mess. Inside it: a small vase of stems, one or two matte pumpkins, a candle. Leave half the table empty so it still works as a table. More in our guide to fall coffee table decor.
The entry console
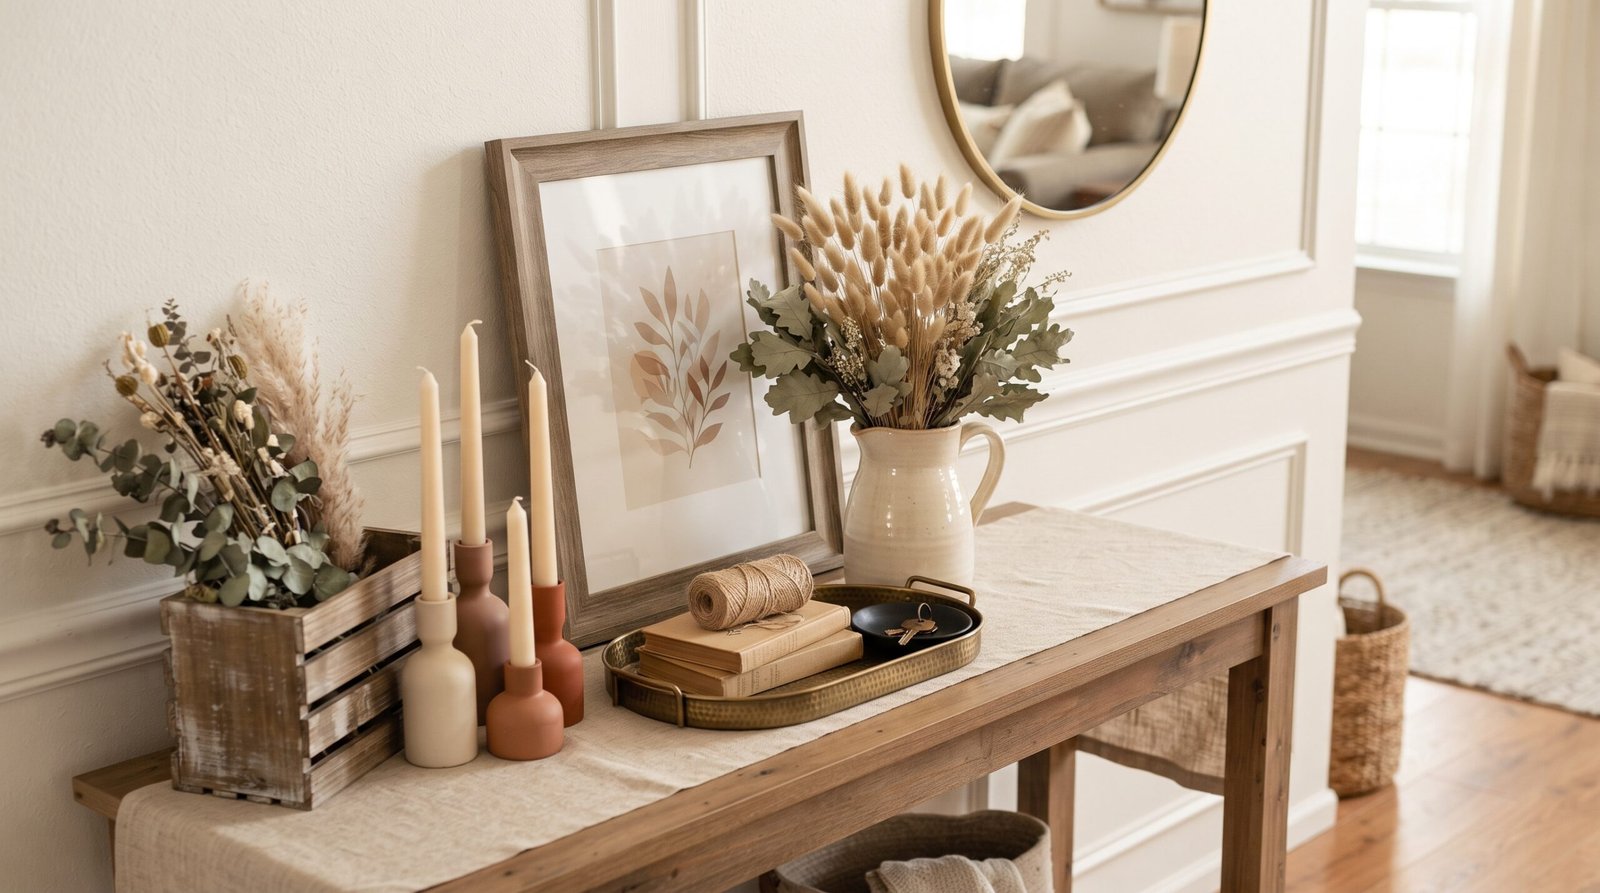
Where the wood crate, framed pressed leaves and a tall stem arrangement earn their keep. An entry is seen for a few seconds at a time, so it wants one strong gesture, not small detail.
The living room at large
Textiles do more than objects here. A buffalo-check throw over an arm, a swapped pillow cover and one grouping on the side table shift a room more than a dozen pumpkins would. Our fall living room decorating ideas cover the layering order.
The porch
Be careful here. Dollar store plastic and foam are not weatherproof — foam pumpkins absorb moisture and go soft, and spray paint on unsealed foam chalks and streaks after a few weeks of sun and rain. On an exposed porch, seal painted pieces with a matte outdoor clear coat and keep paper or fabric under cover. Our fall porch decor ideas cover what holds up outside.
The things worth spending real money on instead
The dollar store handles volume; a few real pieces carry the credibility.
- One heavy vessel. A weighted stoneware vase, $20 to $45, anchors every arrangement you make for the next decade. Dollar store glass is fine wrapped in twine, but it tips under top-heavy stems.
- Real dried botanicals. Real dried wheat or bunny tail grass runs $8 to $18 a bundle. Three real stems among six faux ones lifts the whole arrangement.
- A good tray. Wood, rattan or metal, $15 to $40 — the frame around everything else.
- Textiles you touch. Throws and pillow covers get handled, so cheap synthetic is obvious in a way a painted pumpkin never is.
That mix — a few real pieces carrying a lot of upgraded cheap ones — is the same principle behind farmhouse decor that looks collected rather than bought in one trip.
A realistic afternoon plan
The order that wastes the least time.
- Shop once (45 minutes). More pumpkins than you think you need, in three sizes; stems in odd numbers.
- Prep (15 minutes). Pull off shiny stems, sand seams, wipe everything down so paint sticks.
- Spray (20 minutes of work, 90 of drying). Three light coats, outside or in a garage with the door open.
- Dry brush and wrap (30 minutes) while the sprayed pieces cure.
- Style (30 minutes). Trays first, then heights, then step back six feet — the distance at which matte paint stops being distinguishable from ceramic.
Call it four hours end to end, most of it waiting on paint — and the result reads as autumn without a single glossy orange thing in it.
The same shopping approach carries straight into October. Most of the projects in our DIY Halloween decorations guide are built on dollar-store bases too, with the real cost and time listed for each — useful for spotting the ones that look far more expensive than they were.
Start with the pumpkin trio — matte paint, three sizes, one tray. If you do nothing else on this list, that project alone will change your mind about what dollar store decor can look like. — Quinn


1 Comment