
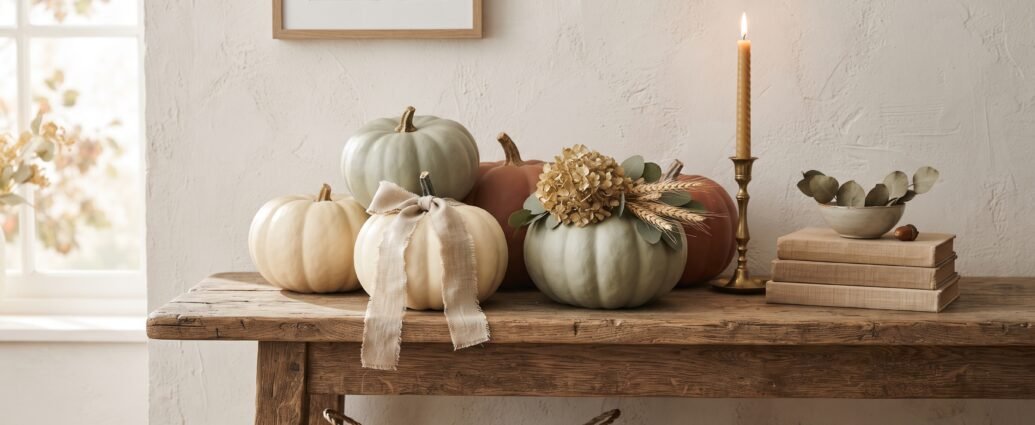
Somewhere around the second week of October, I get some version of the same question every year: why do the pumpkins in magazine photos still look good three weeks in, when mine turned into a caved-in puddle on the porch by day five?
The answer is almost never styling. It’s that nobody cut them open.
A pumpkin’s skin is the only thing standing between the flesh inside and every mold spore in your yard. Leave it intact and an uncarved pumpkin, kept dry and out of direct sun, will usually hold for two to three months indoors and a solid six to ten weeks on a shaded porch. Cut a face into it and you’re looking at three to five days before the edges start to curl, maybe a week or two if nights are cold. That’s the entire argument for no-carve, and it’s a good one: you get the whole season instead of one weekend.
So this is the working list of no carve pumpkin decorating ideas I actually come back to, with the parts most roundups leave out: which paint sticks to which surface, what things genuinely cost, how long you have to wait between coats, and the specific ways these projects fail. The mistake I see most often isn’t a bad idea. It’s a good idea applied to an unprepped, slightly damp pumpkin in the last week of September.
Start here: pick pumpkins that were going to last anyway
No finish will save a pumpkin that was already on its way out when you bought it. Before you think about paint, think about the produce.
- The stem has to be attached and intact. A broken-off stem is an open wound, and it’s the single most common reason a pumpkin fails early. Never carry a pumpkin by the stem, either — that’s usually how it breaks.
- Press gently all over, especially the bottom. Any soft give, any nick in the skin, any weeping spot means mold has a doorway. Put it back.
- Skip the ones sitting in a puddle. Grocery-store bins and farm-stand pallets both collect water. A pumpkin that’s been sitting in it has already started.
- Wipe the outside down before you decorate. A cloth dampened with a diluted bleach solution — roughly a tablespoon of household bleach in a quart of water — kills surface mold spores. Dry it completely afterward. This step alone buys weeks.
- Get it up off the surface. Concrete, wood decking, and stone all hold moisture against the base. Self-adhesive felt furniture pads, a slice of cork, or a thin wood round underneath keeps air moving.
Then there’s variety. If you want the sophisticated, muted palette that reads as designed rather than decorated, half that work is done for you at the farm stand before you open a single can of paint. Look for Jarrahdale (blue-gray), Lumina and Casper (chalk white), Fairytale, also sold as Musquée de Provence (deep tan, heavily lobed), Long Island Cheese (buff, flattened like a wheel of cheese), Porcelain Doll (dusty pink), and Cinderella, sold as Rouge Vif d’Étampes (a deep, brick-toned red-orange rather than a highlighter one). These usually run more than a standard orange field pumpkin — expect roughly $12 to $35 at a farm stand depending on size and region, versus about $4 to $12 for a common carving pumpkin — but you can buy one heirloom as the anchor and surround it with cheap paintable ones.
Paint: the finishes that stick, and the ones that peel
This is where most no-carve projects go wrong, so it’s worth being specific.
Real pumpkins have a waxy cuticle on the skin. It’s there to hold moisture in, and it does an excellent job of also holding paint out. Craft acrylic brushed straight onto an unprepped pumpkin will look fine for a day and then start lifting in sheets, usually right when you move it. The fix takes four minutes: wash with mild dish soap and water, dry it, then wipe the whole surface with a cloth dampened with 70% isopropyl alcohol and let it flash off. That strips the wax. Paint after that grips.
What to use on a real pumpkin. Chalk-finish paint is the most forgiving option by a wide margin. It’s self-priming, it’s loaded with matte solids so it grabs a slick surface, and the flat finish hides the pumpkin’s natural ribbing and blemishes instead of highlighting them. Rust-Oleum Chalked, FolkArt Home Décor Chalk, and the Waverly Inspirations chalk line all behave the same way here. An 8 oz jar runs about $6 to $9 and will cover three to four medium pumpkins in two coats. Standard craft acrylic (Apple Barrel, FolkArt, Craft Smart, roughly $1 to $2 for a 2 oz bottle) also works once you’ve de-waxed, it just needs thinner coats and a gentler hand.
What to use on a faux pumpkin. The plastic and resin craft pumpkins sold at craft stores usually arrive with a glossy sealed coating that paint will scratch off with a fingernail. Scuff the whole surface with a 220-grit sanding sponge until the shine is gone, wipe the dust, then lay down a coat of spray primer. Water-based sprays such as Rust-Oleum Painter’s Touch 2X are the safer default; a solvent-heavy lacquer spray can eat right into polystyrene foam pumpkins and leave craters. If you don’t know what the pumpkin is made of, test on the bottom first and wait ten minutes.
What not to do. Don’t seal a real pumpkin all the way around with a brush-on sealer like Mod Podge. A live pumpkin is still respiring, and trapping that moisture under a plastic film speeds up rot and bubbles your paint from underneath. If you want a sealer, use a light spray matte clear coat and leave the bottom bare so it can breathe.
Dry times, so you can plan an afternoon around it
| Product | Dry to touch | Recoat | Handle / style |
|---|---|---|---|
| Craft acrylic (2 oz bottle) | 20–30 min | 1 hour | Same day; full cure over several days |
| Chalk-finish paint | 20–30 min | 1 hour | Same day |
| Spray paint (2X-type acrylic enamel) | About 20 min | Within 1 hour, or after 48 hours | Handle at 1 hour, fully cured at 24 hours |
| Spray primer | 15–20 min | Topcoat after 30 min | — |
| Matte spray sealer | 15 min | 30 min | 2 hours |
The recoat window on spray paint matters more than people expect. Spraying a second coat at the ninety-minute mark — past the one-hour window but well before the surface has cured — is what causes that wrinkled, alligatored skin. Either go quickly or go tomorrow.
The paint ideas
1. Solid matte, in a color that isn’t orange. The simplest and still the best. Two thin coats of chalk paint in warm white, mushroom taupe, sage, clay, or matte black. Leave the natural stem completely alone — the gnarled dry stem against a flat painted body is the entire look, and painting it is the fastest way to make a pumpkin look like a craft project.
2. Dry-brushed whitewash. Thin white chalk paint with a splash of water, load a stiff brush, wipe most of it off on a rag, then drag it across the ribs so paint catches the high points and the original color shows in the grooves. Best on a green or gray pumpkin. Takes about five minutes per pumpkin and no drying between passes.
3. Color block. Tape a horizontal or diagonal line with painter’s tape, burnish the edge down hard with your thumbnail, paint the section above it, and pull the tape while the paint is still slightly tacky. Pulling tape after it’s fully dry is how you get a torn edge.
4. Dipped. Same technique, but the tape line sits low — the bottom third in matte black under a cream body reads as expensive and takes ten minutes.
5. Faux ceramic relief. Draw a design on the pumpkin with a hot glue gun, let it set hard for about ten minutes, then paint over the whole thing in a single flat color. The raised glue reads as carved pottery. Works far better on faux pumpkins, because hot glue struggles to bond to cool, slightly oily real pumpkin skin.
6. Stone texture. Stir a tablespoon of baking soda into a few ounces of gray or greige paint until it’s gritty, then brush it on thick. Dried, it looks like cast concrete. This one is a genuine dead ringer for the expensive versions and costs about a dollar.
7. Metallic leaf on the stem only. Rub gilding wax or composition leaf onto the stem while the body stays matte. Restrained and quick.
If the paint side of this is where you want to spend your time, our full guide to painted pumpkin ideas goes deeper into designs, palettes, and the technical side of getting a clean finish.
The wrapping and texture ideas
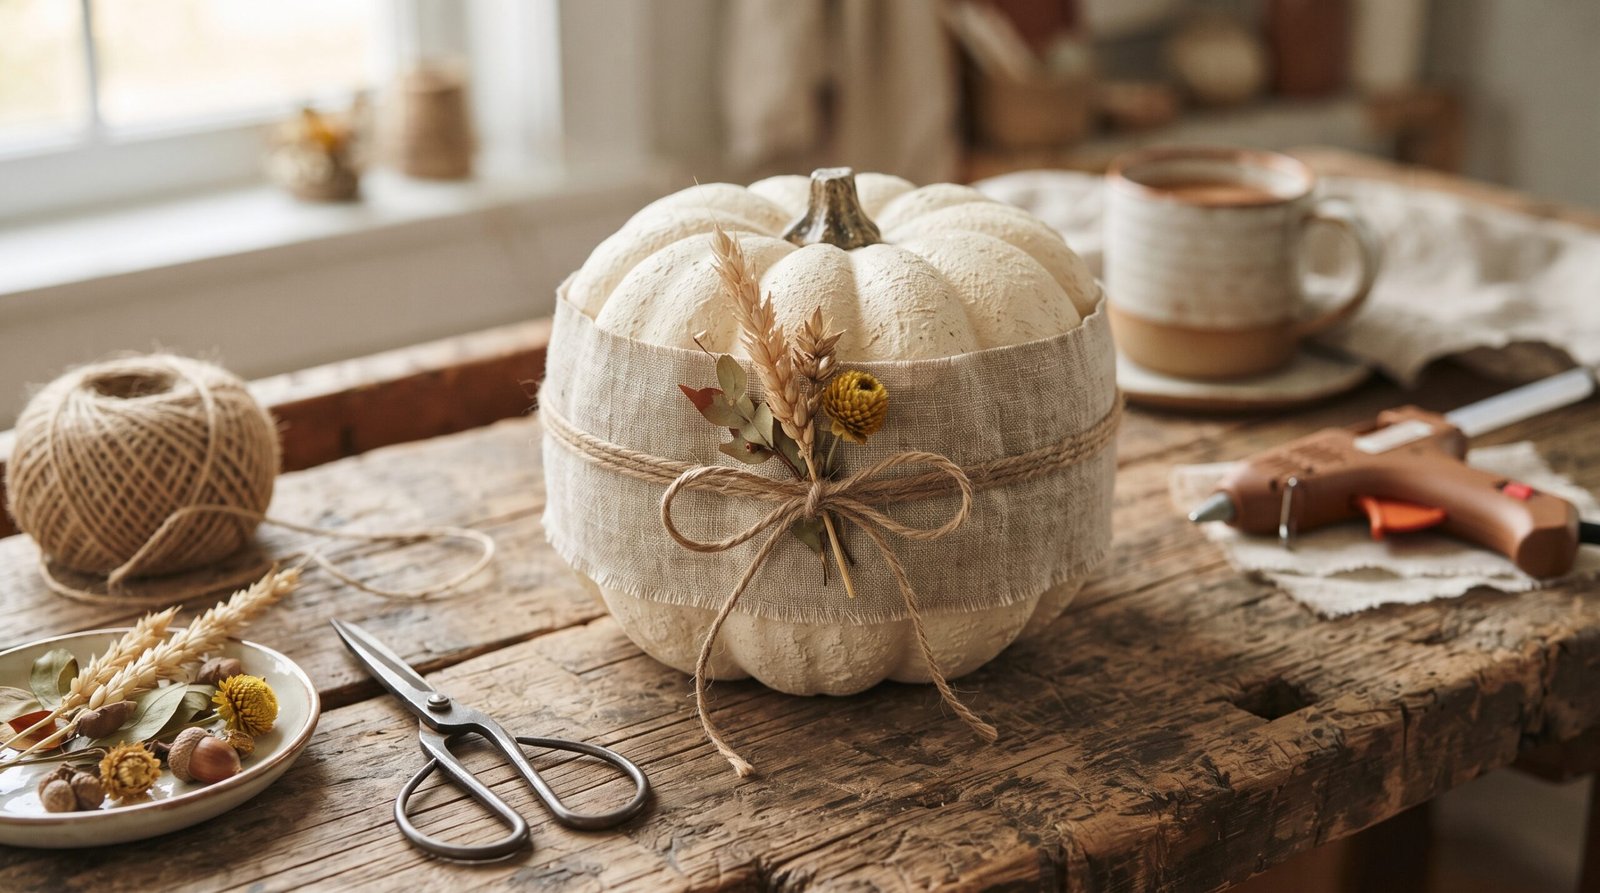
8. Linen or drop-cloth wrap. Cut a strip of natural linen or painter’s canvas wide enough to cover the pumpkin’s midsection, wrap it, and secure it at the back with hot glue or a few straight pins pushed into the flesh. Straight pins are the better choice on a real pumpkin — glue won’t hold.
9. Twine or jute wrap. Wind jute twine tightly from the base up, gluing every few passes. A 200-foot roll runs about $4 and will cover two or three small pumpkins completely.
10. Sweater pumpkins. Cut the sleeve off a thrifted wool or cable-knit sweater, slide it over a small pumpkin, gather the top around the stem, and cinch with twine. A $3 thrift store sweater yields two sleeve pumpkins plus enough body fabric for a third. Keep these indoors — knit fabric wicks and holds damp against real pumpkin skin.
11. Velvet, without sewing. If you want the velvet pumpkin look without the $25-plus retail price, you don’t need a sewing machine at all. Our tutorial on no-sew fabric pumpkins walks through it step by step, and those keep from one year to the next.
12. Upholstery tacks. Press brass or antique-bronze upholstery tacks into the skin in a grid, spiral, or along the ribs. They push into a real pumpkin with thumb pressure alone. A pack of 100 costs around $6 and this is the one no-carve idea that consistently gets asked about.
13. Ribbon collar. One wide band of black grosgrain or velvet ribbon tied at the stem, nothing else. Two minutes.
14. Moss and lichen. Glue sheet moss or reindeer moss to the top third of a white or pale pumpkin so it looks like it’s been sitting in a damp garden for a season. Preserved moss from a craft store runs about $6 a bag.
15. Decoupage. Paper napkins separated down to the printed top ply, applied with a thin matte medium. Beautiful on faux pumpkins. On real ones, keep it to a small panel rather than the whole surface, for the breathing reason above.
The botanical and styling ideas
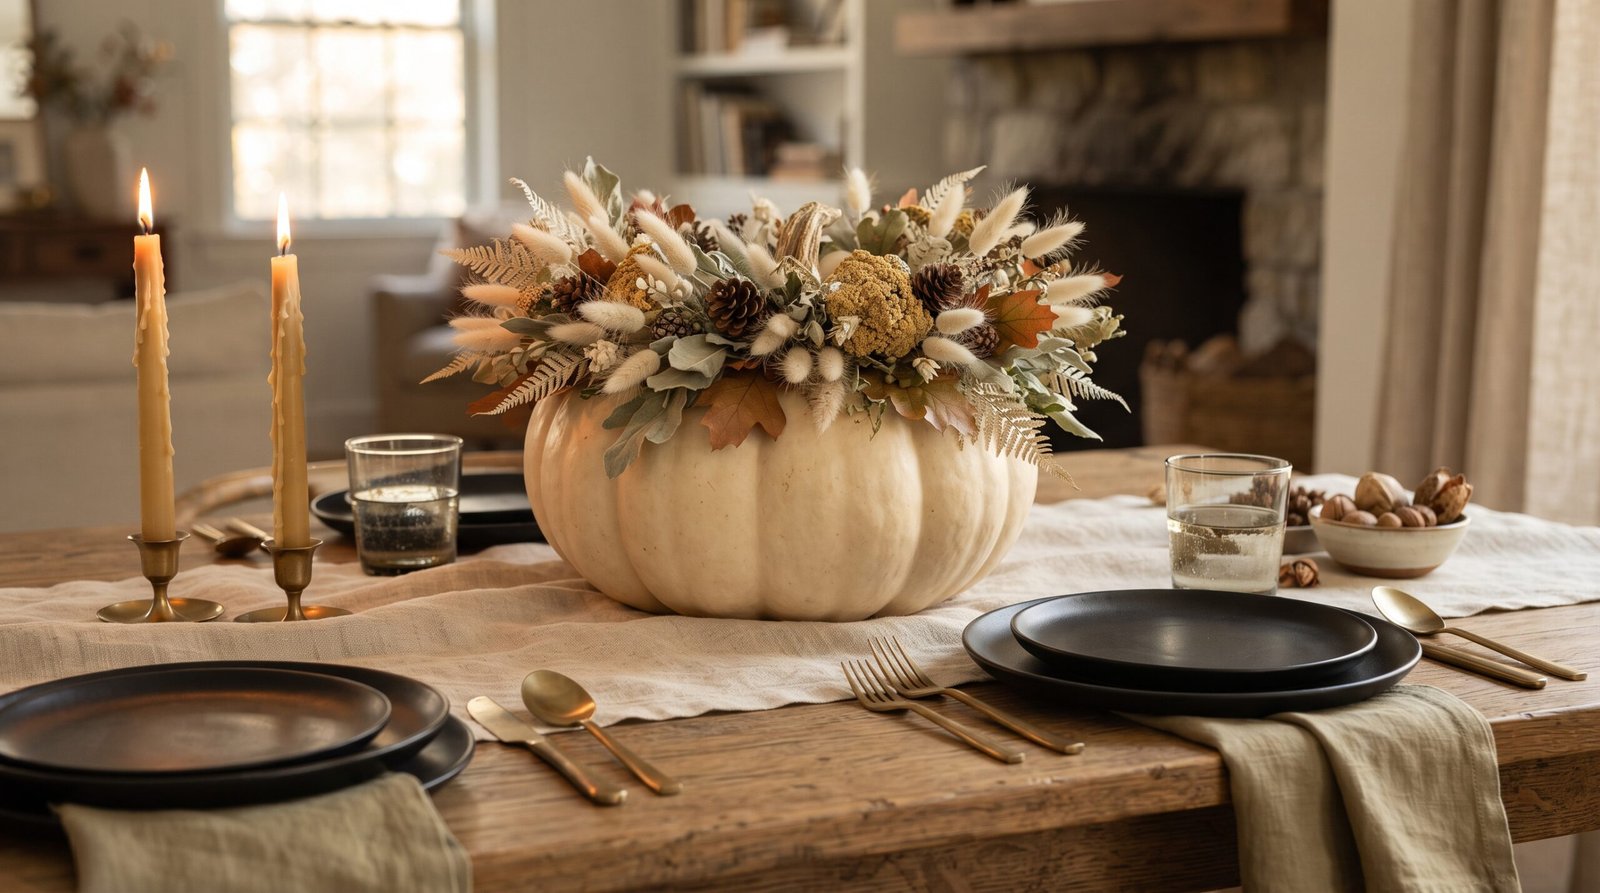
16. Dried floral crown. This is the one that photographs best and costs the least if you forage. Build a ring around the stem from dried hydrangea heads, bunny tail grass, yarrow, wheat, preserved oak leaves, and small pinecones. Attach with a hot glue gun to a small collar of cardboard or a section of grapevine wreath first, then sit the finished collar over the stem — that way nothing is glued to the pumpkin itself and you can lift it off and reuse it next year.
17. Eucalyptus and olive branch drape. Lay a few stems across a cluster of painted pumpkins rather than attaching anything. Reads intentional, takes thirty seconds, removes in one.
18. Stacked topiary. Three graduated pumpkins, largest to smallest, stacked with a wood dowel or a length of rebar driven down through the centers. Note that this one does breach the skin, so it’s a shorter-lived display — use faux pumpkins if you want it up all season.
19. Wheat and grass bundles. A tight bundle of dried wheat tied at the base of a group of pumpkins does more for a porch than another five pumpkins would.
20. House numbers. Adhesive vinyl numbers or a stencil and a stiff brush, in matte black on a white pumpkin, by the front door.
21. Group in odd numbers, vary the scale hard. The most common styling error I see is five pumpkins that are all roughly the same size, spaced evenly. Groups of three or five with a real size jump between them — a large, a medium, and two small — look composed. Even spacing looks like a display at a garden center.
What a project actually costs
Rough real-world numbers, so you can decide before you’re standing in the craft aisle:
| Project | Materials | Approximate cost | Time |
|---|---|---|---|
| Three matte painted pumpkins | Chalk paint (1 jar), brush, alcohol wipe-down | $8–$12 plus pumpkins | 45 min plus dry time |
| Stone-texture pair | Gray paint, baking soda, chip brush | $6–$9 | 30 min |
| Upholstery tack pumpkin | 100-ct tack pack | About $6 | 20 min |
| Sweater pumpkins (2–3) | Thrifted sweater, twine | $4–$6 | 15 min |
| Dried floral collar | Dried stems, glue sticks, cardboard ring | $10–$20 (free if foraged) | 30 min |
| Spray-painted faux set of 5 | Primer + color spray, sanding sponge | $14–$20 plus pumpkins | 1 hour over two sessions |
Five ways no-carve pumpkins go wrong
- Paint peels off in sheets. The wax wasn’t removed, or the pumpkin was still damp when you painted. Wipe with 70% isopropyl alcohol and let it dry completely first.
- Hot glue pops off a real pumpkin. The cool, slightly oily skin never bonds. Use straight pins, corsage pins, or upholstery tacks instead, or glue your embellishment to a removable collar.
- The pumpkin collapses from the bottom. It’s sitting directly on damp concrete or decking. Get it up on felt pads or a wood round.
- Mold blooms under the paint. Either it was sealed all the way around with a brush-on medium, or surface spores were never wiped down. Bleach-wipe first, spray-seal at most, leave the base bare.
- Everything turns to mush after one cold night. A hard frost ruptures the cell walls and the pumpkin liquefies on thaw. If a freeze is forecast, bring real pumpkins inside overnight or accept that the display is over.
Real, faux, or both
Here’s the honest split. Real pumpkins look better — the color variation, the weight, the stems, none of it is convincingly faked at the low end. Faux pumpkins survive being stored in a bin and pulled out for a decade. The version that works best in most homes is a mix: real pumpkins for the exterior display where they’re going to weather anyway, faux for anything you’re putting real effort into, especially wrapped, sewn, or decoupaged pieces you’d be annoyed to throw away in November.
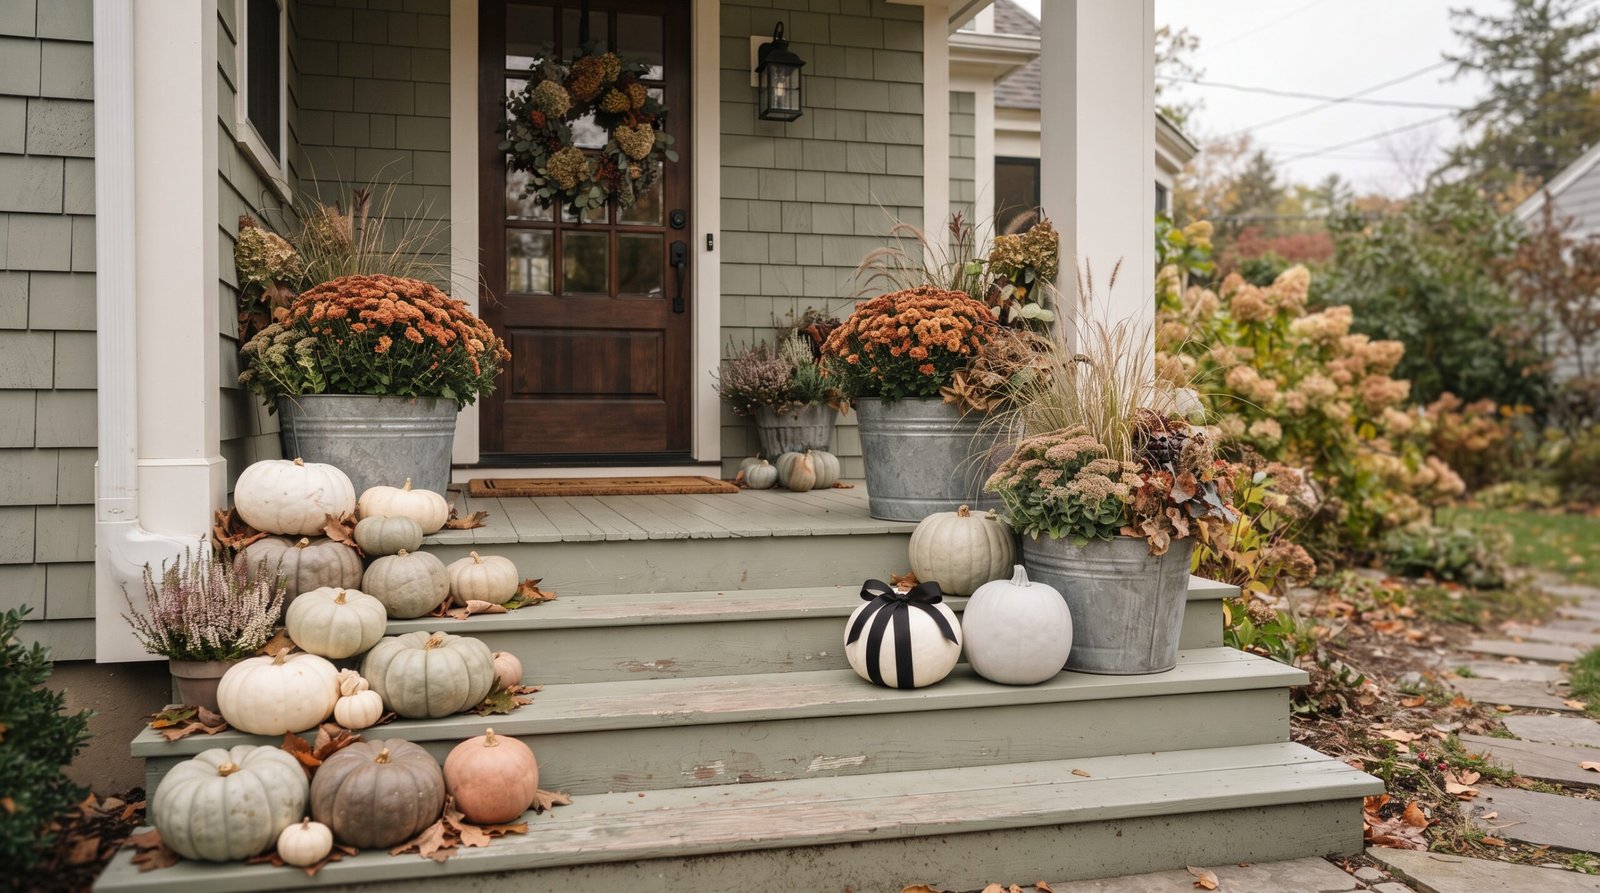
If you’re decorating a porch or a set of steps, our guide to transitioning outdoor spaces to autumn covers the planters, textiles, and lighting that make a pumpkin grouping look like part of a plan rather than the whole plan.
A timeline that actually works
Most people start too late and then wonder why nothing survives to Halloween. Here’s the sequencing I’d use:
- Late August and September: do all your faux pumpkin projects. Painting, wrapping, decoupage, sweater pumpkins. They don’t rot, so there’s no reason to wait, and it clears your October evenings.
- Late September: buy heirloom and specialty real pumpkins. This is when farm stands have the widest variety, and the good ones sell out well before the last week of October.
- First week of October: buy the standard pumpkins you plan to paint, prep and paint them within a day or two of buying, and set up the display. An uncarved painted pumpkin set up in the first week of October should comfortably reach Halloween, and often Thanksgiving.
- Any time: the botanical and dried elements. Dried wheat, grasses, pods, and preserved leaves are the pieces that carry a display from September through November without changing anything.
Where to take it from here
Pumpkins are the anchor, but they’re not the whole room. If you want the rest of the house to catch up, layering textures for a cozy fall home covers the textiles and materials that do the heavy lifting, and cozy fall table settings puts these pumpkins to work as centerpieces without them taking over the table. For a matching front door, our walkthrough on fall wreaths made with natural decor uses the same dried materials as the floral collar above, so one shopping trip covers both. If you want to pull the palette into the walls rather than just the accessories, cozy autumn paint colors is the place to start, and there are more variations in our earlier collection of pumpkin decor ideas beyond carving.
Working with a tight budget? Nearly every technique on this list can be done with craft-store and dollar-store supplies — our guide to Dollar Tree fall decor breaks down exactly which categories are worth buying cheap and which ones are a waste of $1.25.
Common questions
How long do no carve pumpkins last?
An uncarved pumpkin with an intact stem, kept dry and off damp surfaces, typically holds two to three months indoors and six to ten weeks outdoors in mild weather. Heat above the mid-70s, direct sun, standing moisture, and hard frost all shorten that considerably. Carved pumpkins, by contrast, usually last three to five days.
What kind of paint sticks to a real pumpkin?
Chalk-finish paint grips best because it’s self-priming and heavily pigmented. Craft acrylic and spray paint both work as well, but only after you’ve washed the pumpkin and wiped it down with 70% isopropyl alcohol to strip the waxy cuticle. Skip that step and any paint will peel.
Do I need to seal painted pumpkins?
Not on a real pumpkin, and definitely not with a brush-on sealer, which traps moisture and speeds rot. A light matte spray clear coat is fine if you leave the bottom unsealed. Faux pumpkins can be sealed however you like.
Will hot glue work on a real pumpkin?
Usually not for long. The cool, faintly waxy skin prevents a good bond and pieces pop off within days. Straight pins, corsage pins, and upholstery tacks hold far better, or build your embellishment on a removable cardboard collar that simply sits over the stem.
Should I use real or faux pumpkins?
Use real for anything you’re happy to compost in November and faux for anything you’re investing real time in. Painted, wrapped, and decoupaged faux pumpkins store in a bin and come back out for years, which changes the math on how much effort a project is worth.
Where to take it next
Pumpkins are usually the first thing on the list and rarely the last. If you’re building out the rest of the season, our DIY Halloween decorations guide runs through 18 projects with the honest cost and time on each, so you can tell the twenty-minute ones from the all-Saturday ones before you start. And if any of these pumpkins are headed for an uncovered step, Halloween porch decor covers what holds up outdoors and what turns to mush by mid-October.
Pick two techniques from this list, not ten. A grouping of five pumpkins in three related finishes will look more considered than twenty-one different ideas fighting each other on the same set of steps. — Quinn


3 Comments