
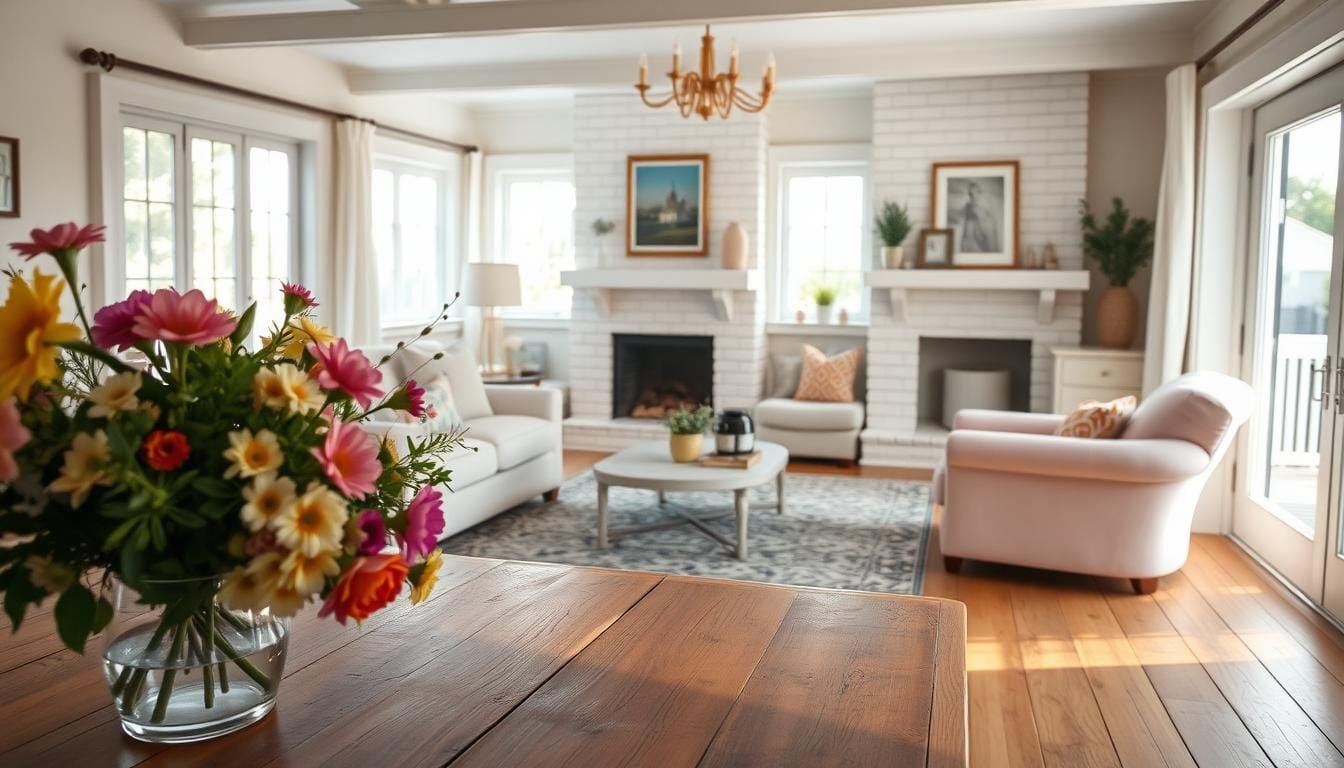
When summer rolls around, most of us want the house to feel lighter without spending much to get there. A quart of paint is the cheapest way we know to change how a room feels, and it works on far more than walls.
These DIY paint projects are the ones we come back to every year: a chair that needed a second life, a front door gone chalky, a stack of thrifted jars waiting for a color. Most take an afternoon. A few take fifteen minutes.
Below you’ll find what to buy, how much you actually need, and the order to work in so nothing dries tacky or peels by August. Start with one project and go from there.
What You Need Before You Start
Nearly every project on this page runs on the same short list, so you can buy once and use it all summer.
- Paint. Sample pots (2 oz, usually $4–$6) will cover a chair seat, a set of stair risers or a dozen jars. Leftovers from a past project work too, and most hardware stores sell mistinted gallons for a few dollars if you’re flexible on color.
- Primer. A small can of shellac-based or bonding primer for anything slick: laminate, metal, glossy wood.
- Sandpaper. 120 grit to knock down the shine, 220 grit between coats.
- Painter’s tape and a drop cloth. An old flat sheet or a flattened cardboard box does the same job for free.
- A 2-inch angled brush and a small foam roller. One good brush outlasts a bag of cheap ones.
- Clear topcoat (water-based polycrylic) for anything you touch every day.
The order almost never changes: clean, sand, prime, two thin coats, topcoat. Thin coats dry faster and hide brush marks better than one heavy coat, which matters most in humid summer air.
Pick Your Summer Paint Colors First
Color does most of the work here, so it’s worth ten minutes of thought before you open a can. Summer light skews warm and pushes colors slightly yellow, which is why a swatch that looked crisp under store fluorescents can read muddy on your wall.
Three palettes that hold up all season
- Coastal blues — soft slate through denim. Calming in bedrooms and bathrooms, and they read cool even when the room isn’t.
- Sunny yellows — buttery and pale rather than neon. Best on small things: a stool, a planter, the inside of a bookcase.
- Botanical greens — sage, olive, fern. These sit well next to wood and houseplants, so they rarely fight what you already own.
How to test a color without wasting money
Paint two coats onto a piece of poster board instead of straight onto the wall, then move the board around the room across a full day. Check it in morning light, in mid-afternoon glare, and under your lamps at night. A $5 sample and a piece of card will save you a $40 mistake.
Light, airy shades bounce light around and make a small room feel more open. Deeper, saturated colors do the opposite, which is exactly what you want on one accent piece or a single wall. If you can’t decide, go lighter on the big surfaces and bolder on the small ones.
Quick Furniture Makeovers with Paint
Painting a piece you already own is the fastest way to change how a room reads, and it costs a fraction of replacing it. A dining chair takes about one sample pot; a small side table takes two.
Painting old chairs and tables, step by step
- Wipe the piece down with a degreaser or a drop of dish soap in warm water, then let it dry completely. Paint won’t stick over hand oils.
- Scuff every surface with 120-grit paper until the shine is gone. You’re not stripping it, only giving the primer something to grab.
- Vacuum the dust, then wipe with a damp cloth and let it dry.
- Prime. Wood, metal and plastic each grip differently, so use a bonding primer rated for your material. The label matters more than the brand, and the same goes for wooden furniture that has been waxed or oiled.
- Two thin coats of paint, about two hours apart. Brush the flat areas, then lay off in one direction so the strokes stay even.
- Topcoat anything that gets handled: seats, arms, tabletops.
Getting a distressed, lived-in finish
A worn edge suits summer furniture because it keeps a bright color from looking brand new and precious. Paint your base coat and let it cure overnight, then take 220-grit paper to the spots that would naturally rub: corners, edges, the area around handles and drawer pulls. Work slowly and step back often, because you can always sand more but you can’t put it back. Seal with a clear coat so the exposed wood doesn’t soak up stains.
Paint One Statement Wall
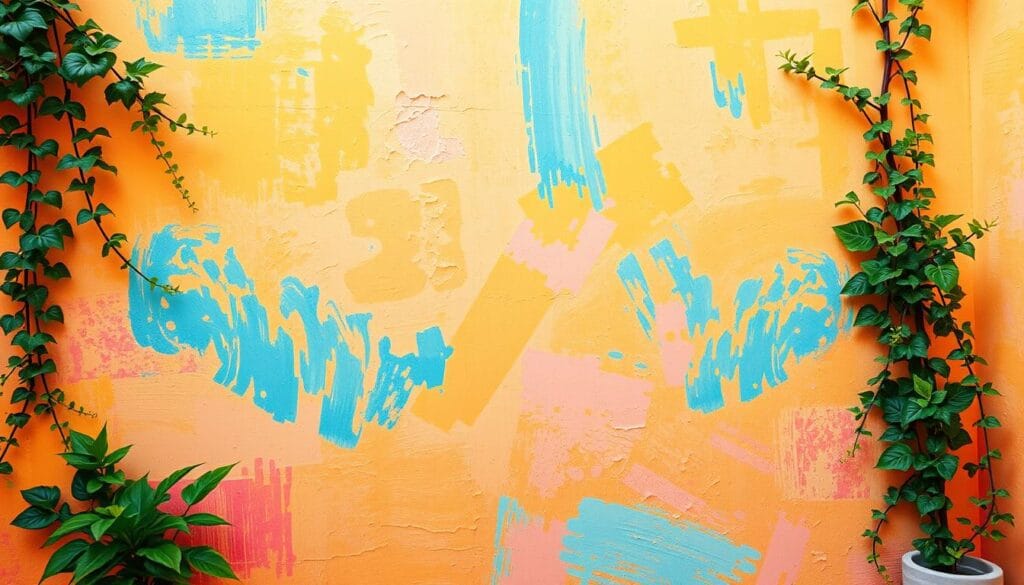
One painted wall pulls a room together faster than four painted walls, and it uses about a quarter of the paint. Pick the wall your eye lands on first when you walk in, usually the one behind the bed or the sofa. Skip walls broken up by doors and windows unless you want the pattern chopped into pieces.
Geometric patterns with painter’s tape
Sketch the shapes on paper first, then mark your lines on the wall with a pencil and a level. Lay down good painter’s tape and press the edges hard with a credit card. Here’s the step most people skip: brush a thin coat of the original wall color over the tape line and let it dry. That coat seals the edge, so when your new color bleeds it bleeds into the color already there. Pull the tape while the last coat is still slightly wet.
Floral and nature-inspired designs
Stencils give you repeatable shapes if freehand work makes you nervous, and a $12 stencil plus leftover paint can cover a whole wall. Load the brush lightly and dab straight down rather than stroking sideways, or the paint creeps under the edges. If you’d rather work freehand, practice the shape a few times on cardboard until your hand knows it.
Whatever you paint, let the rest of the room stay quiet. A patterned wall works because everything around it is calm, so keep the bedding, curtains and art fairly plain and let the wall carry the room.
Repaint the Front Door
A front door takes one quart and half a Saturday, and it changes how the whole front of the house reads. It’s also the one exterior project that doesn’t need a ladder.
Colors that hold up outside
Coral, teal, deep green and near-black all wear well in summer sun. Hold your sample against the siding, the trim and the roof at the same time, because a door color has to live with all three. Darker colors absorb more heat, so on a south-facing door choose a paint rated for high surface temperatures or the finish will soften and mark.
Getting a finish that looks professional
- Pick a mild, dry day under 85°F. Paint skins over too fast in direct afternoon heat and shows lap marks.
- Take the hardware off rather than taping around it. Ten minutes with a screwdriver saves an hour of fiddly cutting in.
- Wash the door with soapy water, rinse, and sand lightly with 220 grit once it’s dry.
- Prime any bare or patched spots.
- Roll the flat panels with a small foam roller and brush the recesses, working from the inset panels outward toward the edges.
- Two thin coats, about four hours apart. Leave the door propped open until the paint is dry to the touch or it will stick to the frame.
Once the door is done, the entry usually wants a little attention too. These stylish ways to decorate your home cost very little and sit well next to fresh paint.
Easy DIY Paint Projects, Sorted by How Much Time You Have
Not every paint project needs a free weekend. Matching the project to the time you actually have is the difference between a finished room and a half-painted chair sitting in the garage until October.
Fifteen minutes or less
- Paint the inside back of a bookcase or open shelf in an accent color.
- Give a terracotta pot two coats of leftover exterior paint.
- Paint a plain wooden picture frame to match your summer palette.
- Touch up scuffed baseboards with a small brush and the trim paint already in the closet.
- Color the page edges of a stack of old hardbacks for a shelf accent.
An afternoon
- One dining chair, start to finish.
- A set of stair risers.
- A bathroom cabinet door, plus its hardware.
- Six mason jars for the porch table.
A full weekend
- A statement wall, including tape work and two coats.
- The front door, inside and out.
- A dresser or console, with primer and topcoat.
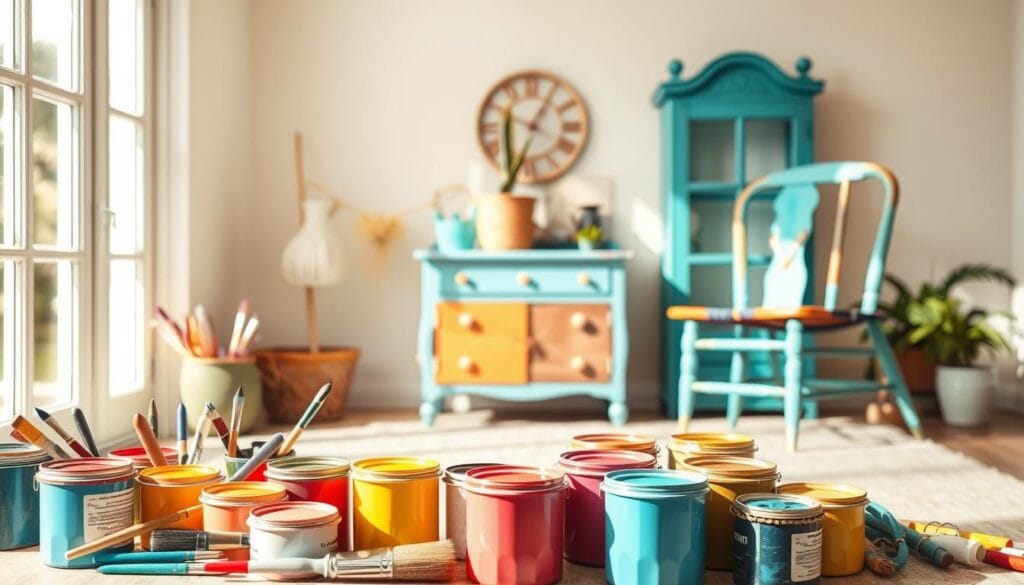
Two habits keep the whole thing from turning into a mess. Set up on a covered surface before you open anything, and wrap a loaded brush in a plastic bag between coats instead of washing it out every time. If you’re spreading projects across several weekends, group the ones that share a color so a single sample pot stretches further.
Painted Accents for the Dining Area
The dining room takes on a different job in summer: longer dinners, more people, doors open to the yard. Painted accents are a cheap way to make it feel ready for that.
Repainting dining chairs
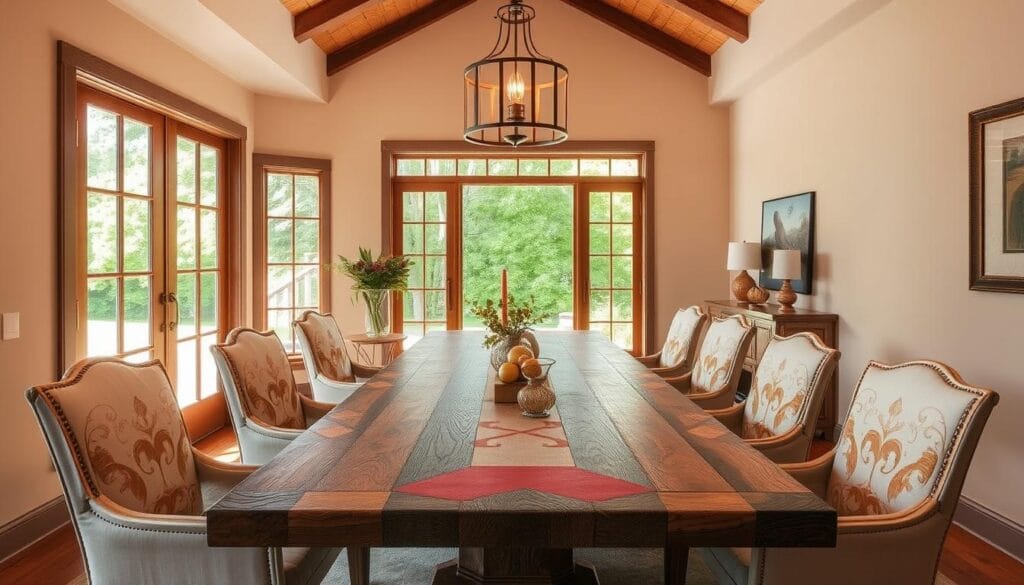
Chairs are the highest-impact piece in the room because there are several of them, so one color repeated reads as a decision rather than an accident. Painting them all the same shade looks tidy. Painting them in graduated tones of one color looks deliberate without asking you to match anything exactly.
- Match the paint to the material: bonding primer first on metal and laminate, a light sand on raw wood.
- Turn each chair upside down and paint the underside and legs first, then flip it and do the top. You’ll miss fewer spots that way.
- Distress the edges lightly if you want the chairs to look like they’ve been in the family a while.
- Finish seats and armrests with a clear topcoat. Chairs get handled more than anything else in the house.
A painted centerpiece
A painted wooden board, a run of bottles or one wide bowl gives the table a focal point without costing much. Keep it low enough that people can see across it, roughly under 12 inches, and choose colors you’d happily eat next to: warm terracotta, soft green, cream. If you paint a plain board, seal it so spills wipe off instead of soaking in.
Tie the painted pieces to your napkins or a runner and the room reads as one thought instead of several separate ones. None of it has to be permanent, which is the whole point of paint.
Paint Small Decorative Items
Small objects are where paint pays off most, because a $5 pot and a spoonful of color can change the feel of a whole shelf. They’re also a low-stakes place to test a shade before you commit it to a wall.
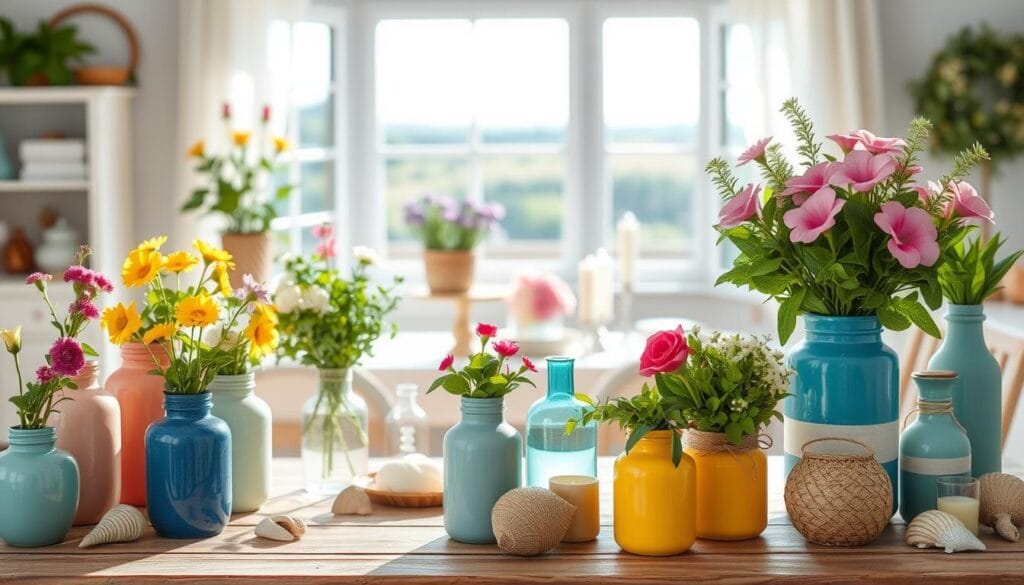
Plain vases and planters
Terracotta, glass and ceramic each want different treatment. Terracotta is porous and drinks the first coat, so seal it inside and out if a live plant is going to be watered in it. Glass needs either an enamel made for glass or a light etching primer. Glazed ceramic needs a scuff sand and a bonding primer, or the paint chips off at the first knock.
Simple motifs work best at this scale: a color-dipped bottom third, one wide horizontal band, or loose leaf shapes in two greens.
Custom summer wall art
You don’t need to be able to draw. Tape off three wide horizontal bands on a canvas and fill each with a shade from your palette, or paint one large shape in a single color against a cream ground. A blank 16×20 canvas runs about $6, and leftover wall paint works fine on it. Hang it slightly lower than feels right, around eye level when you’re seated, and it will look considered rather than stranded near the ceiling.
Refresh Outdoor Furniture and Spaces
Sun and rain are hard on outdoor pieces, and repainting them each summer is usually cheaper and quicker than replacing them.
Paint that survives the weather
Use an exterior-grade acrylic or latex, and on metal, a rust-inhibiting primer underneath. Spray paint made for outdoor furniture works well on wicker and wrought iron where a brush can’t reach. Two thin coats last far longer than one heavy one, and painting in the shade rather than direct sun keeps the finish from drying before it has a chance to level out.
Choosing an outdoor color scheme
Look at what’s already there: the siding, the fence, the plants. Earth tones, blues and greens sit comfortably against foliage, which is why they rarely look dated outside. Pick one main color for the big pieces and one accent for the small ones, then stop. If you’re working with mismatched hand-me-down furniture, painting everything a single color is the fastest way to make it look like a set.
Add Color to Your Staircase
Stair risers are one of the few surfaces in a house that almost nobody paints, which is exactly why doing it makes such a difference. They’re also small, flat and easy to reach.
Painted risers
Vacuum the treads, sand the risers lightly, then tape along the top of each tread and down both sides. Two coats of a durable enamel is enough, and a set of thirteen risers takes roughly a quart. Solid color is the easiest place to start. A repeated pattern reads best when the design is simple enough to repeat by eye without measuring every time.
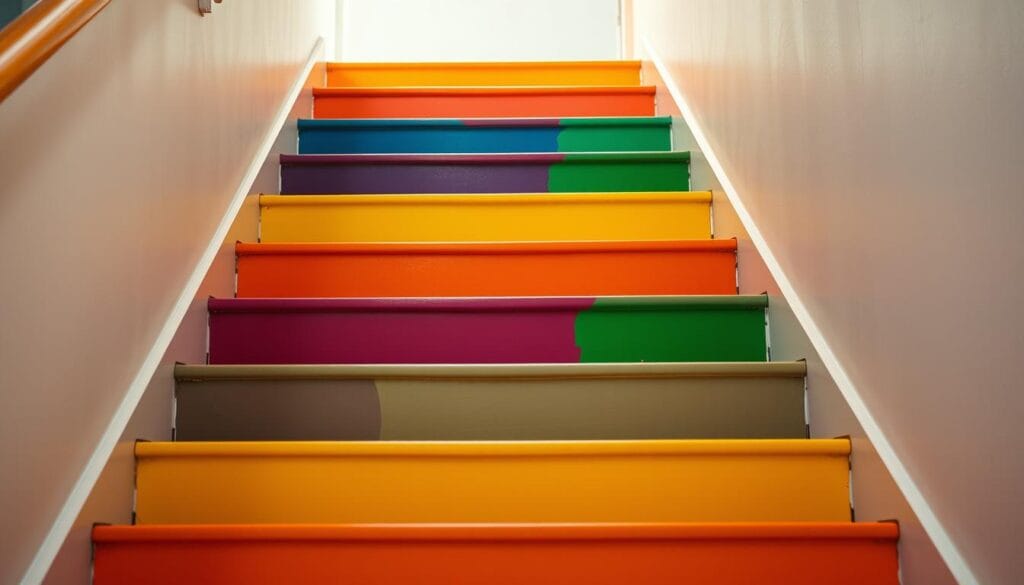
A gradient up the stairs
Start with your darkest color at the bottom and add a little white for each riser as you climb. Mix all the shades before you begin and label the cups, because matching a mid-tone afterward is nearly impossible. Blues and greens suit summer and hide scuffs better than pale neutrals. Leave the treads bare or clear-coated so the color is the thing you notice.
| Technique | Description | Effect |
|---|---|---|
| Solid Color | Painting stair risers with a single color | Uniform look |
| Gradient Effect | Transitioning between different shades of a color | Dynamic, eye-catching |
| Geometric Pattern | Creating patterns using geometric shapes | Modern, stylish |
Freshen Up the Bathroom
Bathrooms are small, which makes them the cheapest room in the house to repaint and the fastest to finish. They’re also damp, so the paint you pick matters more here than almost anywhere else.
Cabinet refresh in a weekend
- Take the doors off and label the hinges with masking tape so everything goes back where it came from.
- Clean with a degreaser, then sand with 220 grit until the sheen is gone.
- Prime with a shellac-based primer. It blocks old water stains and grips the existing finish.
- Two thin coats of a moisture-resistant satin or semi-gloss enamel, with a light sand between them.
- Let the doors cure a full 48 hours before rehanging, or the paint will stick to the frame and peel when you open them.
Soft white keeps a small bathroom feeling open. A deep green or navy on the vanity turns it into the most interesting thing in the room. Either way, a few dollars of new hardware finishes the job. For more small projects in the same spirit, see our weekend DIY ideas to refresh any room.
Painted bath accessories
A soap dish, a tumbler, a small tray and a wastebasket painted in one color will pull a mismatched bathroom together for almost nothing. Use an enamel rated for damp rooms, seal anything that sits in standing water, and hold the palette to two colors so the shelf doesn’t get busy.
DIY Painted Summer Centerpieces and Decor
These are the projects to do with someone else at the kitchen table, and they use up the last inch in every sample pot.
Mason jars and glassware
For a solid, opaque finish, pour a little acrylic craft paint inside the jar, swirl it until the walls are coated, then set it upside down on wax paper to drain overnight. For a frosted, translucent look, mix your paint with a clear glass medium and brush thin coats onto the outside. If the paint label says it’s oven-curable, bake the finished jars at 350°F for 30 minutes and they’ll survive being washed. Painted jars hold flowers, tea lights, or a fistful of forks for an outdoor table.
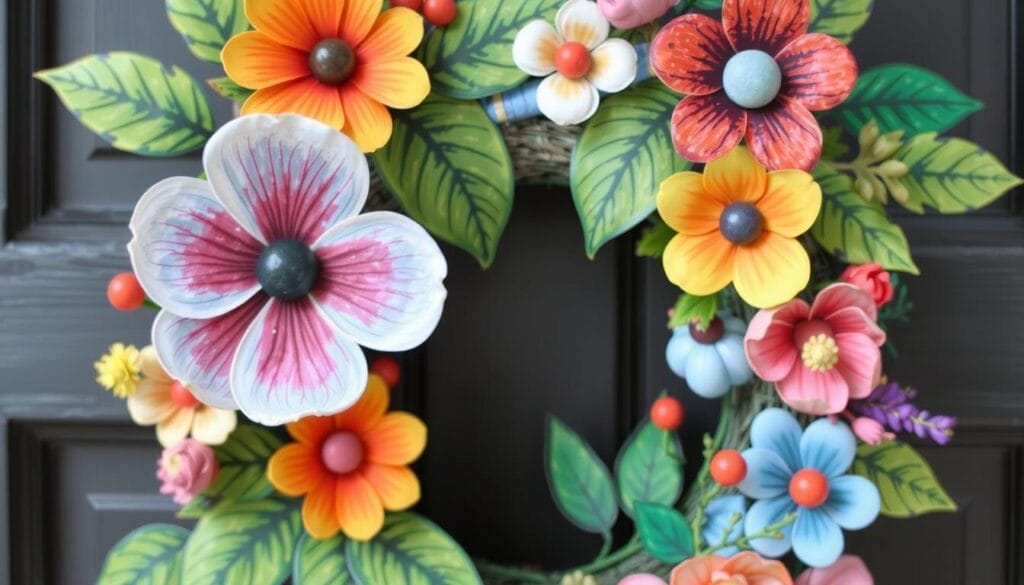
Painted summer wreaths
Start with a plain grapevine or foam form, which run $5 to $8 at any craft store, or reuse one from a past season. Paint the form itself a single color first so the gaps don’t read as bare patches. Then add painted wooden shapes, dried leaves or fabric scraps. For the Fourth of July, a cream base with red and blue accents reads patriotic without going literal.
Rearrange and Repaint Together
Paint changes the color of a room. Moving the furniture changes how it works. Doing both in the same weekend is why some rooms feel genuinely different afterward and others feel only repainted.
Pairing fresh paint with a new layout
Before you push anything back against the wall, think about how you actually use the room in summer. Do the windows need to be clear for the breeze? Is the TV wall still the natural focus now that you’re outside more? Plan the layout first, then paint the walls that layout puts on show.
- Float the sofa off the wall if the room allows it. Even eight inches makes the arrangement feel deliberate.
- Use color blocking to mark out zones in an open-plan room instead of buying a divider.
- Make a rough mood board first, on paper or on your phone, so you buy one right can of paint instead of three near-misses.
Defining zones with color blocking
Painting two areas of one open room in different colors gives each a job without any construction. Keep both colors in the same family so the room still reads as one space, and let the quieter color take the larger area.
| Area | Color | Purpose |
|---|---|---|
| Reading Nook | Bold Red | Cozy Reading Space |
| Main Seating | Soft Blue | Relaxing Conversation Area |
Live with the new arrangement for a week before you decide it’s wrong. Rooms almost always feel strange for the first few days, and the ones that still feel strange on day seven are the ones worth changing.
Start With One Project
Paint is the most forgiving material in the house. If the color is wrong, you paint over it. If the brushwork is uneven, another thin coat covers it. That’s why we keep coming back to it when a room needs to feel different and the budget doesn’t stretch to new furniture.
Pick the smallest thing on this list that’s been quietly bothering you and do that one first: a single chair, the back of a shelf, the pot by the front step. Finishing something small is what makes the front door feel manageable next weekend. None of it has to happen at once, and the house is allowed to be a work in progress all summer.


1 Comment