Do you ever wander into someone’s basement and feel that subtle pang of envy — not over their square footage, but over the fact that they’ve carved out the most inviting little bar you’ve ever seen? There’s something about a well-designed home bar that signals intentionality, like this person decided to build a life worth savoring.
In this post, we’re diving deep into everything you need to know to build or style your own basement bar — from the very first decision (wet bar or dry?) all the way through five complete design concepts you can steal right now. Whether you’re working with a tight budget or ready to go all in, you’ll find ideas that feel genuinely doable and genuinely beautiful.
Key Takeaways
- Choosing between a wet bar and dry bar is your first and most important structural decision — it shapes the entire project scope.
- Countertop material (butcher block, quartz, or concrete) sets the tone for both aesthetics and maintenance expectations.
- Cabinet configuration, under-counter appliances, and backsplash tile are where personality really enters the design.
- Lighting — especially pendant placement — can single-handedly elevate a basic bar into something that feels designed.
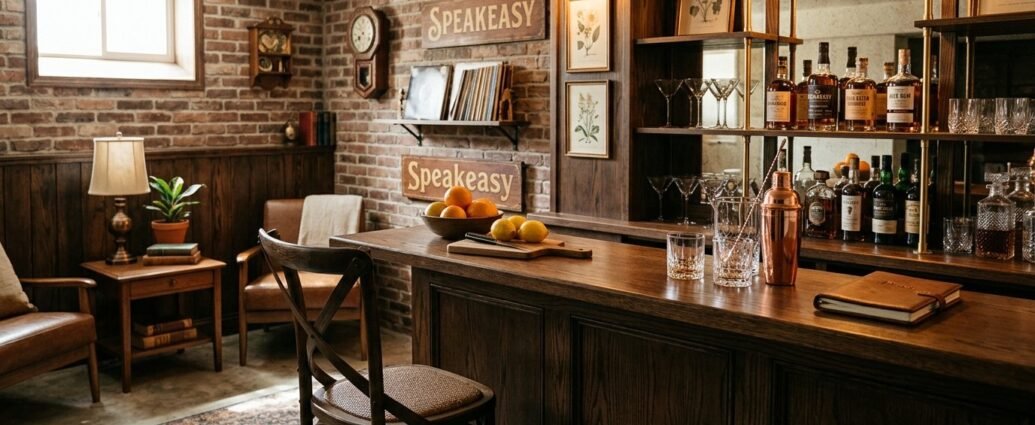
- Five design concepts from industrial loft to Art Deco glamour give you a complete creative roadmap to follow.
- Bar stool selection is the finishing touch that ties proportions, comfort, and style together seamlessly.
Wet Bar vs. Dry Bar: The First Decision That Shapes Everything
Before you pick a single tile or countertop slab, you need to settle this one foundational question: are you building a wet bar (with plumbing) or a dry bar (without)? It sounds simple, but this choice has cascading effects on your budget, timeline, and the kind of entertaining experience you’ll be able to create.
What Makes a Wet Bar Basement Worth the Investment
A wet bar includes a sink with running water, which means you’ll need to tap into your home’s existing plumbing lines — a project that typically requires a licensed plumber. It adds real functional value: rinsing glasses, filling ice buckets, and cleaning up without trekking upstairs all make hosting significantly easier.
The cost varies widely, but roughing in new drain and supply lines in a finished basement can run anywhere from $500 to $2,500 depending on proximity to existing pipes and local labor rates. If your basement already has a bathroom nearby, the lines are often close enough to keep costs lower.
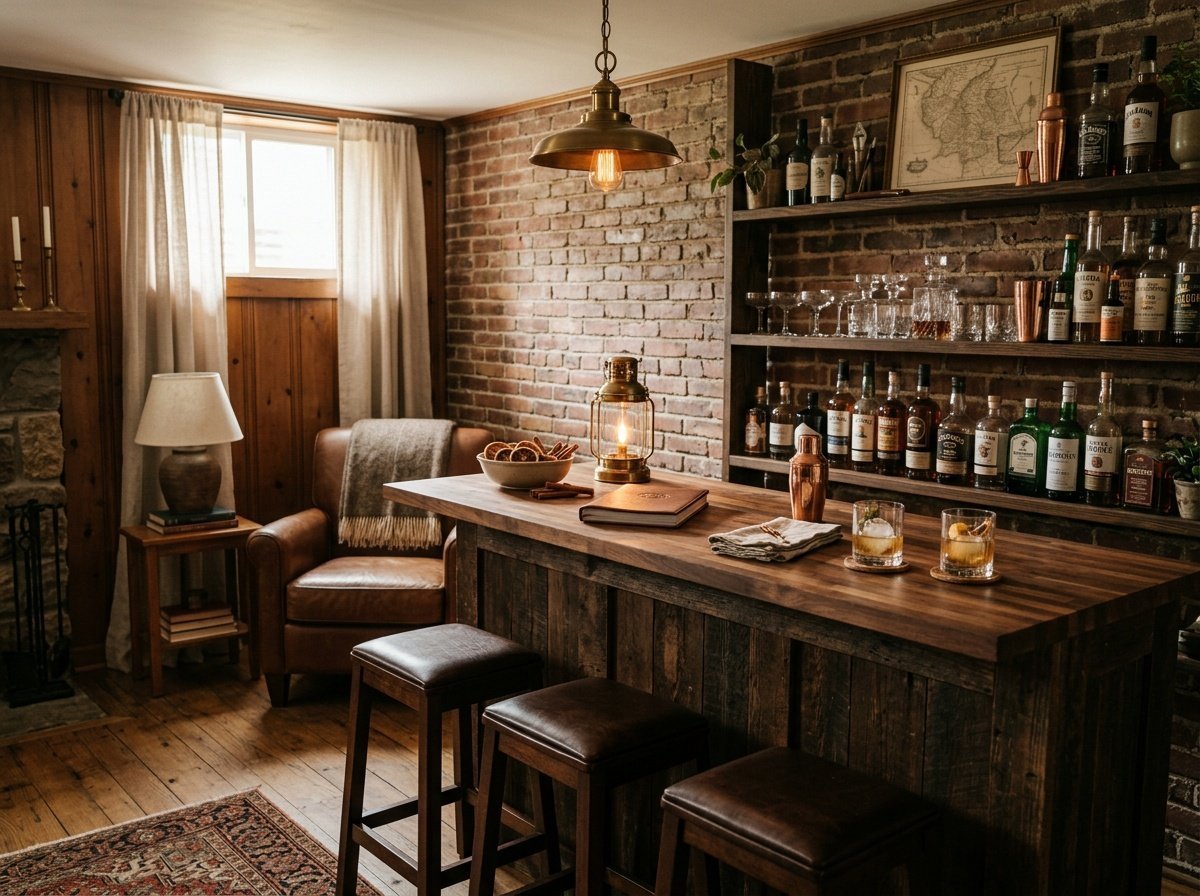
When a Dry Bar Is Actually the Smarter Choice
A dry bar skips the plumbing entirely, relying instead on a small beverage fridge, ice bucket, and a well-stocked cabinet setup. For many homeowners, this is the better starting point — fewer permits, faster build time, and far less disruption to the existing space.
If you’re already thinking about other inexpensive home updates that deliver big visual impact, a dry bar build is exactly that kind of project. A thoughtfully styled dry bar with great lighting and beautiful cabinetry can look every bit as intentional as a plumbed wet bar.
Making the Call: A Quick Decision Framework
Ask yourself three questions: How often will you actually host? Is your basement plumbing-accessible without major demo? And are you planning to stay in this home long enough to recoup the investment? If you answered