Have you ever stood in a room, feeling that something was missing? That blank space can feel like a quiet question, waiting for an answer. We’ve been there too, staring at an empty expanse and dreaming of a solution that feels both personal and beautiful.
We know the frustration of wanting to fill your home with character without the commitment of permanent changes or a huge budget. That’s where the magic of creating your own pieces comes in. You get to decide the exact colors, textures, and design that speak to your soul and complement your existing aesthetic.
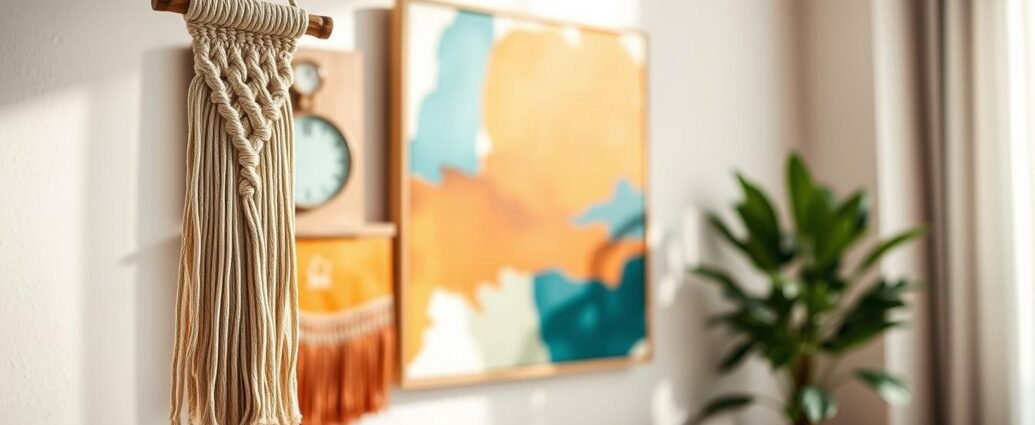
This journey is about more than just the final look. It’s a chance to tap into your creativity and craft something truly special. Whether you’re inspired by boho textures, geometric patterns, or elegant string designs, the process itself is incredibly rewarding. It’s a relaxing escape that results in a focal point you’ll be proud of.
Throughout this guide, we’ll show you how to create stunning decor that looks professionally made. You can explore even more inspiration with our guide to artisanal accents and unique DIY projects. Let’s give your walls the love they deserve!
Key Takeaways
- Transform empty spaces into stunning focal points with personalized creations.
- Achieve a high-end look for a fraction of the cost of store-bought pieces.
- Enjoy complete control over the style, colors, and design to match your home’s vibe.
- Discover a relaxing and rewarding creative process that boosts your confidence.
- Find perfect solutions for tricky surfaces like concrete or for renters avoiding permanent holes.
- Explore a variety of techniques, from boho yarn art to geometric paper designs.
- Empower yourself to create beautiful, functional spaces that reflect your unique personality.
Gathering Materials and Tools for Your Wall Hanging Handmade Project
We believe the right tools not only make crafting easier but also more enjoyable from start to finish. Gathering your supplies is the first exciting step toward creating something beautiful.
Having a well-stocked kit ensures your project flows smoothly. Sharp sewing scissors are a must for clean cuts on any material. For yarn work, a pompom maker and spool knitting tool add delightful textures quickly.
Essential Materials and Supplies
Your material choice defines your piece’s character. A sturdy base, like a dowel or branch, is key. Then select your primary medium—yarn for softness, paper for graphic impact, or thread for intricate string art.
For string art, a good template is invaluable. You can find fantastic macrame patterns to use as a guide. Tweezers help remove the paper template without disturbing your design.
Recommended Craft Tools and Equipment
Investing in a few key items elevates your craft. This table breaks down the essential tools for different project types.
| Project Type | Essential Tools | Primary Use |
|---|---|---|
| Yarn & Macrame | Pompom Maker, Spool Knitter | Creating textured embellishments |
| String Art | Hammer, Foam Brush, Tweezers | Securing nails and applying finish |
| Paper Designs | Hole Punch, Compass, Sponge | Making precise holes safely |
Here’s a pro tip for paper projects: place a dry kitchen sponge under your paper when punching holes. It protects your surface and makes punching easier!
Quality craft tools are a smart investment for many future projects. Once you have your kit ready, you can follow our step-by-step macrame guide to begin creating.
Step-by-Step Process for Your DIY Wall Hanging Handmade Art
Let’s dive into the creative process that brings your artistic ideas to life. This diy journey is both rewarding and surprisingly simple when broken into manageable steps.

Preparing Your Base and Upcycling Options
Start with a solid foundation for your project. A wooden dowel or driftwood branch works perfectly. We love finding creative upcycled options too!
Look around your home for interesting items that could serve as your background. An old picture frame or even a decorative tray can become the perfect base.
Weaving, Knitting, and Assembling Techniques
Now for the hands-on fun! Basic weaving techniques create beautiful textures with yarn. Don’t worry about perfection—the organic look adds character.
Take your time during this phase. Enjoy the rhythmic motion of weaving or knitting. This is where your unique creation truly begins to take shape.
Adding Embellishments and Final Touches
The finishing details transform your work from simple to spectacular. Pompoms add playful texture, while fringe creates movement.
Step back occasionally to view your piece from a distance. This helps you spot areas needing more balance. For more boho-inspired techniques, check out our detailed boho instructions.
Trust your instincts about when your artwork feels complete. Sometimes the best additions happen spontaneously at the very end!
Creative Design Ideas and Customization Tips
The real magic happens when you infuse your personal touch into every creative decision. This is where your project transforms from a simple craft into something that truly represents you.

Mixing Colors, Textures, and Materials
Think about the overall vibe you want to create. Bohemian spaces often shine with rich colors and natural textures. Modern rooms prefer clean lines and geometric patterns.
Don’t be afraid to experiment! Mix different materials for unique visual interest. You can explore fabric wall art using textiles for soft, tactile elements.
Seasonal changes offer fun opportunities too. Create interchangeable pieces for different times of year.
Personalizing Your Wall Decor Style
Your decorations should tell your story. Incorporate materials from special places you’ve visited. Use colors that remind you of favorite memories.
Consider how your piece interacts with your existing furniture. One creator moved sofas to create a perfect showcase corner for their boho-inspired creation.
The most successful pieces make you smile every time you see them. Personalize with elements that genuinely bring you joy.
Conclusion
Your creative adventure doesn’t end here – it’s just the beginning of transforming your living spaces with personal touches. You’ve discovered how accessible and rewarding these projects can be, creating beautiful pieces without breaking the bank.
The best part about this diy approach is the double reward. You get stunning decor for your home plus the therapeutic benefits of crafting. Whether working with yarn, paper, or thread, each creation becomes a unique expression of your style.
Remember that our steps are starting points, not rigid rules. Your personal vision should guide each project. For more inspiration, explore our guide to artisanal accents and unique DIY projects.
Now it’s your turn to embrace the joy of making. Set aside some fun creative time and watch your spaces come alive with personality. Every professional-looking piece began with someone willing to take that first creative step!