A few years back, while enjoying a family picnic by the river, we found some smooth, rounded stones. The kids loved their different shapes, so we took some home. This was the start of our journey in creating vibrant art from these stones.
When we used our simple art supplies on the stones, they came alive in unexpected ways. This activity was easy for everyone and very fulfilling. It turned into a family tradition that expanded our creativity and added joy to our home.
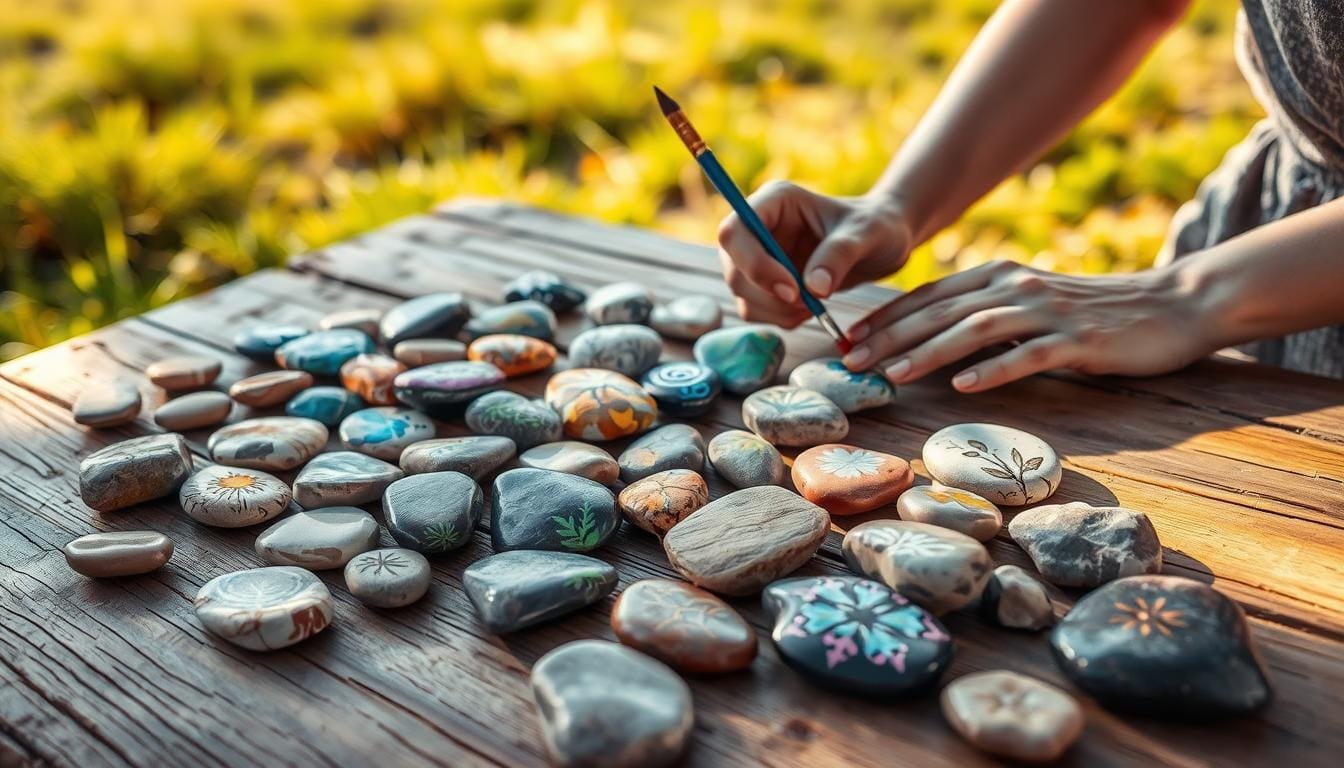
Painting stones mixes touch and sight to turn ordinary rocks into beautiful artworks. Every stone tells a story and becomes a medium for all kinds of designs. With platforms like Pinterest, this hobby has gained fans for its creativity and wide range of styles. You can start this exciting project today with just a few items.
In this guide, we’ll show you *how to turn ordinary stones into stunning hand-painted art*. These painted rocks not only make your home prettier but also spread happiness and kindness around you.
Introduction to Hand-Painted Stone Art
Welcome to the enchanting world of hand-painted stone art, where creativity blossoms from nature! 🖌️ Our stone painting tutorial will take you on a journey. You’ll learn how to turn normal stones into incredible artworks. These pieces can light up any room.
Creating hand-painted stone art is more than an art project. It’s also a peaceful activity that brings feelings of peace and success. It’s great for anyone looking for a creative escape, a relaxing hobby, or a fun family project. Let’s explore why people around the globe love this art form.
Benefits of Stone Painting
Entering the stone painting world brings many rewards. Our stone painting tutorial can sharpen your artistic abilities and improve mental health. Here are some top benefits:
- Therapeutic Effects: Painting can relax and calm you, helping reduce stress levels.
- Sense of Achievement: Finishing a painting makes you feel proud and boosts confidence.
- Community Engagement: Joining groups like the Painted Rock Idea Facebook group with 51,000 members promotes social connections.
- Accessibility: It’s easy and affordable to start, making it perfect for all ages.
- Eco-Friendly: It encourages caring for the environment by using sustainably sourced rocks.
Overview of Required Materials
Getting started with stone painting is easier than it seems. Here’s what you’ll need:
| Material | Recommendation | Purpose |
|---|---|---|
| Acrylic Paints | Non-toxic, water-based | They offer lasting and vivid colors for your paintings, whether displayed inside or outside. |
| Brushes | Variety of sizes and shapes | They provide the needed versatility for detailed designs or wide strokes. |
| Sealants | Montana Gold spray varnish | They help protect your paintings, ensuring they last a long time. |
| Rocks | Smooth, palm-sized | They are the perfect surface for your detailed artwork, whether found or bought. |
This simple list shows that starting with stone painting is easy and fun. With these supplies, you’re ready to begin your creative journey of transforming stones into artwork. 🖌️
Selecting the Right Stones for Your Project
Choosing the right stones is key for any creative rock painting project. They can turn your work from simple to stunning with little effort. What makes a stone ideal? Its surface and shape matter most.
Types of Stones Ideal for Painting
Smooth and flat stones are best for painting. They’re easier to paint on and allow for intricate designs. River rocks, beach pebbles, and other naturally smooth stones are great for unique creations. To learn more about using natural stones creatively, check out this informative resource.

Where to Find Quality Stones
You can find quality stones in many places. Look in natural spots like riverbanks and beaches where water has made them smooth. These stones are not just practical, but they can also inspire creativity. For a wider selection, try landscaping suppliers or garden centers. They offer various shapes and sizes, perfect for your project.
Let’s compare some common stone types and their installation costs:
| Stone Type | Cost (per sq. ft., installed) |
|---|---|
| Limestone | $15 – $30 |
| Travertine | $25 – $45 |
| Granite | $15 – $35 |
| Marble | $40 – $65 |
| Onyx | $50 – $120 |
Preparing Stones for Painting
Before you start painting rocks, it’s vital to prepare them right. Proper prep makes painting easier and keeps your art bright for longer. Here’s how to get your stones ready for those stunning painted rock ideas.
Cleaning Techniques for Stones
Start by cleaning your stones well! Washing them with soap and water is the best first step. This removes dirt and oils that could mess up your painting. If you have tough dirt, use a stiff brush. Clean rocks mean the paint sticks better and your art lasts longer. After cleaning, dry the stones fully. This keeps moisture from ruining your paint job.

Priming Your Stones: Is It Necessary?
Now, let’s talk about priming. Priming can help your painted rock ideas shine, but it’s not always needed. It makes a surface that paint sticks to well, ensuring colors stand out. This is really helpful for dark or rough stones. If your stones are light or smooth, you might not need primer. Testing will show you what’s best for your project.
| Stone Preparation Step | Benefit |
|---|---|
| Cleaning with Soap and Water | Removes dirt and grime for better paint adhesion |
| Drying Stones Completely | Prevents moisture from disrupting paint |
| Priming (Optional) | Creates a non-porous layer for smoother, more vibrant color application |
With these steps, you’re ready to make amazing DIY painted rocks. Good prepping means your art will look amazing and last through many seasons. Happy painting! 🎨✨
Essential Tools and Materials for Painting
To start painting stones, you need some key tools and materials. Quality brushes and paints really improve your art. Let’s check out what you need for stone painting.
Brushes and Their Uses
Different brushes help you create various effects on stones. From wide strokes for backgrounds to tiny details, a good set of brushes gives you flexibility. People often choose synthetic brushes because they last long and are easy to clean. For base layers, use brushes around ½” to 1”. Smaller round brushes are great for fine work.
“Art is not what you see, but what you make others see.” – Edgar Degas
Paint pens, like Posca Paint Markers and Sharpie Oil-Based paint pens, are also great. They let you add detailed designs and bright colors. These pens are safe to use, dry quickly, and leave a shiny finish.
Choosing the Right Paints
Acrylic paints are the best for painting stones. They dry fast, have deep colors, and last a long time. Brands like Americana Patio Paint are also weather-resistant, perfect for outdoor art. Plus, you don’t need to seal these acrylics, saving you time.
Akie Nakata uses acrylics to make stones look like real animals. You can learn more about the top paints for stones from this thorough guide.

Cheap acrylic paints can work, but might need more layers for solid coverage. Try using metallic or glitter paints for a magical effect in your stone art. Social media is full of artists sharing their stone painting skills, offering inspiration and community.
| Brush Type | Ideal Use | Recommendation |
|---|---|---|
| Broad Brushes | Base Coats | 1/2″ to 1″ synthetic brushes |
| Detail Brushes | Fine Details | Small round brushes |
| Paint Pens | Intricate Designs | Posca Paint Markers, Sharpie Oil-Based |
Having the right tools and materials helps you get into stone painting confidently. Whether you’re learning from a guide or doing your own thing, great supplies will make your art stand out.
Designing Your Stone Art
Designing stone art mixes creativity with planning. Start by looking at what inspires you and sketch those ideas into something real.
Inspiration Sources for Designs
The world gives us so much artistic rock painting inspiration. Looking at nature, like leaves’ patterns or flowers’ colors, can light up your imagination. Shapes like geometric patterns can base unique rock designs. Also, using personal stories can make your art deeply personal.

Themes like seasonal motifs bring out the season’s spirit in your art. Think about painting autumn leaves, winter snowflakes, or summer scenes. Cute animals or funny characters are great for kids’ stones.
Sketching Your Ideas
Start turning your inspiration into designs by sketching. Rough sketches help figure out layouts and colors. They make sure your idea is solid before painting begins.
Try using fine-tipped markers for detailed designs on unique painted rock designs. This helps with precision on rough stones. Finalizing your sketch means you’re ready to bring your design to life on a stone.
Painting Techniques for Stunning Effects
Today, we’re jumping into cool painting methods that will make your stone art stand out. If you’re just starting to turn stones into art or you want to get better, these tips will help. We’ll see how using layers and stencils can improve your stone painting.

Layering for Depth and Texture
Layering is an awesome way to add depth and make your art pop. By adding many paint layers, you can give your stones a lively, 3D look. Start with a basic coat, then keep adding different colors and textures.
It’s like telling a story on your stone, where each layer is a new part of the story. This technique lets you play with light and dark, creating detailed stones that grab people’s eyes.
Using Stencils for Precision
For clean, sharp designs, stencils are super helpful. Stencils make it easy to duplicate detailed patterns or images perfectly. They are great for complex designs like mandalas or cute animal pictures. Just put the stencil on your stone, add paint, and there you go! You get neat, professional-looking art.
Using layering and stenciling can really turn your stone projects into tiny works of art. Let’s pick up these methods and keep making beautiful stone art with excitement and creativity!
Finishing Touches for Your Stones
After decorating your DIY painted rocks, it’s key to seal them. This protects the art from weather. It also makes the colors and finish look better.
Sealants: Protecting Your Artwork
Sealing your hand-painted rock ideas is essential. You have a few choices:
- Spray Sealants: They are fast and easy, with looks from matte to shiny. They’re loved for their smooth coat.
- Brush-On Varnishes: These give you control over the finish, from satin to very shiny. They’re great for those who want a custom look.
Choose any, but apply many coats of outdoor polyurethane if keeping stones outside. This keeps them safe from water and sun damage.
How to Display Your Hand-Painted Stones
Showing off your DIY painted rocks can be as fun as painting them!
“Your newly made pieces can brighten your home or be special gifts.”
Fun ways to show your rocks include:
- Adding them to your garden for a fun look.
- Using them as unique decor like paperweights.
- Making themed sets for a shelf or shadow box display.
- Giving them as heartfelt gifts to friends and family.
Showing and protecting your hand-painted rocks keeps them bright and lovely. They’ll be a treasured part of your space, whether in a garden or as home decor.
| Aspect | Details |
|---|---|
| Average Cost for Materials | $25 |
| Estimated Time to Complete | 5 hours |
| Number of Paint Colors Recommended | 12 |
| Protective Coats Required | Several |
| Popular Books | Garden Art by Lin Wellford |
With these DIY tips, your painted stones will look gorgeous and stay safe! Enjoy painting! 🎨
Common Challenges and Solutions
Painting rocks can be a lot of fun, but it has its challenges. Problems like paint chips and design errors can happen. With patience and the right techniques, we can overcome these problems. This ensures our painted rocks stay beautiful.
Dealing with Paint Chips or Peeling
Paint chipping or peeling is a common problem. To avoid this, use the right paint and a top-quality sealant. If issues arise, there’s a simple solution. First, lightly sand the problem area until it’s smooth. Then, add a new layer of paint and sealant. Make sure each layer dries completely before adding another. By doing this, your painted rocks will stay bright and last longer.
Tips for Fixing Mistakes
Everyone makes mistakes, and that’s fine. If your design has a mistake, wait for the paint to dry fully before fixing it. You can cover the error with a new paint layer or make small adjustments. Use tiny brushes or a toothpick for detailed work. The aim is to enjoy and show your creativity, not to be perfect. Learning to adapt and being resourceful is key, so don’t let mistakes get you down.
Getting Involved in the Stone Painting Community
Join the stone painting community to make your creative journey more joyful and inspiring! You’ll find many online groups and resources full of hand-painted rock ideas, how-to guides, and new friends. These communities are great for getting feedback and being inspired by others’ work.
Online Groups and Resources
The internet has loads of great stone painting groups. On Facebook and Instagram, lots of posts have hashtags with hand-painted rock ideas. You can share your art, get advice, and join fun challenges. There are also many websites and blogs with tutorials to help you learn and grow.
Hosting a Local Stone Painting Event
Organizing a local stone painting event is very rewarding. It’s a perfect way to meet others who love painting rocks as much as you do. You can host a workshop or a casual get-together. It’s a good chance to teach and learn in a friendly setting.
These events are more than fun; they build friendships and spread happiness. Encouraging guests to paint positive messages on rocks is a wonderful touch. So dive into the stone painting world, online or locally. There’s a community waiting to welcome you!