Imagine walking into your living room and being wowed by the decor. 🤩 You might think you need a big budget for a luxurious look. But, faux finishes can give you that high-end vibe affordably. We’ve all wanted to refresh our space when old furniture shows wear. Like that dining table we got 25 years ago from JCPenney for $159. After using faux wood paper for a year, I knew I needed a change.
That’s when I learned about the magic of faux finishes. They look pricey but are actually simple to DIY! With some patience and creativity, you can make your walls and furniture look amazing. You could do a faux zinc tabletop in just 1-2 days. Or add the cool texture of faux limewash with just latex paint. These affordable decor ideas let us upgrade our homes beautifully. So, let’s get our brushes ready and explore luxury DIY together! 🌟
Introduction to Faux Finishes
Faux finishes are cool decorative painting techniques that look like real luxurious materials. They can make a plain wall look amazing. They also add a unique feel to any room, making it more interesting.
What Are Faux Finishes?
Faux finishes are creative ways to paint that mimic the look of costly materials. You can get the high-end look of marble or wood without spending a lot. With skills like sponging, you can make walls look like they’re made of natural stuff. A great faux finish can make your home look more beautiful without breaking the bank. Learn more about faux finishes here.
Benefits of DIY Faux Finishes
DIY faux finishes let you be the boss of your decor. You can make your place look exactly how you want. They are cheaper than real stone or wood and can save you lots of cash. Plus, painting them yourself is fun and rewarding, making your home feel extra special.
Popular Types of Faux Finishes
Exploring different faux finishes can make our spaces feel luxurious. Each one gives a unique touch without costing a lot. We have marbleizing, linen effects, and wood graining to choose from. They’re great for anyone wanting to spruce up their home!
Marbleizing Techniques
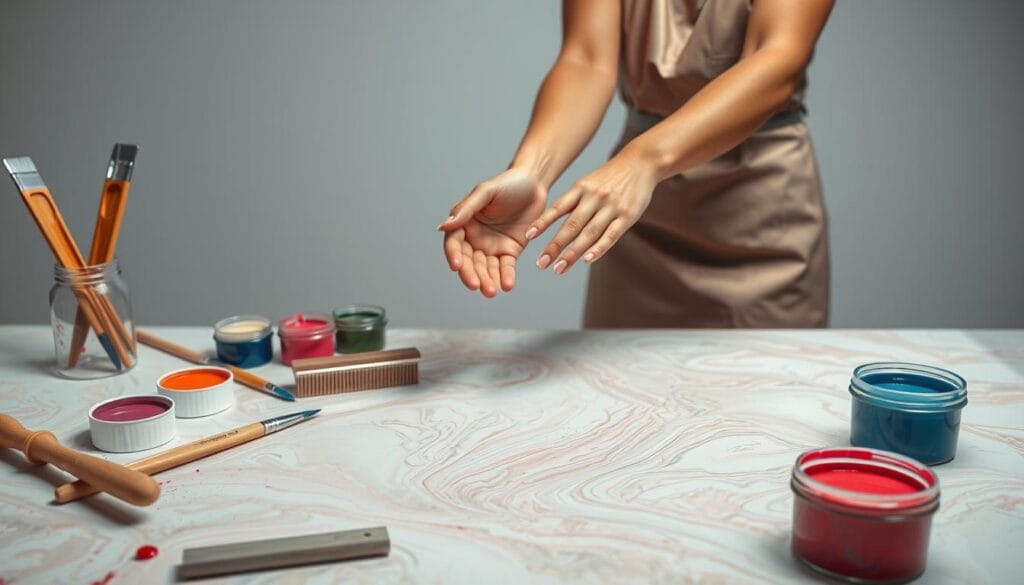
Marbleizing copies the look of real marble, making any room look fancier. We use glazes and brushes to create veins and swirls. It’s good for beginners and pros who want to try something new. With a few supplies, you can start this fun project!
Linen and Fabric Effects
Linen and fabric effects give a cozy vibe. A sponge or rag can mimic fabric on walls. These finishes are perfect for making bedrooms or living rooms warmer. It’s an easy, affordable way for DIY lovers to update their space!
Wood Graining Options
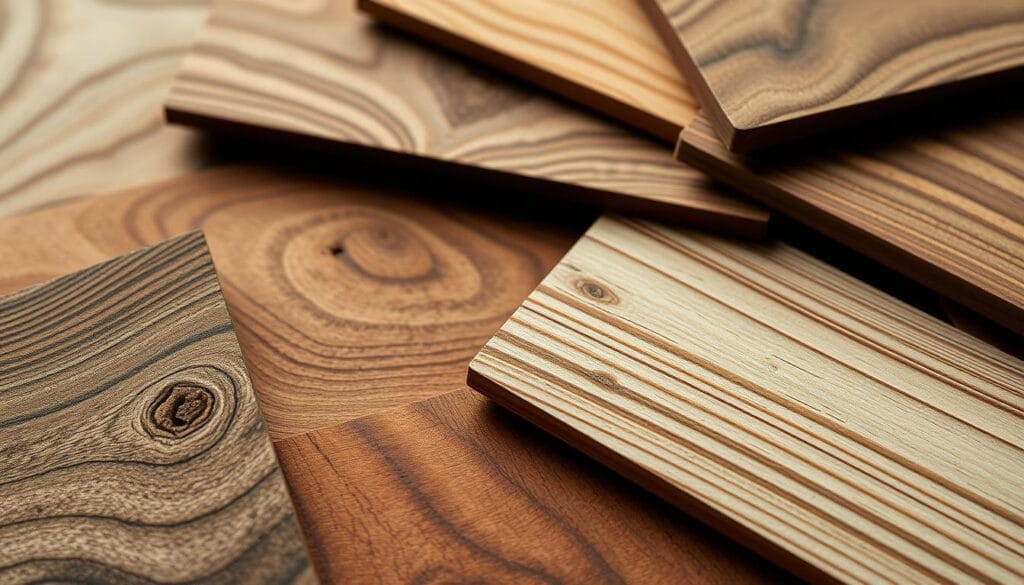
Wood graining makes things look like real wood but cheaper. Special brushes and glazes help mimic wood on walls and furniture. This technique changes the look and feel of our decor. It’s a fun way to personalize our homes!
Tools and Materials Needed
Gather the right tools for faux painting before you start. Having these tools makes your work flow easier and improves your results. Let’s look at what you need to bring your DIY painting ideas to life!
Essential Painting Tools
- Brushes of various sizes for detailed work.
- Rollers for larger surfaces, ensuring a smooth application.
- Sponges for texturing, allowing for creative effects.
- Painter’s tape to achieve clean, crisp lines.
- Drop cloths to protect your floors and furniture.
Recommended Paints and Finishes
For paint, quality varies. For affordable home decor ideas, True Value EasyCare Ultra Premium Interior Paint is my top pick. This paint blends durability with excellent coverage.
Choosing the right finish, like matte, satin, or glazing, can change everything. It turns simple designs into stunning ones!
For tips on making your space stand out on a budget, visit these budget-friendly hacks.

How to Create a Marble Effect
Creating a stunning marble effect might seem hard, but it’s possible with the right steps. You can get luxurious results without spending a lot. By preparing well and following a step-by-step guide, anyone can make plain surfaces look like beautiful marble.
Preparation Steps
First, clean the surface you want to work on well. Use a primer like True Value EasyCare Ultra Premium Interior Primer/Sealer for a smooth start. Put on at least two layers of primer, letting each one dry fully. Then, have these items ready:
- 3 shades of gray paint (very dark gray, medium gray, light gray)
- Fine iridescent glitter for added elegance
- Eggshell or satin white finish paint for the base coat
Step-by-Step Application Process
Now for the fun part! Start with 2-3 layers of your white paint, drying each one before the next. For the marble look, do the following:
- Mix gray paint with water in a 3-to-1 ratio for a thin mix.
- Put the gray paints on randomly, letting them blend naturally.
- For veins, use a feather with dark gray mix and drag it diagonally. Change the width as you go.
- When you like the veins, add glitter on top of the wet paint for shine.
- Finish with Super Glaze for protection, using 2-3 layers.
This marble effect boosts your decor at a low cost. With about $30, you can create something that looks expensive. It makes your space better and gives you a great feeling of achieving something by yourself!
Techniques for Linen Finishes
Adding linen and fabric effects to your walls changes the whole vibe. It makes the space warm and welcoming. Plus, it’s great for those who love DIY and are looking for affordable decorating options. Let’s go through the steps to get this gorgeous look, starting with picking the right base color.
Choosing the Right Base Color
Start with choosing a base color, and stick to soft neutrals. These colors are perfect as they bring a soft elegance. Plus, they go well with many home decor styles. Make sure the base color fits your room’s overall theme.
Applying the Texture
To get the perfect linen finish, mix your paint with a glazing medium equally. This mix makes the texture better and looks professional. Here’s how you can apply it in easy steps:
- Begin with three coats of primer using a spray gun. This makes sure it sticks well.
- After the primer dries, lightly sand the area with fine foam abrasive.
- Paint in small sections so it dries evenly and doesn’t overlap.
- Use a roller or sponge to dab the glaze on the wall. This creates the fabric effect. Use different brushes and rollers for more texture.
Trying a faux finish might seem hard at first, but with some attention and practice, you’ll get amazing results! This techinque brings an elegant touch to your space. Have fun making a beautiful linen effect that improves your home! 😊
Achieving a Wood Grain Look
Adding wood’s warmth to your home doesn’t have to break the bank! With the right paints and a bit of technique, we can give new life to old surfaces. We’re going to look at some awesome ways to create a wood grain effect. Let’s talk about the best paints for this job and some cool painting tricks that make things look like wood.
Best Paints for Wood Graining
Choosing the right paints is key for a fake wood look that seems real. Begin with 2-3 thin layers of KILZ® Premium primer for a good start. This gets surfaces ready. Then put on two layers of a color like Golden Sunrise. Let the first layer dry all night for the best look. For the final touch, mix Tonka Bean paint with glaze using 4 parts paint to 2 parts glaze. This mixture gives the see-through effect that real wood has. And remember, you don’t need a lot of paint for this, so small cans are perfect for tiny tasks!
Techniques to Imitate Wood
Now for the fun bit—technique! Tools like the wood graining tool help make the texture look real. Practice on a sample board first to get the hang of it! Protect your base paint with low tack tape around the edges. Then, use a wallpaper brush and a whisk broom to add different textures and make the wood grain look real.
Remember, being patient is important. Let each coat dry well; it usually takes a few days. In cold weather, you can add coats every 4 hours. But in hot weather, you might need to wait longer. Finish with 2-3 layers of a polyacrylic sealant to keep your work safe!
Enhancing Walls with Stenciling
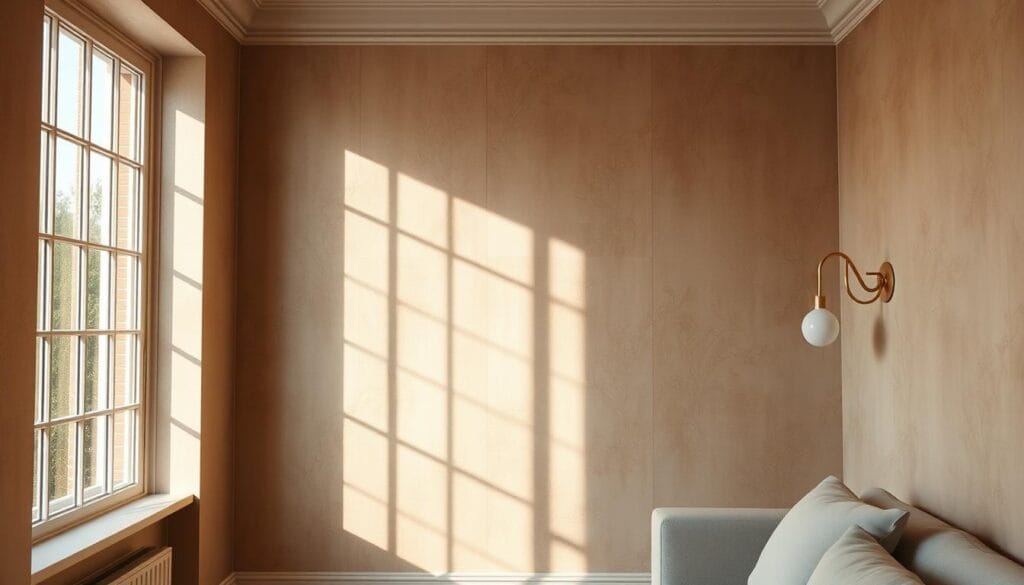
Stenciling adds a special touch to walls that’s both budget-friendly and eye-catching. It’s a way to make our rooms unique easily. Picking the perfect stencils is key to improving our decor. It’s crucial to know our choices and how to use them right.
Choosing Stencils for Faux Finishes
Think about patterns and colors that go with your room when choosing stencils. A small floral stencil, like the Floral Fireworks All-Over Wall Stencil, makes rooms welcoming. Many designs can be changed to suit different uses. Stenciling for faux finishes adds depth, making plain walls look amazing.
- Choose patterns that complement existing decor.
- Consider size and orientation for unique spaces (like angled ceilings).
- Opt for reusable stencils to save on costs—approximately $50 for an all-over stencil.
Application Tips for Stunning Results
To get clean designs from stenciling, use the right techniques. Here’s a simple guide for great outcomes:
- Preparation: Clear the area and clean the wall. Use Kilz Complete Coat in Ultra Bright White as a base coat.
- Positioning: For angled ceilings, use two stencils—one for cutting and one for completing the design.
- Painting: Apply two coats to cover previous colors and wallpaper well.
- Cleaning up: Clean the stencil once to avoid paint build-up.
Stenciling lets you try many creative wall finishes. By spending a day on your project, you can make any small space, like a bathroom, look incredible. Use the best paint and tools to boost your DIY skills and show your personal style!
Incorporating Metallic Finishes
Using metallic finishes can make regular rooms look amazing! They bring a touch of elegance and excitement, whether you like the shine of golds or the coolness of silvers. These finishes are loved for their ability to bounce light around, making any space feel warmer and more inviting. Now, let’s dive into the kinds of metallic paints you can use for your projects. And, we’ll share some advice on how to get that pro look.
Types of Metallic Paints
There are many metallic paints to pick from for eye-catching results:
| Type of Metallic Paint | Finish | Best Use |
|---|---|---|
| Gold | Glossy | Furniture accents or trim |
| Silver | High-shine | Wall art or decorative elements |
| Copper | Warm | Kitchen accessories or hardware |
| Bronze | Subtle | Accent walls or vignettes |
With all these metallic choices, you’re sure to find one that fits your style and matches your decor perfectly.
Tips for a Professional Finish
To get that flawless metallic finish, here are some tricks:
- Surface Preparation: Begin with a clean, smooth surface for the best paint adhesion and finish.
- Layering: Apply the paint in thin, even layers to avoid brush marks.
- Application Method: For an extra smooth finish, use a spray or a roller for big surfaces.
- Testing: Test different finishes on your surface first to see how they look in your lighting.
- Play with Light: Use lighting to enhance the look of your metallic surfaces, making them shine beautifully.
Using these painting techniques will take your home’s style to the next level without costing a lot. For more budget-friendly home makeover ideas, here’s a handy guide.
Faux Finishes for Furniture Upcycling
Upcycling old furniture into eye-catching pieces is both fun and creative. Faux finishes let you give old items new life. With some prep and ideas, you can make your furniture look amazing. This is a cost-effective way to impress.
Refreshing Old Furniture Pieces
Before starting on your furniture project, plan the steps for a great outcome. Look at your old furniture and its possibilities. Clean and fix any damage first. This is key for a nice finish. Every year, the U.S. throws away 12 million tons of furniture. So your upcycling makes a big difference!
Techniques for Chair and Table Makeovers
Using faux finishes can make your chairs and tables look awesome. Try techniques like wood graining or antiquing for cool effects. For example, mix water and dark brown paint. Apply it gently to add depth. You’ll probably need two paint coats for a good finish.
Attention to detail is essential for a top-notch makeover. Use quality sealers like General Finishes Sealer to keep the look fresh.
TikTok trends are getting people excited about upcycling. The hashtag #furnitureflip has 5 billion views! Whether repainting or reupholstering, you have many choices. Let your creativity soar. Just a few simple steps can turn furniture into art!
Maintaining Your Faux Finish
We’ve made our spaces beautiful with faux finishes. Now, it’s vital to keep these areas looking great. Taking care of painted surfaces helps them stay amazing for many years. Luckily, faux finishes are easier to care for than regular walls. Just cleaning with mild soap and water keeps them bright and doesn’t harm the designs!
Cleaning and Caring for Faux Finishes
Cleaning needs the right approach. Use soft cloths or sponges to avoid scratches. Stay away from harsh cleaners. A protective topcoat makes faux finishes 40% easier to clean. If you haven’t added a topcoat, think about doing it. It protects your work and keeps it looking new!
When to Touch Up Your Work
Sometimes, even durable finishes need a touch-up. Seeing wear or dull spots means it’s time to refresh. Faux finishes often last 3-5 years longer in places like kitchens and bathrooms. Touching up these spots every few years keeps everything looking luxurious. Regular care lets your DIY painting projects keep making your home beautiful!


