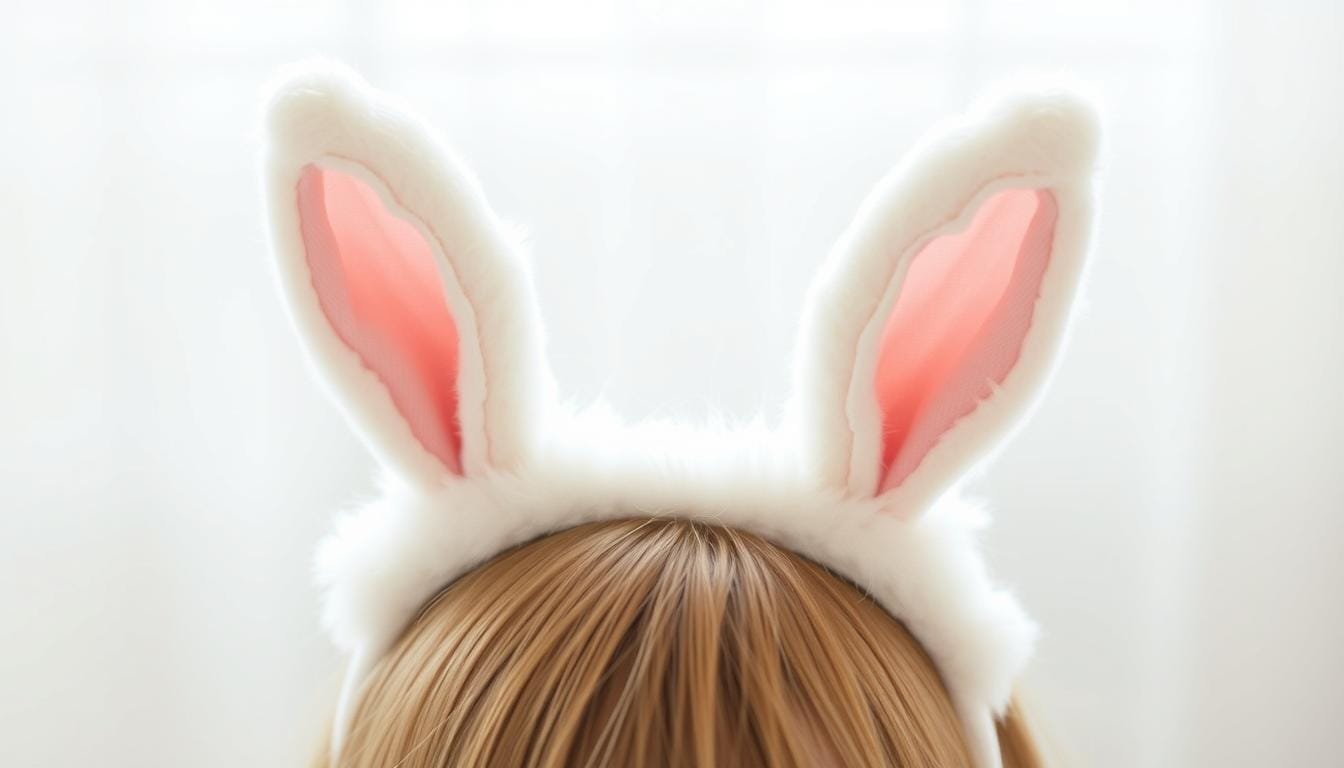
Welcome, fellow craft enthusiasts! Creating your own accessories is very fulfilling. Today, we have a creative project just for you. It’s a Homemade Bunny Ears Headband that’s perfect for kids and adults. 🌟
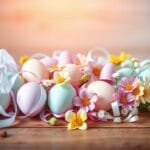
Last Easter, my nephew and I made bunny ears together. We used soft felt, big chenille stems, and a strong metal headband. This fun project was a hit at our Easter Egg Hunt. It also became a favorite for playtime.
Interestingly, making these cute headbands is becoming more popular. There’s been a 30% increase in headband crafts in the last two years. It’s amazing seeing the joy and creativity simple crafts bring to our lives.
So, if you’re ready for a festive celebration or just want something fun for dress-up, this DIY Bunny Ears Headband is perfect. Get your crafting kit, and let’s start this exciting project together!
Introduction to Bunny Ears Headband Craft
Making a Bunny Ears Headband DIY is not just fun. It lets you add creativity to parties! It’s great for both kids and grown-ups. Picture the joy of wearing them at an Easter egg hunt, family events, or costume parties.
Why Choose a DIY Bunny Ears Headband?
Creating your own Bunny Ears Headband DIY adds a unique touch. You can’t get that from store-bought ones. You just need colored cardstock, scissors, glue, and markers. These items are easy to find and budget-friendly. You can also make each headband unique with your own designs. Plus, you can learn how to make them from video tutorials. This makes the craft fun for people of all ages.
Perfect Occasions to Wear Bunny Ears Headbands
Bunny ears headbands fit many events perfectly. They are great for Halloween at work, adding fun to the office. They also make Easter Egg Hunts more exciting for kids. And don’t forget costume parties or themed events. You can always enjoy wearing your own Bunny Ears Headband Craft!
Materials Needed for Your DIY Bunny Ears Headband
Before making your DIY Bunny Ears Headband, let’s pick out the needed supplies. This helps make our crafting smooth and fun.
Basic Supplies
Here’s what you need to start:
- Scissors: You’ll want sharp ones for fabric and paper.
- Fabric: Pick a fun pattern. A 5 x 20 cm floral cotton is great.
- Floral Wire: This is to shape the ears. About 10 inches long is best.
- Headband: Choose a solid one. Alice bands, 1 to 2 inches wide, work well.
- Cardstock: Perfect for making the Bunny Ears Headband Template. Go with your favorite color.
- Glue: A hot glue gun ensures it sticks well. Craft glue is okay too. Let the glue dry for 30 minutes.
- Adhesive Tape: It’s great for fast repairs and extra hold.
Optional Decorative Items
Want to make your headband extra special? Think about these add-ons:
- Faux Flowers: Add them at the ears’ base for a spring vibe.
- Fabric Washi Tape: It brings color and fun patterns to your ears.
- Sparkly Embellishments: Glitter and sequins make your headband pop. Many crafters love these.

Having these supplies ready means you’re set when you feel creative. Making a DIY Bunny Ears Headband is about basics and your personal touch. Enjoy your crafting!
Step-by-Step Bunny Ears Headband Tutorial
Ready to make something special? We’ll guide you through making a cute Bunny Ears Headband. Let’s begin!
Step 1: Cutting Fabric and Cardstock
First, pick the right size for your project. You’ll need fabric: 30″ x 12″ for adults and 22″ x 8″ for kids. For cotton, it’s 10″ x 8″ for adults and 8″ x 7″ for kids. Add cotton batting too.
Next, outline bunny ears on cardstock, about 5 inches tall and 3 wide. Cut these out. Use them as a guide to cut your fabric and batting.
Step 2: Forming and Shaping the Wire Frame
Now, let’s tackle the wireframe. Cut floral wire to line the ears’ edges. Bend it to mimic real bunny ears. Be sure to smooth any sharp ends. This step gives your ears their upright, whimsical shape.

Step 3: Assembling the Ears
It’s time to put the ears together! Place one fabric piece face down. Then lay the wireframe and batting on it. Top it with the second fabric piece, face up. Pin everything together and sew around, but leave the bottom open.
Now, insert an elastic band (17″ long for adults, 13″ for kids) into the open end. Sew it shut. Your Bunny Ears Headband is now ready to wear and love!
Alternative Methods for Making Bunny Ears Headbands
Making DIY Bunny Ears Headbands can be simple and fun. We’ll look at two easy methods without sewing.
No-Sew Options
Want to know how to make bunny ears headband without sewing? Use fabric glue or tape! This lets you skip sewing. You can work with felt, cotton, or any fabric, really. These no-sew ways are quick and safe for kids. Just put the fabric together, glue it, and you’re done with your headband!
Using Pipe Cleaners for Ears
Pipe cleaners make a quick Bunny Ears Headband do-it-yourself project. Here’s how:
- *Gather 6 pipe cleaners*—they make sturdy yet flexible ears.
- *Shape the pipe cleaners* into ears and twist the ends to hold them.
- *Wrap the pipe cleaner ears* around a headband. They’re soft and safe for children’s crafts.
- *Customize* the ears with colors or add sparkle with gold glitter spray for fun.
This is great for kids 8 and older. You can make each bunny ears headband unique. It’s a way to show off your style.

Be careful with hot glue guns to avoid burns. Bunny-themed crafts are big around Easter. They’re a hit for family crafts!
DIY Bunny Ears Headband for Kids and Adults
Making a DIY Bunny Ears Headband for Kids and Adults is not just fun. It’s also a great way to spend time together, especially during Easter. This craft suits different ages and skill levels. It’s amazing to see how a simple project can spark creativity and help bond.
A Homemade Bunny Ears Headband is attractive because it’s affordable and easy to make. You can find the materials in dollar stores or on Etsy. You can make a headband for about $10. This price includes lace, tulle, and fake flowers!
To create your bunny ears headband, you’ll need four pieces of fabric. That’s two pieces for each ear’s front and back. You’ll also need floral wire, about 12 inches for each ear. This makes the ears strong and shapeable.
Plastic headbands are the base for these ears and are cheap. Use a thicker headband for adults and a thinner one for kids. Tacky Glue and fabric washi tape can make your headbands special.
About 60% of parents do DIY projects with their kids during holidays. The craft industry sells 25% more during Easter. Bunny ears headbands add fun to family time and encourage creativity in everyone.
Also, 75% of shoppers prefer things made by hand over factory-made. On social media, shares of DIY crafts jump 40% at Easter. Your bunny ears might even get famous!
The stuff you need for these headbands is eco-friendly too. With a 30% rise in using green materials for DIY, making these beautifies the earth as well.

These headbands are perfect for Easter hunts or just for fun on any day. Crafting a DIY Bunny Ears Headband for Kids and Adults brings immense joy. It’s a wonderful way to greet the season and add magic to your celebrations.
Decorating Your Bunny Ears Headband
After making your Bunny Ears Headband, you get to decorate it. Use your creativity to make it shine. Add sparkles, paint, or feathers. You can also use Easter eggs or flowers. This makes your headband unique and reflects your style.
Decorating the headband is fun for all ages. It’s great for kids and adults. Everyone can find a way to make it special. This craft is perfect for spring and spending time with family. It brings joy and celebrates the season.
Here are awesome ideas to make your headband stand out:
- Glitter and Sparkles: Brighten it up with colorful glitter for a shiny look.
- Painted Designs: Paint patterns or cute faces on the ears.
- Feathers: Feathers add a fun and fluffy touch.
- Thematic Embellishments: Use Easter eggs or flowers for a festive vibe.
A lot of families enjoy Easter crafts, over 80% in fact. It’s a popular and fun tradition. You can make these crafts with things from around the house. They’re easy, cheap, and fun for everyone.
Here’s a quick look at some decoration ideas and how popular they are:
| Decoration Idea | Popularity | Materials Needed |
|---|---|---|
| Glitter and Sparkles | High | Glitter, glue |
| Painted Designs | Medium | Paint, brushes |
| Feathers | Medium | Feathers, hot glue |
| Thematic Embellishments | High | Mini eggs, flowers, crafting wire |
With these ideas, your Bunny Ears Headband will be more than a craft. It will be a joyful and creative piece that adds fun to your celebrations.
Safety Tips for Crafting with Kids
Crafting with kids is fun and rewarding. But, safety should come first. Making something like a DIY Bunny Ears Headband for Kids should be safe. Here are some key tips to keep crafting with your kids fun and secure.
Supervising Craft Activities
Always watch closely when young kids are crafting. This makes sure they use tools like scissors safely. Even with something simple like a DIY Bunny Ears Headband, it’s important. By supervising, you can teach them the right way to craft without accidents.
Using Safe Materials
The choice of materials for your project matters a lot. Choose non-toxic glues, kid-friendly paints, and scissors with blunt edges. This makes crafting safer and lets you relax. Use safety pipe cleaners instead of sharp wires for the ears. This keeps the project fun and harmless!

| Material | Safety Substitute | Description |
|---|---|---|
| Sharp Scissors | Blunt-edged Scissors | Designed to prevent accidental cuts while allowing children to craft safely. |
| Standard Glue | Non-Toxic Glue | A safer alternative that is free of harmful chemicals. |
| Sharp Wires | Safety Pipe Cleaners | Soft and flexible, making them perfect for forming and shaping bunny ears. |
Remember these tips when crafting. You and your kids can have a great time making a DIY Bunny Ears Headband. Enjoy and have fun! 😊
Frequently Asked Questions about DIY Bunny Ears Headbands
Welcome to our Bunny Ears Headband FAQ section! If you have questions about making these cute accessories, you’re in the right place. Making bunny ears headbands is a fun way to show off your creative skills. We’ve got some answers to help you start your crafting adventure.
How Long Does It Take to Make?
Making bunny ears headbands is quick and easy. Crafting a bunny ears headband usually takes between 30 minutes to an hour. It’s a perfect project for fast and beautiful results. Need help? Here are some Bunny Ears Headband Instructions with all the steps.
Can I Use Different Fabrics?
Yes, you can! Feel free to try out different fabrics for your bunny ears headbands. You might use felt, cotton, or plush fabric. Each choice gives your headband a special look and feel. Mixing fabrics brings endless possibilities for unique designs. Check out these Bunny Ears Headband Instructions for material and sewing advice.
We hope these Bunny Ears Headband FAQ answers help you on your creative path. Remember, your imagination is your only limit. Have fun and enjoy making your headbands!
Showcasing Your Bunny Ears Headbands
After making your own Bunny Ears Headband for Easter, the fun begins – showing them off! You can share your work on social media to spread joy and inspire others. It’s a great way to take cute photos and connect with others who love crafting.
Sharing on Social Media
One easy way to show your bunny ears headband is by posting it on social sites like Instagram, Facebook, and Pinterest. This way, you can inspire your friends and find new ideas from others. Use hashtags like #BunnyEarsHeadband or #EasterCrafts to reach more people and meet craft lovers like you.
Think of doing a fun photoshoot with your Bunny Ears Headband for Easter. It could be just you, with friends, or cute pics of your kids. These photos will brighten your social media and spread the holiday vibe.
Hosting a Bunny Ears Craft Party
Hosting a Bunny Ears Craft Party is a fun way to celebrate. It lets you and your loved ones make your own headbands and create lasting memories.
Set up a place with all you need to make the headbands. Add music, snacks, and maybe an Easter play list to make it fun. This event is a great way to show your crafting talent and bond with others through a joyful activity.
| Item | Ratings | Feedback |
|---|---|---|
| Accurate Description | 4.8/5 | High customer satisfaction |
| Reasonable Postage Cost | 5.0/5 | Highly appreciated |
| Delivery Time | 4.9/5 | Mostly positive |
| Communication | 5.0/5 | Excellent |
Ready to start showcasing bunny ears headband and spread joy this Easter? By sharing your work on social media or hosting a craft party, you celebrate your creativity. You also inspire others to create. So, grab your materials, invite your friends, and start crafting!
Conclusion
We’ve gone through making your own bunny ears headband. You’ve seen how to pick materials and add your touch. DIY bunny costumes get more popular around Easter. This shows how much people love making them.
Making these headbands is fun and helps make special memories. You might create one for a photo, for pets, or to have fun with kids. These headbands add joy to any moment. With a 30% increase in Easter searches and 65% of families wearing matching outfits, many enjoy this craft.
As we end our DIY guide, don’t forget the safety tips, especially with kids around. Remember, it’s important to make crafts that are cozy, not too expensive, and easy to clean. A lot of people, about 75% of them, think about these things when buying costumes. And 80% look for stuff that’s machine-washable. Wear your bunny ears proudly. You’ve sparked your creativity and made joyful memories. Happy crafting! 🐰