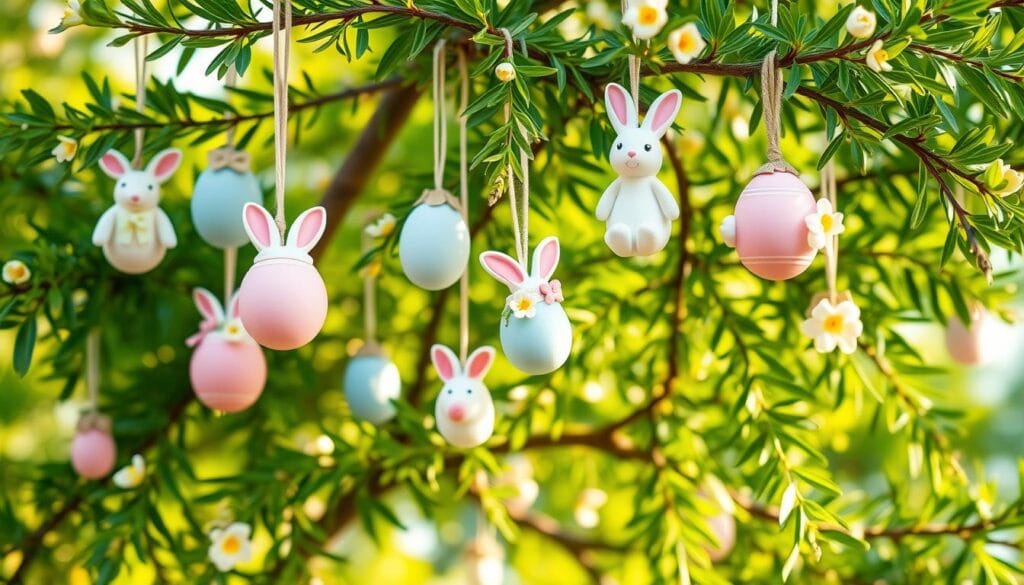
Welcome! Get ready to make Easter-themed clay ornaments. They’re perfect for your spring decor. Imagine the smell of flowers while making DIY Easter ornaments with family. Crafters in our Handcrafted Society have lots of ideas, from pastel colors to stamped designs. Let’s make beautiful ornaments for your spring tree.
Are you new to DIY or already love crafting? These ornaments are a fun way to welcome spring. We’ll show you what tools you need and the best clay for making ornaments. Picture your spring tree with ornaments painted in soft blue, showing off your creative skills.
Time to start! Making these Easter-themed clay ornaments is about fun and making memories. It brings joy to spring celebrations. Let’s begin this crafting adventure!
Introduction to Easter-Themed Clay Ornaments
As spring arrives, making clay ornaments can be fun for Easter. They mix creativity with tradition. This makes your home look special with unique decorations.
Why Choose Clay Ornaments?
Clay crafts are enjoyable for people of all ages. They are strong and add a cozy feel. You only need clay, rolling pins, and cookie cutters to start.
This makes it easy for beginners. Your clay creations can be used for many Easters. They add a special touch to your holiday fun.
The Tradition of the Easter Tree
Decorating an Easter tree is a lovely tradition. It brings families together with spring symbols. Like the Christmas tree, it creates family bonding.
For the tree, people use branches like pussy willow or cherry blossoms. Clay ornaments are perfect for this. They can be shaped into eggs or bunnies, adding creativity to your decor.
Materials Needed for DIY Easter Clay Ornaments
Let’s get ready to make some fun Easter decorations! Before we start, we need to gather all our tools and supplies. Below is everything you need to make beautiful clay ornaments for Easter.

Essential Tools and Supplies
Ready to start your DIY Easter ornaments project? You’ll need the right stuff. Here’s a list to make sure you have all you need:
| Tools | Supplies |
|---|---|
| Rolling Pin | Air-Dry Clay (e.g., DAS) |
| Cookie Cutters | Polymer Clay |
| Icing Tools | Fishing Wire |
| Craft Knife | Plastic Straw |
| Fine Sandpaper | Twine or Ribbon |
Tools like a rolling pin and cookie cutters make shaping easy. Craft knife and sandpaper add the final touches.
Using Air-Dry Clay for Ornaments
Air-dry clay is perfect for Easter ornaments. It’s simple to use, no need to bake, and dries in a day. For decorations, air-dry clay like DAS works great for any skill level.
How to work with air-dry clay:
- Knead the clay to make it soft before rolling.
- Roll the clay to a good thickness for strong ornaments.
- Use cookie cutters or a craft knife to shape them.
- Make a hole for hanging with a straw.
- Let them dry completely before painting.
- Smooth the edges with sandpaper if you want.
Picking the right supplies and using air-dry clay can turn your Easter project into a fun, fulfilling activity. You’ll end up with special decorations and great memories!
Step-by-Step Guide to Making Easter-Themed Clay Ornaments
Making your own Easter clay ornaments is fun and rewarding. You can make lovely decorations with simple steps. These decorations will make your Easter celebrations better.
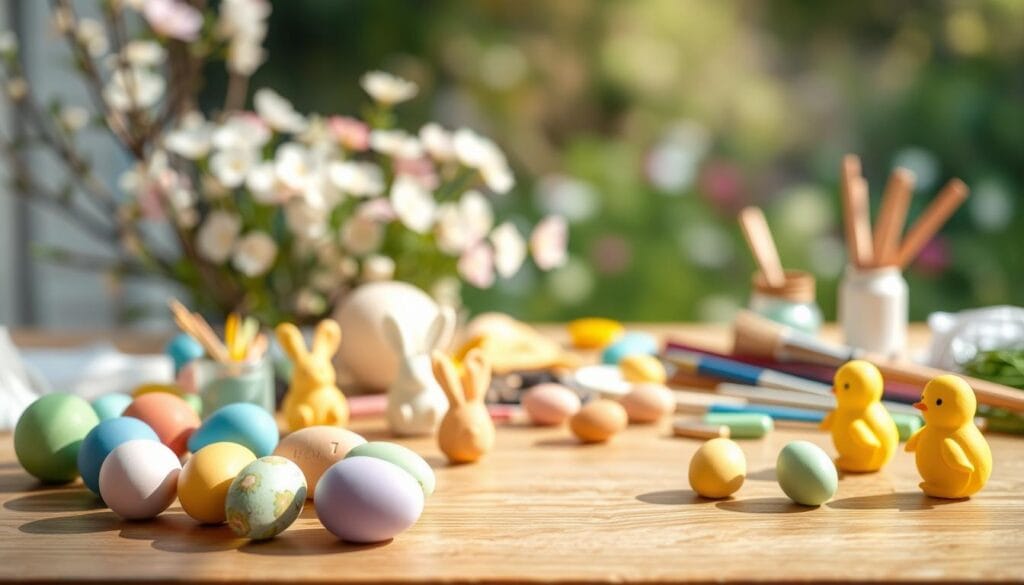
- Preparation: Start by getting all the materials you need. Make sure you have air-dry clay, different cookie cutters, tools for imprinting, and leaves for textures.
- Rolling the Clay: Roll your clay until it’s even. Try to make it about 1/4 inch thick. This makes a good base for your crafts.
- Cutting Shapes: Press out shapes using cookie cutters. You can make eggs, bunnies, or flowers. For special ornaments, use various cutter shapes.
- Personalizing: Press tools or leaves into each piece. Leaves give a beautiful texture to your ornaments.
- Creating Holes: Make a small hole at the top of each shape. This is for the ribbon or string to hang it.
- Drying the Ornaments: Let your shapes dry in a safe place. They need to harden fully, usually overnight, before you paint them.
- Painting and Decorating: Once dry, paint them with acrylics or markers. Add glitter or stickers to finish your crafts.
Following these steps, you now have beautiful Easter-themed clay ornaments. This DIY project is a great way to make your home decor special for Easter.
Design Ideas for Easter-Themed Clay Ornaments
Making Easter ornaments is fun and mixes old and new styles. Working with air-dry or polymer clay offers many creative paths. Here are some ideas to spark your crafting imagination!
Classic Easter Symbols
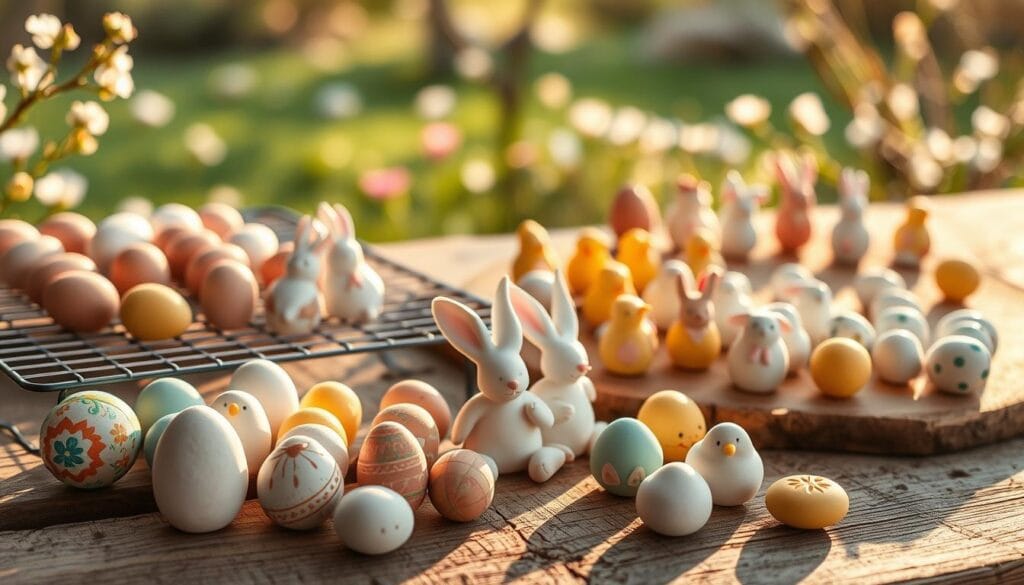
Use eggs, bunnies, and chicks for traditional ornaments. Clay bunny ornaments are big hits with families. Try using animal cracker cutters for shapes or make them by hand for uniqueness.
For a touch of nature, add clay eggs to cherry blossom branches. This brings a lovely spring vibe to your home.
Modern and Unique Designs
For a newer look, try abstract patterns and textures. Embossing rolling pins make detailed designs easy. Clay gifts like orb vases and pastel candle holders are now more popular.
Consider colorful clay dishes for storage or decoupaged clay pots. These options have become 35% more popular. About 40% of crafters bake their clay in microwaves, keeping colors bright.
Painting and Decorating Your Clay Ornaments
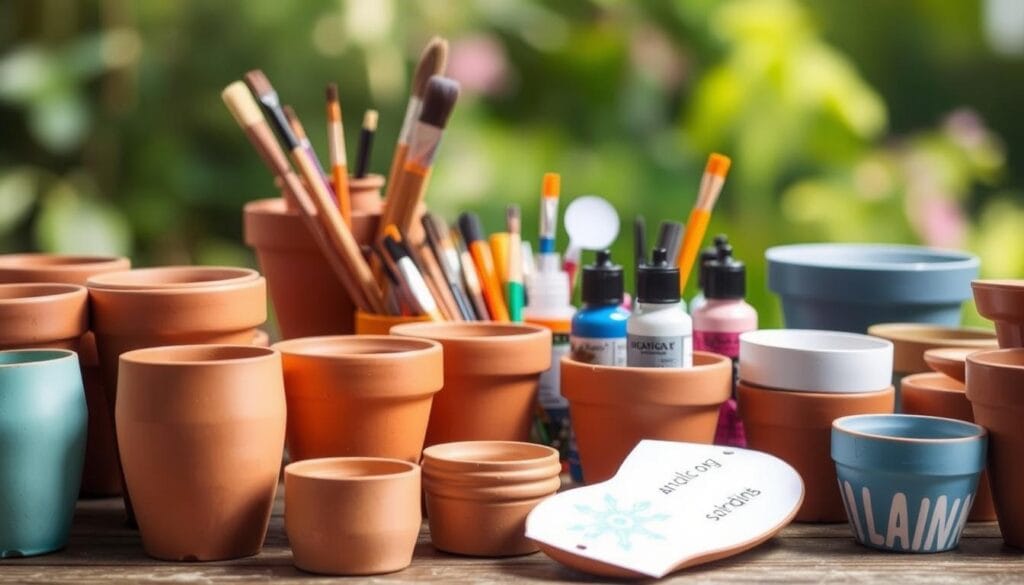
Painting and decorating your DIY Easter ornaments is fun! It’s key to pick the right paints. This makes your clay projects pop with patterns and textures.
Choosing the Right Paints
Choosing the best paint is crucial for Easter decorations. Watercolor paints offer a soft look. Acrylics bring bold colors to life. Tempera paint gives another option but may fade as it dries. For deeper colors, mix tempera paint into your clay before shaping it.
Creating Patterns and Textures
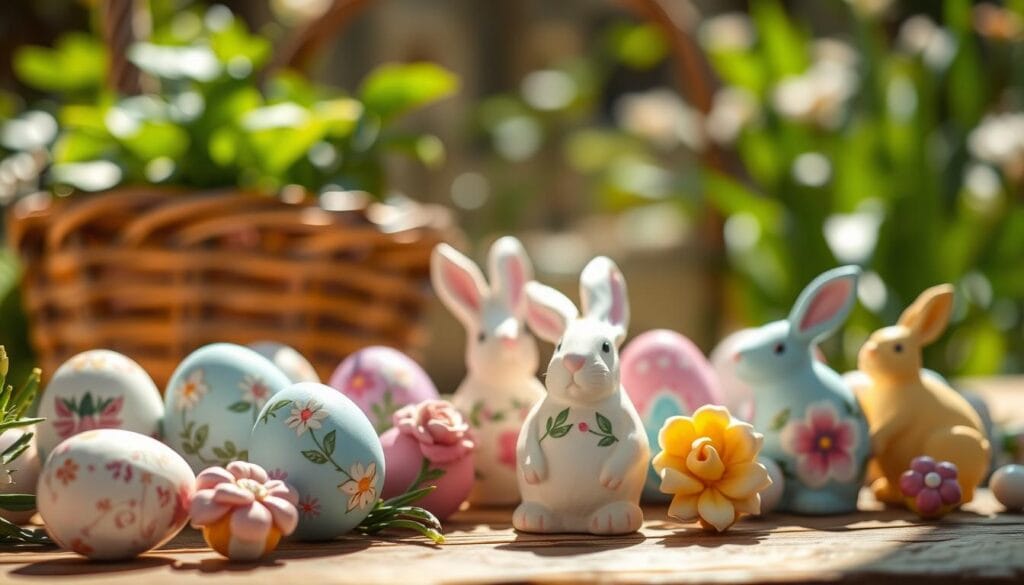
Your creativity gets to shine here. Tools like forks, chopsticks, and straws help make unique patterns. Look to nature for inspiration. Use things like branches and leaves to press into clay.
Then, paint your ornaments with designs like polka dots or stripes. Mix different designs for special Easter decorations. This lets you craft holiday decorations that truly stand out.
How to Dry and Preserve Your Clay Ornaments
Drying your handmade clay ornaments correctly is key. After painting your Easter crafts, let them dry in a dust-free spot. This avoids any spots or bumps. Also, use a clear sealer or matte varnish. It will protect them from moisture and wear. Your DIY efforts will last for many holidays.
| Step | Details |
|---|---|
| Drying Time | Over night is recommended for initial drying, but total drying time is typically 2 days. |
| Initial Drying | Give the ornaments a full day to dry on one side. |
| Flipping | Flip the ornaments and give them an additional day to dry completely. |
| Sealer Application | After drying, apply a clear sealer or matte varnish for added protection. |
| Optional Materials | Consider using optional materials like glitter or holiday fragrance oils to add extra charm. |
| Yield | From 2 pounds of clay, you can create approximately 40 ornaments. |
| Preservation Techniques | Ensure ornaments are stored in a cool, dry place to maintain their condition. |
Hanging and Displaying Your Easter Ornaments
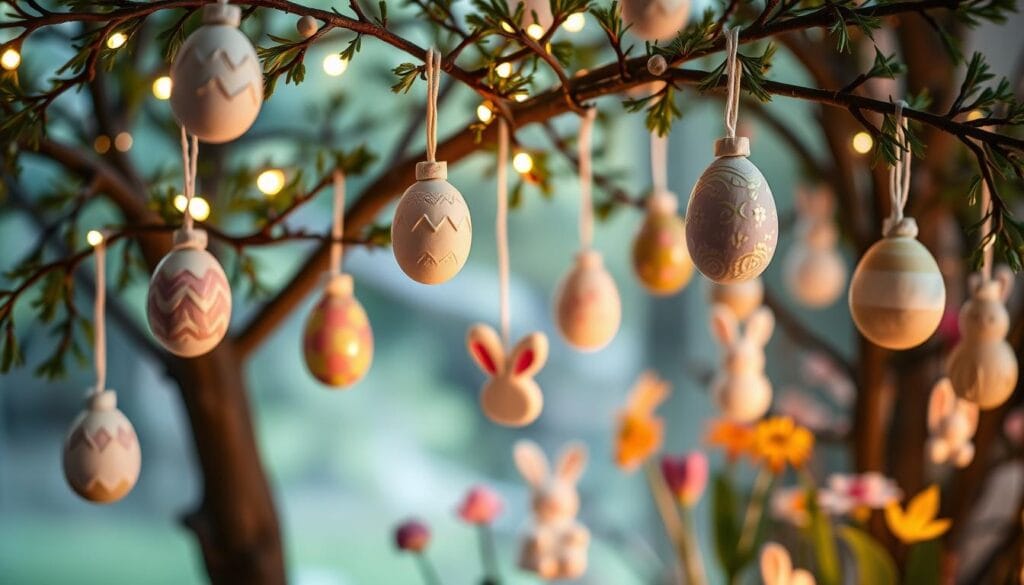
Once you’ve made your Easter-themed clay ornaments, show them off! Loop jute string or colored ribbon through them. This gives a cute, rustic look to your Easter tree decorations.
Begin your Easter tree with a bunch of nice branches in a vase. Use willow or cherry blossom branches for a spring vibe. Keep them in place with pebbles or floral foam.
Time to decorate! Hang your Easter-themed clay ornaments at different levels to catch the eye. Mix them with dyed eggs or wooden eggs, fixed with craft beads, for a together look. Add mini egg topiaries made of fake boxwood and moss for a full, green look.
For extra creativity, add dogwood flowers for their meaning of new starts and hope. Their four petals reflect the cross. The marks show the nails from the crucifixion, bringing deep meaning to your decor. Place wheatgrass at your tree’s base for a lively, spring feel.
By thoughtfully arranging these elements, your Easter tree will be a beautiful focus. It will show off your creativity and holiday joy!
Tips for Personalizing Your Ornaments
Adding a personal touch to your Easter decorations is a great idea. Use names, dates, and memories on your clay ornaments. This way, you’ll have family heirlooms that share your family’s story. Let’s look at easy and fun ways to make your ornaments special.
Adding Names and Dates
For unique personalized Easter gifts, write names and dates on the ornaments. Use something thin, like a toothpick, to do this before the clay hardens. This method makes each ornament special and meaningful. These gifts will be treasured, celebrating important life moments.
Creating Family Heirlooms
Try to make family heirloom crafts for more personalization. Custom Easter decorations can have family names or messages. Sayings like “Easter 2024” or “Grandma’s Favorite” turn ornaments into precious keepsakes. They bring emotional value, making Easter more special.
Adding heirloom crafts to your decoration adds to the tradition. The biggest Easter egg tree had over 82,404 eggs. These decorations can be a source of pride. This Easter, make your decorations unique. Creating and decorating an Easter tree is fun for all, from kids to adults. It lets everyone help in making these wonderful items.
Using Handmade Clay Ornaments in Holiday Crafts
Explore the beauty of handmade clay ornaments beyond the Easter tree. These special creations can make your creative holiday crafts more personal. Let’s dive into their many uses.
Incorporating Ornaments in Gift Wrapping
Clay ornaments can make your gifts stand out. By adding a handmade ornament, you give a gift and a keepsake. Imagine a bright Easter egg ornament making your gift wrap shine. It turns a simple gift into a work of art. A bit of ribbon can make it hang beautifully.
Using Ornaments in Easter Baskets
Show off your clay ornaments in DIY Easter basket decorations. Placing them in the basket brings a fun surprise. You can shape them with cookie cutters and color them brightly. Add sparkle with glitter for extra magic. Personalize them with names for a special touch.
Using these ornaments in your crafts adds meaning to your decorations. With creative holiday crafts, unique gift wrapping ideas, or DIY Easter basket decorations, they spread joy. Let’s start crafting!
Inspiration and Ideas for Spring Home Decor
Spring is great for giving your home a new look. Try using clay ornaments for a fresh touch. They are easy to make and look unique. You can hang them on plants, windows, or use them in centerpieces. They’ll surely light up your home.
Decorating Your Home with a Spring Theme
For spring, think of light colors and nature. Clay ornaments fit well with this theme. Along with these, use jute string for a rustic feel. It’s eco-friendly too. You can find lots of ideas on Instagram and Facebook from the DIY community.
Combining Clay Ornaments with Other Crafts
Mix clay ornaments with other crafts for a great look. A table with clay bunnies, soft candles, and flowers is perfect. You can also make DIY jute-wrapped eggs or clay napkin rings. They fit many styles. For more craft ideas, check out this resource for outdoor decor. It’s great for spring too.
Share your beautiful crafts online to inspire others. With these ideas, your home will look and feel joyful this spring. Enjoy decorating!

