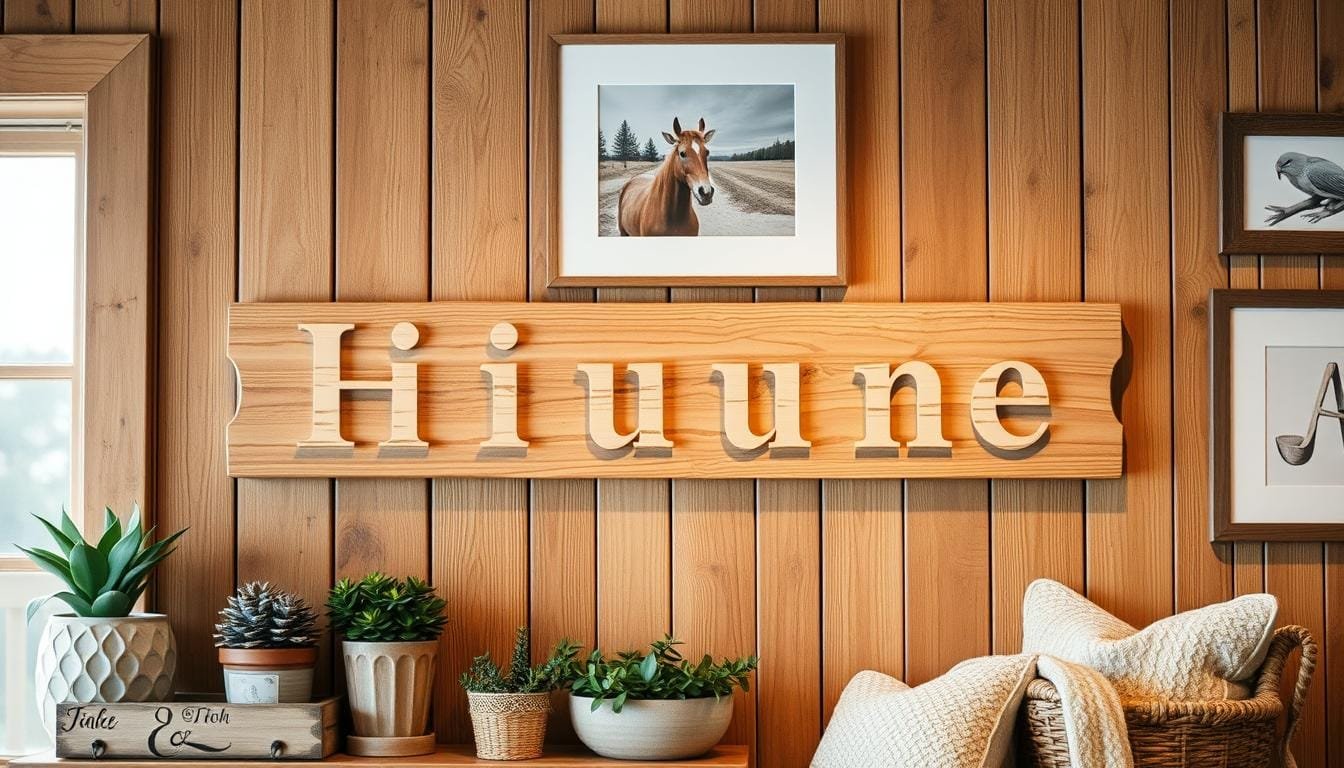
Imagine walking into your home and seeing a beautiful wooden name sign. It’s a simple detail that makes your space special. Making our own sign for the front door was memorable. It was the holiday season, and we wanted a unique welcome for visitors. We felt so proud when we hung up our creation!
This guide will show you how to make your wooden name sign. It’s perfect for DIY lovers or beginners and won’t break the bank. You’ll feel great making something by hand. We used what we had, so our expense was almost nothing. But, buying supplies is still cheaper than a store-bought sign. Let’s get creative together!
DIY personalized wood signs are perfect for a weekend project. They celebrate any occasion, from birthdays to weddings, or just add charm to your decor. We’ll guide you from selecting wood to adding final touches. So, get your tools ready and let’s start crafting your custom name sign!
Introduction to Personalized Wooden Name Signs
Welcome to the magical world of personalized wooden name signs! It doesn’t matter if you’re starting out or have lots of DIY experience. There’s something special about making a wooden name sign that shows off your individuality. These signs can make any room, whether it’s a warm nursery or a professional office, feel unique and personal.
Benefits of Custom Signs
Custom wooden name signs come with many advantages. They are incredibly flexible. You can choose from many different materials, colors, fonts, and sizes to make the perfect sign. Plus, they really make your space look better. A survey found that 75% of homeowners thought a custom name sign made their home stand out and increased its appeal.
For businesses, these signs can really make a difference. About 85% of customers said a well-made sign played a big part in their choice to go into a store or office. These signs also make your brand more visible by up to 60%, which is great for business owners. And, for places open at night, backlit signs help them be seen 70% more.
Examples of Uses and Occasions
There are so many ways to use a personalized wooden name sign. Imagine giving a special wooden name plaque for a child’s room as a gift. It’s a thoughtful present that lasts. These signs are also great for weddings, adding a personal touch. And for businesses, a custom sign at the front makes your brand stand out stylishly.
Events like trade shows also benefit from unique signs. Reports say that 60% of those with booths noticed more visitors thanks to their distinct signs. Whether it’s for garden holders or custom blocks on sale for $3.89, personalized signs are all about style and creativity.
Materials Needed for Your Project
Starting a handmade name sign project begins with getting the right stuff. You need to choose the right wood and ensure you have the correct tools. Each detail is crucial for making a personalized wooden sign. Let’s look at what you need to start your DIY adventure. 🌿
Types of Wood for Sign Making
Choosing the right wood is key to making your sign. Here are some top picks:
- Birch Hardwood: It’s smooth and durable, great for detailed work and lasting signs.
- Plywood: Plywood is cheap and flexible, good for inside and outside signs. MDO plywood is also great for resisting water.
- Reclaimed Wood: For a unique, rustic look, reclaimed wood from old places adds character and history.
Essential Tools for Woodworking
With wood ready, it’s time to collect the important tools for your project. Here are some essentials:
- Jigsaw: A jigsaw is crucial for cutting custom shapes and details easily.
- Paint: Use exterior paint for outdoor signs. Green and yellow are top picks, especially green for home decor.
- Sandpaper: You need different grits to smooth the wood before and after you paint it.
- Clear Spray Sealer: This will keep your sign safe from damage, helping it last longer.
- Brushes: Get high-quality brushes for precise painting and details.
- Safety Gear: Always wear safety glasses and gloves to stay safe while working.
- Cricut Machine: If you have one, it’s great for making and cutting stencils for accurate lettering.
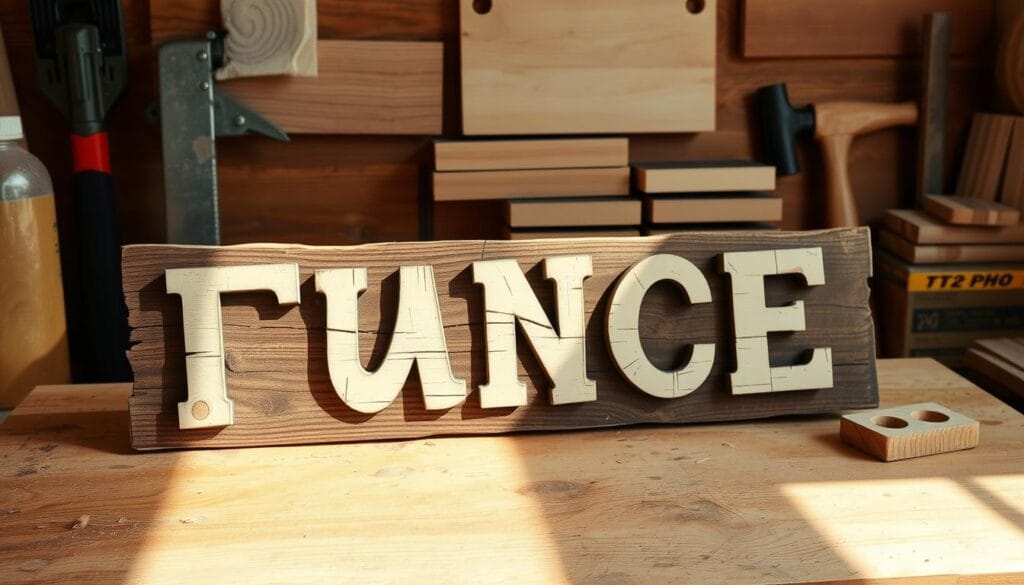
Having these tools and materials ready will help you succeed. Making a personalized wooden sign will be fun and result in a beautiful, quality product. Now, get ready to dive into making your sign! 🚀
Designing Your Name Sign
Making a custom wooden name sign begins with a good design. You need to pick the right font and style. Then, you plan the layout and size carefully. Let’s dive in!
Choosing the Right Font and Style
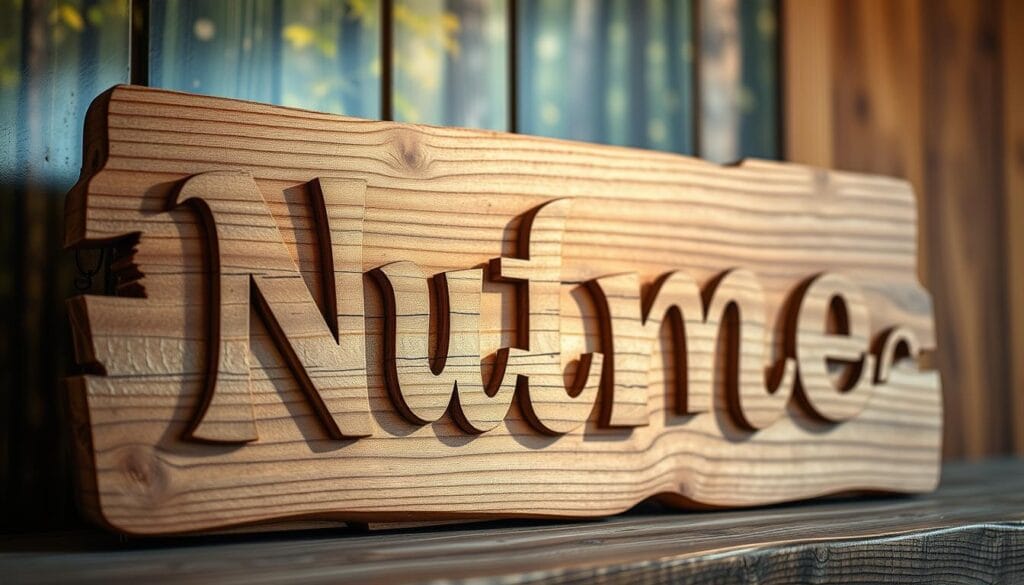
The font choice is key to making your sign look great. You might want something elegant or bold. The Fantastic Font Bundle offers 40 fonts for $19. It’s a great way to find what you need. For a classic look, try cursive fonts. They make your sign look elegant. Also, a Cricut machine can help you cut out perfect stencils.
Tips for Layout and Size
It’s important to plan your sign’s layout and size. Make sure it’s easy to read and looks good. Start by cutting your plywood to 2′ x 3′. Then, paint it twice for a solid finish. Making the letters about 10 inches tall helps people read it from far away.
Here’s a helpful table to guide you through the typical dimensions and materials:
| Material | Dimension | Quantity |
|---|---|---|
| Plywood | 2′ x 3′ | 2 pieces |
| Paint | 2 coats | – |
| Letters | 10 inches | Varies |
| D Ring Hooks | – | 4 |
| Zinc Brackets | 1 1/2″ | 12 |
| Unique Design Elements | Cursive name, flowers | 2 |
Today, wooden name sign designs fit modern spaces too. Adding family names or initials makes your sign special. It brings a unique touch to your home.
Keep trying until your design feels right. It often takes a few tries to get it perfect. Be patient and enjoy making your sign!
Preparing Your Workspace
Starting your journey with a personalized wooden name sign requires a well-set workspace. It ensures top results, your safety, and efficiency. Here are some important tips to help you.
Safety Precautions and Best Practices
Your safety should come first. Wear safety goggles and gloves to avoid injuries. Keep long hair tied back and stay away from loose clothing that could get caught in tools. Make sure your area is aired out well if you’re using paints or stains.
A tidy space can prevent accidents. Store your tools and stuff off the ground and in specific spots. It’s smart to have a first aid kit nearby, just in case.
Organizing Your Tools and Materials
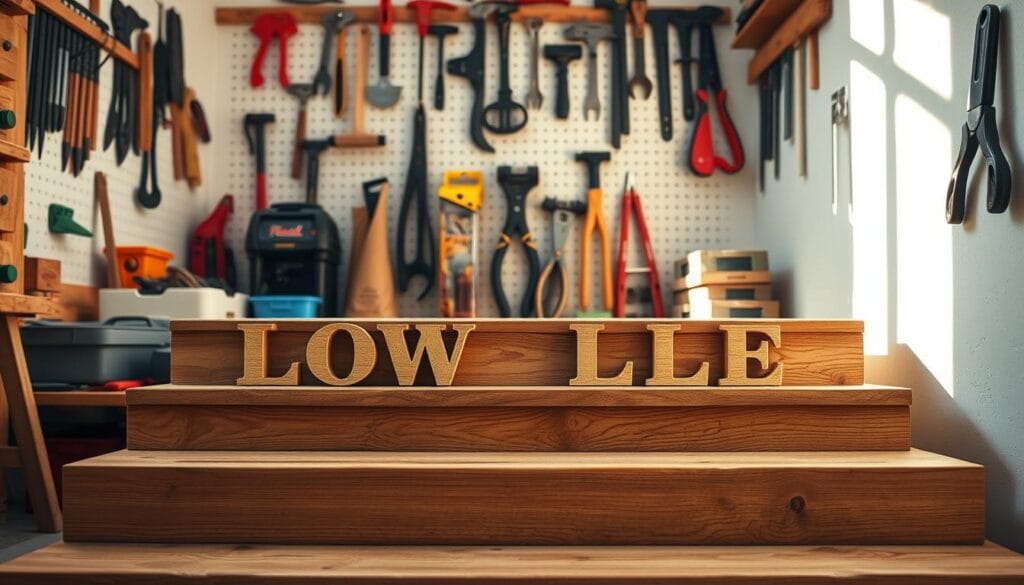
Having your workspace in order makes you work better on your project. Use tool organizers or pegboards to keep things handy. Put your materials in a logical order so you always know where they are.
Make sure you have good lighting. It helps you see clearly and avoid errors. Have a dust collector or vacuum ready to keep the place clean from sawdust.
By taking these steps, you’re setting yourself up for a great crafting time. A well-organized space is crucial for creating the personalized wooden name sign you’re dreaming of! 🌟
Cutting the Wood for Your Sign
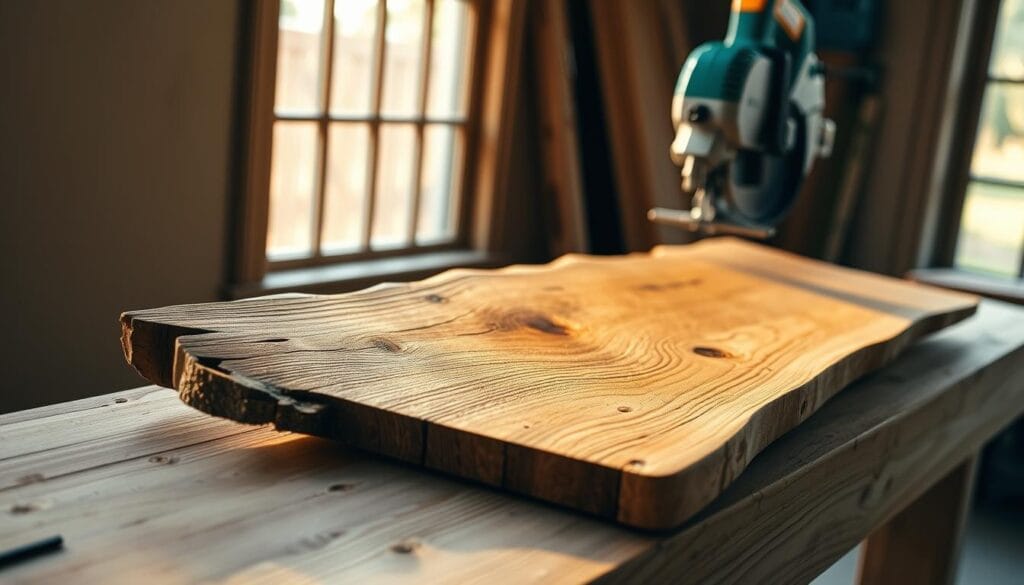
In the crafting journey of making a DIY personalized wood sign, the cutting step is key. The way you cut impacts the sign’s quality and looks. We suggest using 1/2″ plywood because it’s strong and easy to find at home improvement stores.
Techniques for Accurate Cutting
For exact cuts, choose a jigsaw with a scrolling blade, ideal for detailed cuts. First, type your chosen word or phrase in a favorite font and print it big. Use this as a stencil, tracing it onto your plywood.
Use a ruler for straight lines and clamps to keep the wood still. Then, sand the edges with 120 grit sandpaper for smoothness and better paint stickiness.
Using a Jigsaw vs. Other Tools
A jigsaw is great for its versatility and detail work. Though scroll saws or laser cutters work well, a jigsaw balances precision and control. For small, detailed work, a scroll saw is best. But for bigger projects, nothing beats a jigsaw.
For smoother, faster results on your DIY wood sign, try finishing tips like double coating paint and using Sharpie oil-based pens for the letters. The Haven conference reported more DIY projects lately, making it a great time for creative work.
Sanding the Wood Surface
To get a perfect finish on your custom name sign, you must sand it. Sanding is very important. It makes sure the paint or stain sticks well. This makes the final product look professional. Sanding changes the surface from rough to smooth and ready for the last steps.
Importance of Sanding for Finish Quality
Some DIY fans skip sanding, but it’s a key step in making custom name signs. Sanding takes away any flaws. It gets the wood ready for paint or stain. If you sand wrong, you could get marks or scratches that ruin your sign.
Step-by-Step Sanding Process
Follow these sanding steps for the best outcome:
- Start with Coarse Grit: Begin with 80-grit sandpaper. This gets rid of any bad spots or old finishes. Move with the grain of the wood to avoid scratches.
- Move to Medium Grit: Switch to 120-grit sandpaper next. This evens out any left stains and smooths out scratches. This step is important for good sanding later.
- Smooth with Fine Grit: Use 320-grit sandpaper for a super smooth surface. This step is vital for getting the surface ready for paint or stain.
- Final Touch with Extra Fine Grit: For an even smoother finish, use 400-grit sandpaper. This last step makes sure there are no visible scratches.
Take your time. Rushing can mess up your sign. Always sand in the same direction as the wood grain. Don’t press too hard. If you sand carefully, your sign will be ready for finishing.
| Sanding Grit Guide | Use |
|---|---|
| 40-60 Coarse Grit | Ideal for floors and removing tough paint |
| 80-150 Medium Grit | Good for general sanding and taking off old paint |
| 180-220 Fine Grit | Great for making furniture rough before painting |
| 320-400 Extra Fine Grit | Use between coats of paint or topcoats |
We hope these tips help you make a great custom name sign. Enjoy your sanding!
Painting and Staining Your Name Sign
Choosing the right finish can take your wooden name sign from plain to stunning. Whether it’s bright paint or a deep stain, the correct choices will make your project shine.
Choosing the Right Finishes
Start by picking the finish for your wooden name sign. Latex paint is great for its lasting quality and color variety, ideal for a striking look. For a natural feel, staining brings out the wood’s grain beautifully. Use light paint coats for a drip-free, smooth result.
If staining, apply 2-3 coats to enrich the color. Remember to dry each layer well. When painting, cover the face and edges with 2-3 thin coats. A primer on raw wood ensures an even appearance.
Techniques for Even Application
For even coverage, try foam brushes or small rollers. They prevent excess paint. A small kit for touch-ups, found at stores like Home Depot for under $3, is helpful for detailed work.
Before adding a new coat, sand with 220 grit sandpaper to smooth any bumps. This gives a professional look. For detailed designs, use vinyl stencils. They keep paint inside the lines, producing sharp edges.
| Material | Estimated Cost | Application Tips |
|---|---|---|
| Latex Paint | $2 – $5 for a sample | Opt for light coats to avoid drips; excellent for broad color choices. |
| Stain | $8 – $15 per quart | Apply multiple coats for a darker finish; allow each coat to dry thoroughly. |
| Foam Brushes | $1 – $3 each | Use for smooth and even paint application. |
| 220 Grit Sandpaper | Approximately $5 per pack | Sand between coats to remove any uneven paint buildup. |
Adding Decorative Elements
Let’s talk about enhancing your handmade name sign with decorative elements. Adding these features can make your sign pop. You can use anything from stencils and vinyl to natural touches.
Using Stencils and Vinyl Cutouts
Stencils and vinyl are great for adding beauty and precision. They work well for both complicated and simple designs. Using vinyl gives a smooth look and feels professional.
When using stencils, a light adhesive prevents paint bleed. Choose the right paint and brush to avoid issues. A couple of paint coats can show the wood’s texture without overpowering the design. Use fine-grit sandpaper, like 120, for a smooth finish.
Incorporating Natural Elements like Flowers
Add a nature vibe with elements like flowers, branches, or leaves. These can make your wood sign more artistic. They also make the sign feel different to touch, adding depth.
Use a strong glue for these natural pieces. Place them well to make your sign look balanced. Feel free to experiment with the design to match your room’s look.
Stencils, vinyl, and nature not only beautify your project but also add a personal touch. For more tips and ideas, check out this DIY guide. Let your creativity flow and personalize your space.
Sealing Your Wooden Sign
When making a personalized wooden sign, it’s key to seal it well. This keeps it looking good and safe from things like moisture and sun. Let’s talk about what sealers to use and how to apply them for a lasting, beautiful finish.
Types of Sealers and Their Uses
If you’re deciding on a sealer, think about where your sign will be. Here are some types you can choose from:
- Polyurethane: Good for inside but may turn yellow in sunlight, which isn’t ideal for outside signs.
- Spar Urethane: Protects against UV rays and is water-resistant, so it works for both inside and outside but might yellow as it ages.
- Polycrylic: Doesn’t yellow over time, making it best for inside because it doesn’t protect against UV light.
- Clear Spray Paint: Simple to apply for a quick layer of protection, but it’s not as strong and might look cloudy when dry.
- Furniture Wax: Gives a natural look but needs to be applied again over time and lacks UV protection.
Every sealer has its pros and cons, so choose one that meets the needs of your personalized wooden sign project.
Application Tips for a Durable Finish
How you apply the sealer can impact how long your sign lasts and how it looks. Here’s how to do it right:
- Prepare the Surface: Clean and dry your sign before sealing. Smoothly sand it, especially the detailed parts.
- Use a Quality Sealer: Put on at least two coats. For detailed carvings, spray a coat to stop colors from running.
- Resand Between Coats: Sand lightly between sealer coats for a smooth, dust-free finish.
- Consider UV Protection: For signs in the sun, use a sealer like Spar Urethane that blocks UV rays.
- Maintain Proper Tools: Keep your tools sharp, like the 60-degree VBit or 2mm downcut endmill. Dull tools can hurt the wood and masking.
Making a personalized wooden sign is more than just woodwork. It needs the right finishing touches for a long life. Follow these tips to safeguard your sign and keep it looking great for a long time.
| Sealer Type | Pros | Cons |
|---|---|---|
| Polyurethane | Durable, easy to apply | Yellows over time, no UV protection |
| Spar Urethane | UV protection, water-resistant | Yellows over time |
| Polycrylic | Does not yellow, quick-drying | Not UV protected |
| Clear Spray Paint | Easy application, quick drying | Less protection, can dry cloudy |
| Furniture Wax | Natural finish | Requires reapplication, no UV protection |
Mounting Options for Your Sign
Picking the best way to hang your personalized wooden name sign is vital. It makes sure your sign is stable and looks good. Whether you put it inside or outside, knowing about different mounting methods can make it look better.
Wall-Mounting Techniques
Putting your sign on a wall is a common choice. It offers solid and adaptable ways to display it. Inside, Command Strips and Scotch Extreme Mounting Tape work great on smooth walls. Did you know that 70% of people who like doing projects themselves choose these for their simplicity and clean application?
For signs that are bigger or heavier, mounting to a stud is smarter. Studs give a strong fix, perfect for signs that need holes. If your wall has texture, using pushpins or small nails can help stabilize.
- Command Strips – Great for most walls and easy to take off
- Scotch Extreme Mounting Tape – Works well on flat surfaces
- Stud Mounting – The best pick for big or heavy signs
- Pushpins/Finish Nails – Good for walls with texture
Freestanding Options and Solutions
If you can’t or don’t want to hang your sign on a wall, consider freestanding options. These let you move your sign around easily. They are great for decorating your home or for events. You can make a base by attaching your sign to a board or by using a strong glue on a heavy base.
Using materials like brass or stainless steel is smart because they last a long time and are good for outside. To hang signs on trees safely, use aluminum nails and a 1/4″ lag screw with a 1/2” space. This way, the tree can grow without being hurt, and your sign will stay in place.
Making good choices in how you mount your sign can really make it more stable and look great.
In the end, choosing between putting your sign on a wall or having it stand on its own depends on your needs. Whether you like the easy way of command strips or making your own base, using these ideas will make your sign look amazing.
Caring for Your Personalized Sign
Keeping your personalized wooden name sign in good shape is easy with a few steps. Follow these tips to make sure your sign stays perfect for many years.
Cleaning and Maintenance Tips
It’s important to clean your sign regularly. Use a soft cloth to dust off your sign. This keeps it looking new and well-cared for.
For a deeper clean, choose a soft, non-abrasive cleaner. Wet a cloth with water and soap, then lightly wipe the sign. This method works well for many woods like oak, maple, and cherry.
Protecting Your Sign from Elements
If you’re using your sign outside, you need to protect it from weather. Use weatherproof sealants to keep it safe from moisture and sun. Follow the sealer’s instructions to make your outdoor sign last longer.
Indoor signs benefit from wood polish. It keeps the wood shiny and safe from damage. Your sign will keep looking great just like when you first put it up.
Also, try to place your sign where it won’t get too much sun or face harsh weather. By doing these things, your wooden name sign will remain in great condition.
Creative Ideas for Customizing Further
Looking to take your DIY personalized wood sign to new heights? There’s a sea of creative options out there. Let’s dive into some ideas that will make your wooden name sign not only unique but also a total eye-catcher.
Unique Shapes and Sizes
Why stick to the usual rectangular signs? Think outside the box. Try cutting your sign into fun shapes like stars, circles, or even special silhouettes that represent you or your space’s theme:
| Shape | Ideal Uses | Additional Notes |
|---|---|---|
| Circle | Wedding decor, kitchen signs | Supports symmetry and flow. |
| Star | Kids’ rooms, festive decorations | Adds playful and vibrant energy. |
| Custom Silhouettes | Personal gifts, unique wall art | Aligns with personal hobbies or interests. |
Incorporating Family Names or Initials
Custom signs shine with personalization. Adding family names, monograms, or initials makes the sign deeply meaningful. It turns it into a keepsake to treasure. Here are some favorite ways to do it:
- Vinyl Stencils: Create precise stencils for painting names or initials using a vinyl cutter, like the Cricut. These machines can handle vinyl up to 24 inches wide.
- Layered Wood: For a cool 3D look, cut out letters from extra wood pieces and glue them onto your sign.
- Paint Pens: For neat lettering, many DIY enthusiasts like using paint pens. They make it easy to craft detailed designs.
Making your DIY personalized wood sign stand out isn’t tough. Try different shapes, sizes, and personal elements. This will help you create a sign that’s unique to any setting.
Conclusion and Encouragement for DIYers
As our crafting journey comes to an end, it’s important to look back at the progress we’ve made. Crafting a personalized wooden name sign has reignited our creative spark. Each step, from picking the wood to sanding, has crafted a piece that’s truly ours.
The instructions guided you, but your creativity turned a simple project into something special. By making this sign, you’ve added a unique touch to your space and celebrated your inner artist.
Celebrating Your Creativity
Making something beautiful by hand is worth cheering for. You poured your heart into details like the smooth edges and perfect paint. Your sign isn’t just a project; it’s a personal artwork that speaks to who you are.
And remember, this is just the start. The skills you’ve learned and the creative boost you’ve felt are priceless.✨
Sharing Your Finished Project
Your wooden name sign is complete, and it’s time to share your success. Take a picture and show it off on social media. By doing this, you inspire others to start their DIY adventures.
Use tags like #WoodEngraving, #DIYHomeDecor, and #PersonalizedSigns to connect with fellow makers. Instagram and Pinterest are great places to find and share inspiration. They’re full of ideas for your next project.
You should be proud of what you’ve created! We hope our guidance helped create joy in your space. Keep crafting and sharing your work! 🎨

