Welcome, craft enthusiasts! 🌸 As we greet spring, let’s make a DIY Easter Egg Wreath. I’ll share a little story to kick things off. 🌷
Last spring, I wanted a colorful entrance. So, I made an Easter egg wreath. It had faux flowers, gold leaf, and pastel paints. This project brought me joy and inspiration.
This guide will help you make a lively entryway décor. It’s perfect for Easter. You don’t need lots of experience. You’ll find fun and satisfaction here. We cover all the steps and tips.
By the end, you’ll have a beautiful wreath to hang. You’ll enjoy the craft journey, too. So, let’s start this fun project together. 🌼
P.S. Looking for more DIY holiday ideas? Check out this link for great tips!
Why Create a DIY Easter Egg Wreath?
Creating a DIY Easter Egg Wreath is more than a fun craft. It brings Homemade Easter Decorations and personalized beauty into our homes. Making your own unique Easter decor is worthwhile and enriching.
The Significance of Easter Decor
Easter decor symbols new life, renewal, and the joy of spring. It makes our homes reflect the season’s spirit. These decorations create lasting memories, welcoming guests with the festive cheer of Easter.
Benefits of Crafting Your Own Wreath
Making your own wreath is cost-effective. With less than $18, you can enjoy being creative. Use pastel eggs from Michaels for $2.99 and dollar store moss to save money. The process is also quick and easy, great for family crafting.
Personalizing Your Wreath for Your Home
Creating your own decor lets you add a personal touch. With 75-100 plastic eggs, try different paint techniques for a unique look. Don’t forget a wired blue gingham ribbon for an elegant touch. Your wreath will be uniquely yours.
| Item | Cost | Suggestions |
|---|---|---|
| Pastel Eggs (Michaels) | $2.99 per package | 2 packages for fuller wreath |
| Grapevine Wreath Form | Varies | 18 inches recommended |
| Wired Blue Gingham Ribbon | Varies | For the elegant bow |
| Spanish Moss | Dollar Store prices | Use to fill in gaps |
Essential Materials Needed
Let’s start our Easter Wreath Tutorial by collecting all the needed items. This first step makes sure we have everything ready. It makes the crafting smooth and fun.
List of Supplies
Here’s what you’ll need for your Easter wreath:
- 14 Easter eggs
- 1 embroidery hoop
- 3 rolls of crepe paper in various spring colors (cut into 1/2 inch strips)
- 4 sheets of felt for creating leaves
- 9 felt balls
- Easter Egg Spray
- Decorative Bird
- Moss
- Mixed Greenery Bush
- Ranunculus, Blue Astilbe, Silk Flowers
Suggested Tools for Crafting
- Rotary Cutter
- Scissors
- Heavy Duty Stapler
- Floral Pins
- Steel Pick Machine
- Silicone Mat
- Wire Cutters
- Hot Glue Gun
Where to Purchase Materials
Getting the right materials at good prices is key for the Easter Wreath Tutorial. Check craft stores like Michaels or JoAnn Fabrics for supplies. Thrift stores can also have unique items. Online shops like Amazon are great for easy shopping. Expect to spend $30 – $50 on all materials for this budget-friendly project.
Choosing Your Wreath Base
Picking the right wreath base is key because it supports your whole Creative Easter Wreath Design. It doesn’t matter if you’ve been making things for years or just starting, the base matters a lot. It shapes the look and how long your wreath will last.
Options for Wreath Bases
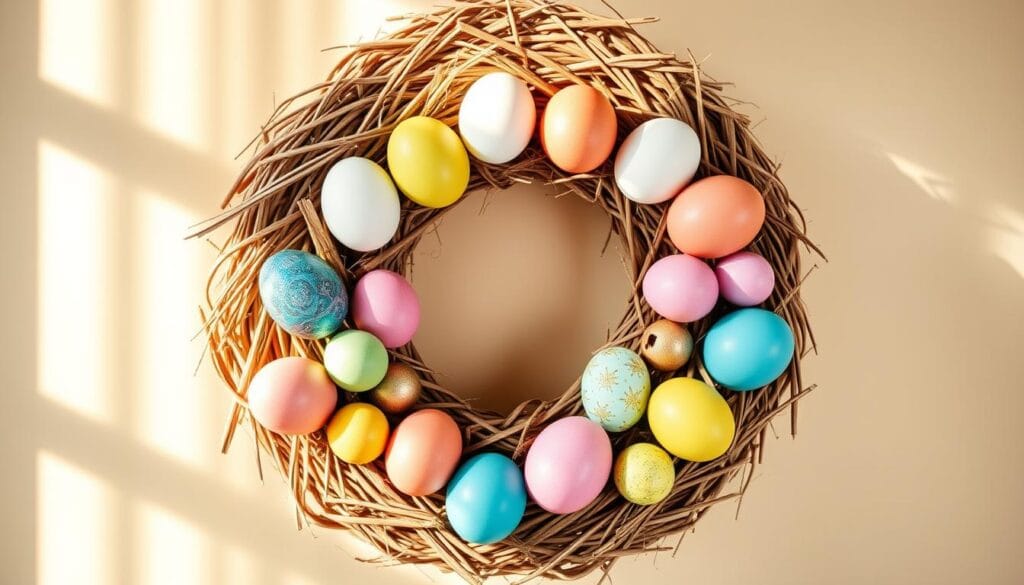
There are many bases to choose from for your Creative Easter Wreath Designs. You can use straw, foam, or grapevine wreaths. A foam wreath form, like a 12-inch Styrofoam base, is great if you want something light and simple to decorate. Grapevine bases add a natural look, perfect for fake flowers and eggs. And, straw wreaths bring a country feel, great for spring decor.
Comparing Different Shapes and Sizes
Choosing the best shape and size is very important. A 12-inch craft ring works well for a Pom-Pom Bunny Wreath, needing 17 big white pom-poms. If you want something big, try the Rainbow Egg Wreath. It uses papier-mâché eggs and lasts a long time. You can find wreath shapes like circles, baskets, bunnies, or carrots. This lets you pick a design that matches your style.
Eco-Friendly Wreath Base Choices
If you want to be kind to the earth, think about using grapevine or real twig wreaths. They are good for the planet and can break down naturally. You could also recycle things, like paper egg cartons for an Egg Carton Wreath. Choosing these materials means your Creative Easter Wreath Designs are not only beautiful but also eco-friendly.
“By opting for eco-friendly bases, like grapevine wreaths or recycled materials, we embrace sustainability while showcasing our creativity.”
Selecting the Right Easter Eggs
Choosing the perfect Easter eggs is important for a beautiful Easter egg wreath. You might pick soft colors or bright ones to complement your decor. Let’s see how to make an Easter egg wreath with different egg types, DIY options, and color choices.
Types of Easter Eggs to Use
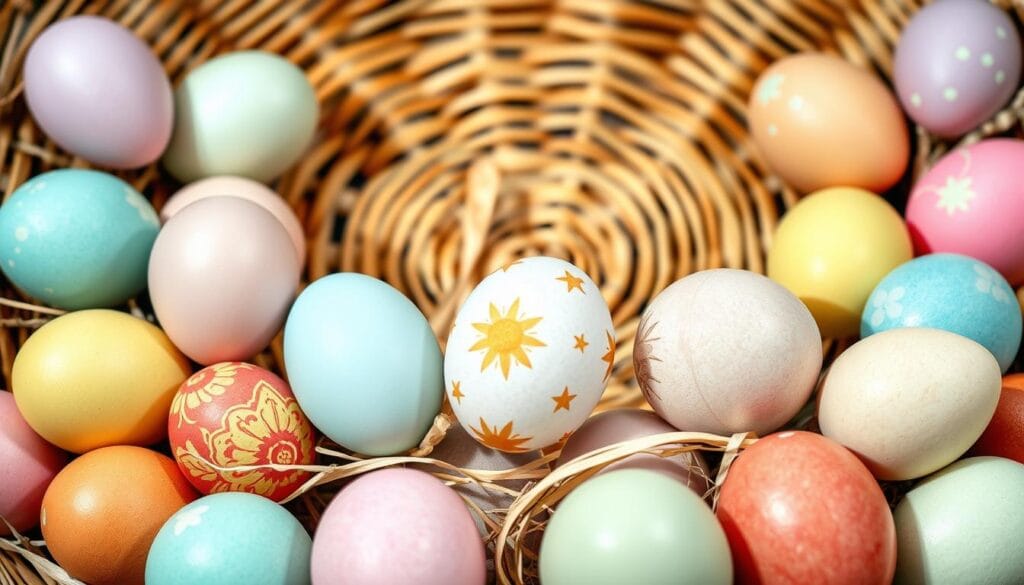
There are many types of Easter eggs to spark creativity. Small Styrofoam eggs add nice detail, while big eggs make the wreath pop. You can also use plastic or wooden eggs, depending on your wreath’s style.
DIY vs. Store-Bought Eggs
Making your own Easter eggs is fun and adds a personal touch. DIY eggs let you create unique patterns. If you’re short on time, store-bought eggs are handy and come in many designs. Mixing DIY and store-bought eggs gives your wreath an interesting look.
Color Schemes for Your Wreath
Picking the right colors is key for a good looking wreath. Pastel colors like soft pink and light yellow give a classic feel. Or use bold colors to make your wreath stand out. When making an Easter egg wreath, mix 2 to 3 colors or patterns for depth. This looks great with added greenery and flowers.
| Type of Egg | Features | Advantages |
|---|---|---|
| Styrofoam Eggs | Lightweight, customizable | Easy to paint and decorate |
| Plastic Eggs | Durable, pre-colored | Quick and convenient |
| Wooden Eggs | Sturdy, smooth surface | Great for intricate designs |
| DIY Painted Eggs | Handcrafted, unique | Personalized touch |
Step-by-Step Wreath Assembly Guide
Let’s start our journey to make an Easter Egg Wreath. It will brighten up your door. This guide is for anyone, whether you are new to crafts or love DIY. You can make a beautiful wreath with these steps.
Preparing the Wreath Base
First, choose a solid base. A 12-inch wire frame is perfect. Cover the frame with two sheets of tissue paper. Use a hot glue gun to keep it smooth. A strong base makes a wreath that lasts.
Attaching the Easter Eggs
Now, pick colorful plastic eggs. You need about 2.5 cartons. Paint them with six colors of chalk paint. Use colors like Blush, Java, and Sea Glass. Let them dry well.
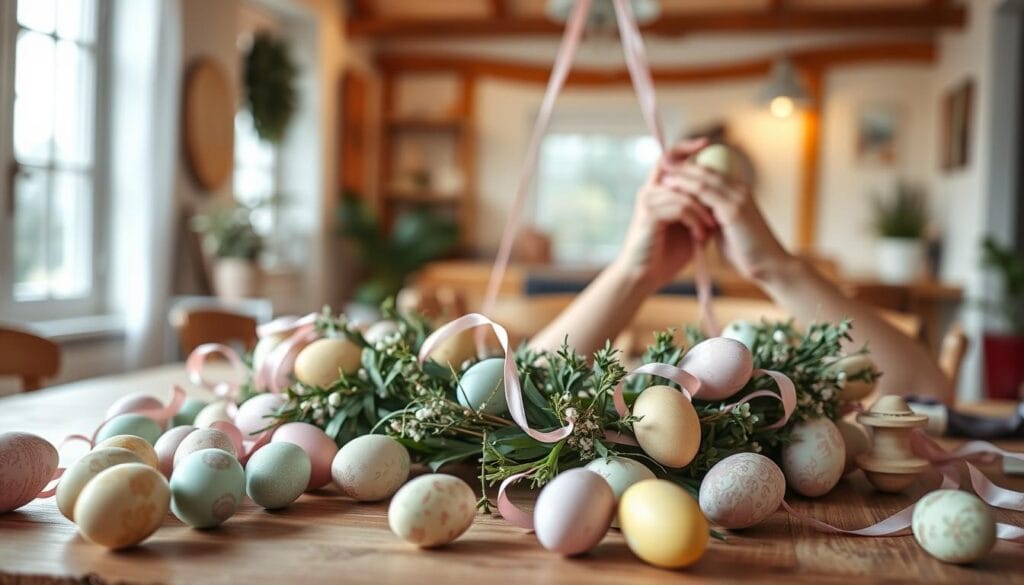
When dry, use hot glue to stick the eggs to the foam ring. Place them close for a full look.
Adding Decorative Elements
Add more fun items to your wreath. Use twigs, fake flowers, and quail eggs for variety. Mix 10 daffodils and pussy willow stems for a spring vibe. Make leaf boughs with five leaves and floral tape. Glue these on carefully for extra beauty.
Making an Easter Egg Wreath is joyful. Enjoy the process and make it your own. It will make your door look great for the festivities.
Incorporating Seasonal Florals
Adding seasonal florals to your wreath brings natural beauty and symbolizes new beginnings. Perfect for Easter and spring. Choosing the right flowers will make your Creative Easter Wreath Designs stand out.
Choosing Appropriate Flowers
Choose seasonal blooms for color and texture contrast. Daffodils, tulips, and baby’s breath are great for their color and longevity. The use of dried florals has risen, showing a swing towards lasting decorations.
Techniques for Floral Arrangement
Be creative with arranging your flowers. Use floral wire or glue for flexibility. Color-blocking is popular, with half of crafters trying new color jams. For ideas, check out speckled egg and rustic wreaths.
Why Floral Accents Enhance Your Wreath
Floral accents make your wreath pop. About 60% of shoppers like wreaths with flowers and decorations, like Easter eggs. It’s festive and fits the season’s renewal theme. The cost for Creative Easter Wreath Designs ranges from $15 to $40. It’s a budget-friendly way to add beauty to your space.

Adding Finishing Touches
Adding final touches to your wreath makes it stand out! When thinking about how to make an Easter egg wreath unique, details are key. Explore ways to add that special touch to your creation.
Creative Bow Ideas
Your wreath needs a captivating bow. Craft a stunning bow with lush ribbons or delicate tulle for a festive feel. Try different shapes and sizes to match your wreath. A beautiful bow can really make it look amazing!
Utilizing Ribbons and Tulle
Use ribbons and tulle for a plush, elegant look. Wrap ribbons around or let them flow down. Tulle brings volume and whimsy. For a vibrant how to make an Easter egg wreath, pick spring-like patterns and colors.
Enhancing with Glitter and Paint
Love sparkle? Add glitter for a magical shimmer. Or use metallic paint for highlights. Glitter and paint boost your wreath’s uniqueness. Reflect your personality with these touches. Enjoy perfecting how to make an Easter egg wreath that’s truly yours!
Hanging Your Wreath Correctly
Making a DIY Easter Egg Wreath for Your Front Door is a big achievement. It’s just as important to hang it right to show its beauty and keep it safe. Let’s talk about how to hang your wreath the right way.
Best Practices for Door Placement
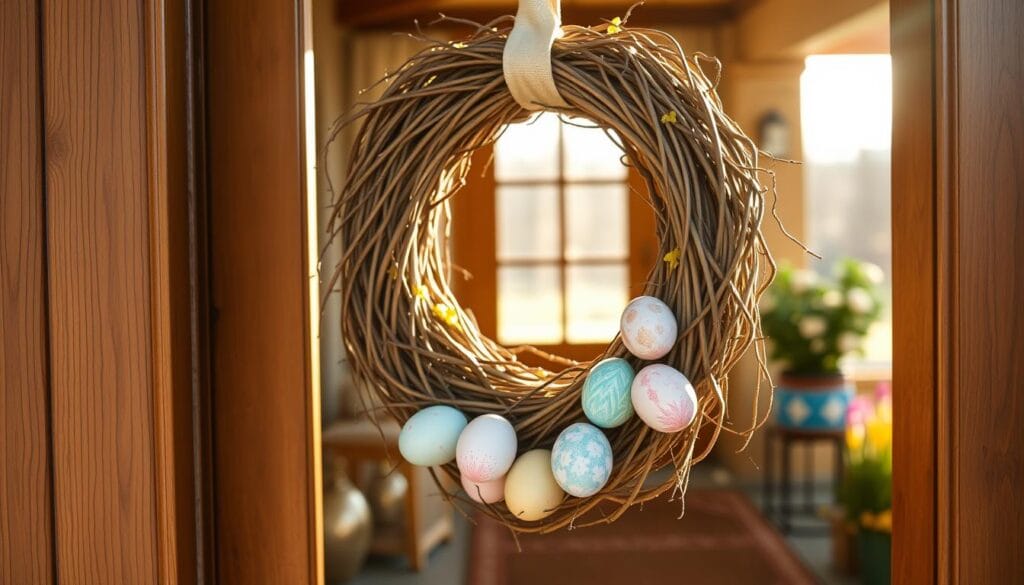
Where you place your DIY Easter Egg Wreath is key. Think about how people can best see it and the weather. Use an adjustable wreath hanger. This makes sure your wreath is at the perfect height for a warm welcome.
Weatherproofing Tips
To protect your beautiful wreath, use sprays that guard against the weather. These sprays keep it safe from rain and sun, keeping your DIY Easter Egg Wreath bright and whole. Also, look at these outdoor decor ideas to help with weatherproofing.
Securing Your Wreath
Make sure your wreath doesn’t move with a strong hang method. Command hooks work well and leave no marks. Choose hooks that can handle your wreath’s weight. Using a double-wire frame helps with heavy wreaths. Plus, tying your wreath with floral wire or string keeps it up without being seen. This keeps your DIY Easter Egg Wreath safe, even if it’s windy or the door is used a lot.
Seasonal Maintenance and Care
Taking good care of your Easter crafts makes them last longer. This is true for things like a beautiful DIY Easter wreath. Keeping them in good shape is key to enjoying them for more seasons.
Protecting Your Wreath from the Elements
It’s important to keep your Easter wreath safe from bad weather. No matter if they’re made of real or fake items, the sun can fade them. About 30% of wreaths lose their color. Put your wreath where the sun and rain can’t hit it directly. If it’s outside, a spray that’s weatherproof can add more defense.
Cleaning and Refreshing Tips
To keep your Easter crafts looking new, clean them often. Dust off your wreath every week to stop dust from piling up. Especially if it has fake flowers or soft fabrics. Use something soft or air that’s under pressure to clean it nicely.
If your wreath has natural stuff like cotton or lavender, make them fresh again every year. This keeps their color and smell. For fake plants that look tired, give them a quick spray with flower scent.
Storage Solutions After Easter
Storing your Easter wreath right after the holiday helps it last longer. Keep it in a place that’s cool and dry. This stops damage from wet or very hot conditions. Wrap it in a fabric that lets air move to avoid dust and moisture. Sadly, 40% of people who make crafts don’t do this, causing their wreaths to wear out faster.
Boxes made just for wreaths are also a good choice. They keep the shape right and protect from squishing.
By doing these things for seasonal care, your Easter crafts will keep looking beautiful. They’ll bring happiness to your home every year!
Inspiring Ideas for Future Wreaths
Making Easter wreaths makes your home look festive and sparks ideas for future projects. Trying different Creative Easter Wreath Designs lets us discover new themes and methods. This makes making wreaths fun all year.
Themes Beyond Easter
After you get good with Creative Easter Wreath Designs, try making wreaths for other times too. Think about making fall wreaths with pinecones and colorful leaves or Christmas ones with ornaments and candy canes. Trying out various themes keeps your creativity alive and your door looking great.
Utilizing New Techniques
Be open to trying new ways of making wreaths! You can weave in different materials like yarn or burlap. Or use old buttons or pieces of fabric to add something special. These new ways can make Creative Easter Wreath Designs and other wreaths even more exciting.
Collaborating with Family for Crafting
Crafting can be a group activity, not just something you do alone. Get your family to help, making it a way to spend time together. Whether it’s Creative Easter Wreath Designs or other festive decorations, making things together brings you closer and creates special decor for your home.
Sharing Your Creation
You’ve worked hard on your DIY Easter Egg Wreath. Now, it’s time to show it off! Sharing your creation can make you proud and inspire the DIY community. We’ll explore capturing great photos, using the right hashtags, and connecting with other crafters.
Capturing Photographs of Your Wreath
Take high-quality photos of your wreath. Use natural light for the best effect. Try different angles and zoom in to show off the details. A well-taken photo shows the beauty of your wreath, from the pastel Easter eggs to the burlap ribbons. Your DIY Spring Wreath deserves to be seen in the best light! 📸
Social Media Hashtags to Use
Right hashtags make your post more visible. Use hashtags like #DIYSpringWreath, #EasterDecor, #CraftingCommunity, and #HandmadeHome. These tags can help your wreath reach more people. Our DIY Easter Egg Wreath guide has many shares—proof that great hashtags work. Your wreath could be just as popular!
Engaging with a Craft Community
Connecting with craft communities online is rewarding. Places like Pinterest, Instagram, and Facebook groups are great. Here, you can show your projects, get feedback, and find new ideas. Interact by liking, commenting, and sharing others’ work. This helps everyone, and you might learn new crafts for your next project!


