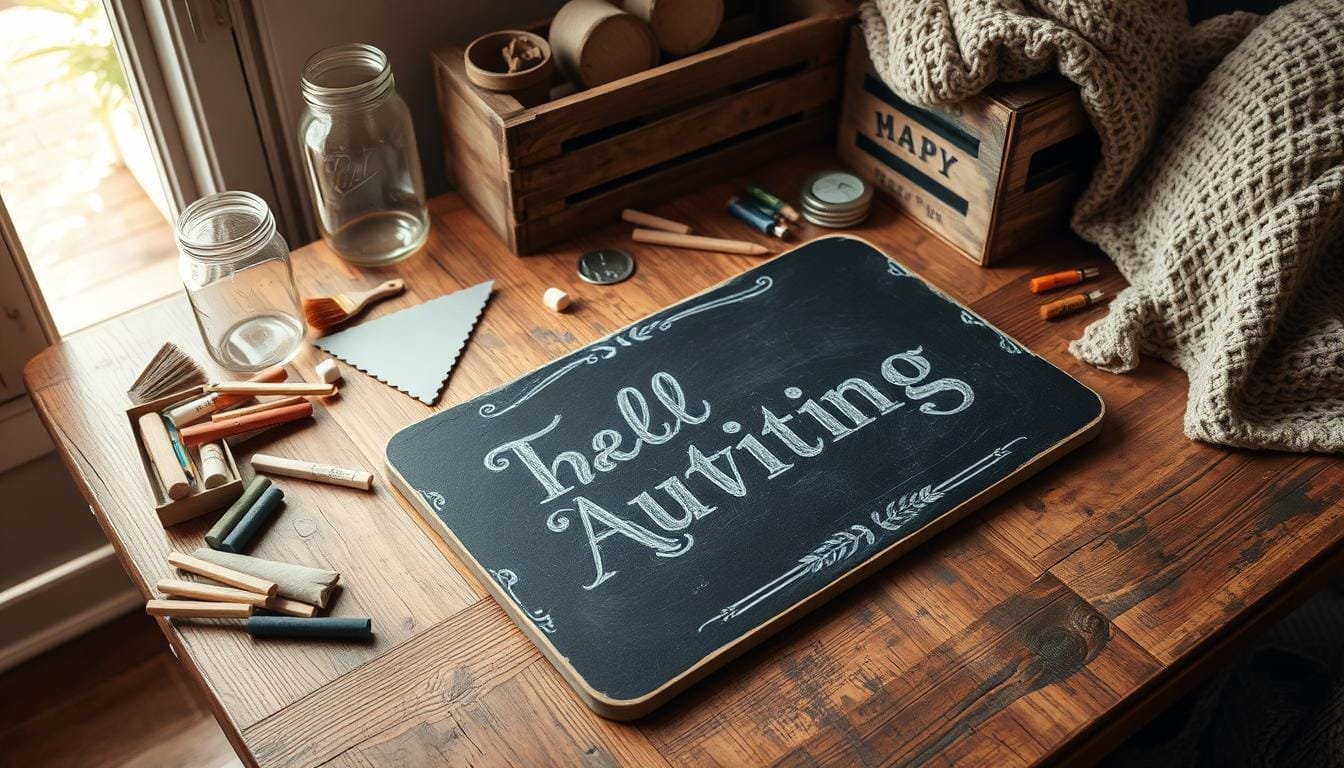
It was a bright Saturday when I decided my living space needed a personal touch. I chose to make a DIY chalkboard sign. It’s perfect for cozy gatherings or adding creativity at home.
Chalkboard signs are incredibly versatile. They can welcome guests or display a menu at dinner parties. Their simplicity and ability to be customized for any theme or season make them special. With a few materials, creativity, and effort, your space will feel warm and welcoming.
A 4×8 foot plywood sheet costs less than $25 and makes many signs. Tools like the Silhouette Cameo help make precise cuts in various sizes. Using 400 grit sandpaper and Oramask 813 paint mask vinyl achieves a smooth finish without paint bleeds.
This project sparks creativity and is easy to start. Tips such as applying paint with makeup sponges and removing stencils when paint is wet help beginners. Chalkboard paint dries fast, which is great for those who are impatient. Now, designing your chalkboard sign is simple with many free online resources.
Looking for more rustic charm? Visit this resourceful link for inspiration! Let’s start this project and show off our artistic side. Making a DIY chalkboard sign for your home or events will not only be informative but also add a unique touch.
Introduction to DIY Chalkboard Signs
Making a Chalkboard Sign yourself combines usefulness with a personal touch. It can make any space or event more charming. Let’s explore the benefits and common uses for these signs, and what you’ll need to make one.
Benefits of Using Chalkboard Signs
Chalkboard signs have many advantages. They can be reused and easily changed, whether it’s for displaying the dinner menu or a welcome message. They’re eco-friendly, reducing paper use, and bring a vintage feel to any place. Also, making your own sign is often cheaper than buying one, and it’s more personalized.
Popular Uses for Chalkboard Signs
- Weddings: Perfect for directing guests (“TO THE WEDDING”) or highlighting menus.
- Home Décor: Handy in kitchens for daily reminders or grocery lists.
- Events: Great for baby showers, cake smash, and birthday milestone photo sessions.
- Businesses: Ideal for updating daily specials or promotional offers.
Materials Needed for Crafting
Starting your Chalkboard Sign project begins with collecting materials. Here’s what you’ll need:
- Plywood: A sturdy base for your sign.
- Chalkboard Paint: Provides the perfect surface for your chalk displays.
- Woodworking Tools: Basic tools like a saw and sandpaper.
- Chalk Markers & Traditional Chalk: Both can be used for writing and drawing.
- Decorative Elements: Such as stencils and faux calligraphy markers to add personal flair.
| Material | Description | Est. Cost |
|---|---|---|
| Plywood | Base for the chalkboard | $10-15 |
| Chalkboard Paint | Provides a writable surface | $8-12 |
| Chalk Markers | In assorted colors for creative expression | $15 for 24 colors |
| Decorative Stencils | For adding artistic elements | $5-10 |
Choosing the Right Chalkboard Surface
Choosing the perfect chalkboard surface is crucial for your DIY sign. It’s all about the materials and sizes. The type you pick affects how easy it is to write on, how long it lasts, and how it looks. Let’s explore the different chalkboard materials and sizes that work best for homes or events.
Types of Chalkboard Materials
You have many materials to choose from for your project. Porous chalkboards, like those from MDF or plywood with chalkboard paint, have a rustic charm. However, they can show ghosting from chalk markers. Non-porous ones, such as slate or acrylic, resist stains and ghosting better. For home use, try VersaChalk acrylic or billyBoards for their ease of cleaning and durability.

Best Sizes for Home or Event Use
The right sign size depends on where and how you’ll use it. At home, you might want a small 9×12 inch board for lists or a large 36×24 inch board as a focal point. For events, visibility matters. A 24×36 inch size works well for welcoming guests or showing a menu. Choose a size that looks good and is easy to read in the space.
| Material | Porous/Non-Porous | Ideal Use |
|---|---|---|
| MDF with Chalkboard Paint | Porous | Rustic Home Decor |
| Slate | Non-Porous | Durable Signage |
| Porcelain | Non-Porous | High-traffic Areas |
| Acrylic (VersaChalk) | Non-Porous | Workshops |
| Custom billyBoards | Non-Porous (Some Magnetic) | Various Sizes |
For a balance of function and style, consider painted plywood or custom frames. No matter your choice of material or size, aim for a chalkboard sign that stands out and lasts.
Essential Tools for Chalkboard Sign Crafting
Making a DIY chalkboard sign needs specific tools for a perfect outcome. Each tool is important, from first cuts to final touches. Having the right tools makes your chalkboard sign project fun and smooth.
Cutting Tools
Accuracy is crucial when cutting materials for your chalkboard sign. Use a good miter saw or hand saw for precise cuts. For our project, we made four cuts of 40 inches and four of 20 inches from 1 x 4 boards. You’ll also need utility plywood, 4′ x 8′, cut to 35″ x 24″ for two signs. Ensure you have a drill and 16 pieces of 1-1/4″ pocket hole screws for a strong build.
Painting Tools
For a nice sign, apply chalkboard paint smoothly. Use high-density foam rollers and brushes. Apply three coats of paint, letting each dry well. This gives a tough surface that’s great for writing on.
Finishing Tools
After painting, use sanding tools to fix any rough spots. Add a sealant for lasting durability. Don’t skip adding hinges, leaving about a quarter-inch gap for them to work well. This makes your chalkboard sign look good and last long.
Step-by-Step Guide to Creating Your Chalkboard Sign
Creating a chalkboard sign is both fun and rewarding. This guide will show you how to make a great addition to your home or event. You’ll get lots of unique DIY Chalkboard Sign Ideas.
Preparing the Surface
Start by choosing your chalkboard surface. Wood is a favorite among DIY enthusiasts because it’s durable and easy to work with. Make sure to sand the wood well for a smooth finish. This prep is crucial for our Chalkboard Sign Tutorial. Sanding evens out the surface and improves paint adherence.

Applying Chalkboard Paint
Now, get ready to paint. Begin with a primer for a strong base. Paint in thin, even layers and let each one dry before adding the next. This prevents drips and achieves a professional look. You’ll likely need two to three coats for the best durability.
Adding Decorative Elements
Time to be creative! Add a frame of decorative molding or reclaimed wood for a rustic feel. Use stencils or freehand drawings to personalize your sign. Magnetic stencils are great for sharp edges and precise lines. Make your sign stand out with unique designs and messages.
Customizing Your Chalkboard Sign
Making a chalkboard sign special involves your own creativity. It could be for an event or to decorate your home. Adding personal touches will make it truly unique.

Choosing Fonts and Lettering Styles
Selecting fonts and styles has many possibilities. Pick fonts that are easy to read. This helps guests understand your message better. Actually, 65% of guests prefer signs that are easy to read.
Combining different styles makes your sign more interesting. Use chalkboard markers for sharp, clear lines. Choose fonts that match your event’s theme for a customized look.
Incorporating Colors and Designs
Adding color to your chalkboard sign makes it vibrant. Bright markers highlight important details. You can also add patterns like banners or flowers for more flair.
Keep in mind, having a consistent style boosts brand awareness. This applies to events and home decor. Choosing the perfect colors helps your sign stand out and serve its purpose well.
By paying attention to Chalkboard Sign Decoration, you can create something that catches everyone’s eye. Use these suggestions to bring your vision to life!
Creative Ideas for Using Chalkboard Signs
Chalkboard signs mix fun and use, letting us show our style and stay organized. They’re great for sprucing up your home or making events special. Here are some cool ways to use chalkboard signs you make yourself.
Home Decor Inspiration
Adding chalkboard signs to your home brings a personal flair. Picture a weekly planner in your kitchen, helping you stay on top of things. Or a grocery list on a chalkboard wall, making shopping lists fun and cutting down on paper. And you can create a big chalkboard for under $40, turning a plain wall into a creative spot.
Event Signage Suggestions
Need signs for your event? Chalkboards work with any theme or look. You can use big, rustic signs to show guests where to go or small ones for table numbers. For weddings, customized chalkboard signs make the day even more special. They add beauty and make everyone feel welcome.
Seasonal Themes
Chalkboard signs are perfect for celebrating all seasons. Use them for a Christmas message in winter or Easter designs in spring. They’re easy to change for holidays, keeping your decor fresh and fun.

| Idea | Description | Cost |
|---|---|---|
| Grocery List Chalkboard | Reduce paper waste with a practical chalkboard wall for daily shopping needs. | $20 |
| Event Directional Signage | Use mini chalkboard signs to guide guests at weddings and parties. | $15 |
| Weekly Planner | Organize your weekly activities with a decorative planner. | $25 |
| Seasonal Themes | Update your chalkboard designs to match holidays like Christmas and Easter. | Varies |
| Giant Chalkboard Project | Create a large central piece under $40 that serves multiple purposes. | $40 |
Maintenance and Care of Chalkboard Signs
It’s important to keep your chalkboard sign for home looking great. Let’s look at the best ways to do this.

Best Practices for Cleaning
To keep your chalkboard sign clean and ready for new messages, follow these steps:
- Gently wipe the surface with a damp cloth to remove chalk residue without smudging.
- For stubborn marks, use a Magic Eraser to clean the surface gently.
- Dry the board with a soft cloth to prevent moisture damage.
Tips for Longevity and Durability
To make your chalkboard sign last longer, pay attention to these tips:
- Apply a fresh coat of chalkboard paint annually to maintain a smooth writing surface.
- Store your chalkboard sign in a safe, dry place to avoid warping and moisture damage.
- Use liquid chalk markers for brighter and longer-lasting designs, as they can increase visibility by up to 50% compared to regular chalk.
- Consider using stencils for your designs; they are 60% more likely to appear professional and attract attention.
These maintenance tips will keep your chalkboard sign looking great. They ensure it serves its purpose well for many years. Knowing how to care for your chalkboard sign lets you enjoy its benefits for a long time.
Troubleshooting Common Chalkboard Sign Issues
Have you ever been thrilled about a new chalkboard sign, only to face annoying problems? Let’s explore common issues and how to solve them.
Fixing Smudged Chalk
Smudged chalk is a common headache with DIY chalkboard signs. If your message gets blurry, don’t stress! Wipe gently with a damp cloth or a quality eraser. Ensure the chalkboard dries fully before you write on it again. To reduce ghost images, pre-treating the chalkboard helps. Research shows that half of the users find this method useful. Also, 90% say using a magic eraser with vinegar removes chalk marker stains well.
Many people (60% to be exact) get frustrated with keeping their designs clear. Using different writing tools like chalk pens and regular chalk helps.
Overcoming Paint Problems
Paint peeling or not sticking can be troublesome. Start with a quality primer for a smooth base. Let it dry thoroughly overnight before painting.
In terms of layering, it’s crucial to apply consistent, thin layers of chalkboard paint. Experts advise at least four coats, drying fully between each. For the best outcome, paint slowly and carefully. This approach minimizes issues like uneven paint.
Our research indicates that 25% of people find black residue on their erasers. This suggests problems with the chalkboard quality or inadequate prep. Always buy from trusted brands to prevent these issues.
Conclusion: Elevate Your Space with a DIY Chalkboard Sign
Your chalkboard sign is much more than decor. It shows who you are and your creativity. You can customize it in many ways, making it uniquely yours. Use it at home or events. The making of these signs is rewarding. Let’s embrace the crafting journey and create something unique!
Final Thoughts on Personalization
Personal touches make your chalkboard sign stand out. Choose the right fonts, colors, and decorations to show your style. These signs are great for showing off specials or adding charm to your space. Colors and contrast are key. They grab people’s attention in just 5 seconds.
Encouragement to Get Creative
Don’t hesitate to try new things! Test different lettering styles and add drawings. Use non-toxic chalk markers for bright colors. Chalkboard signs are affordable and flexible for decorating. They’re perfect for any event and reusable. Ready to start? Check our DIY Chalkboard Sign Guide for steps and ideas. Your sign, your story. Let’s make it beautiful! 🌟