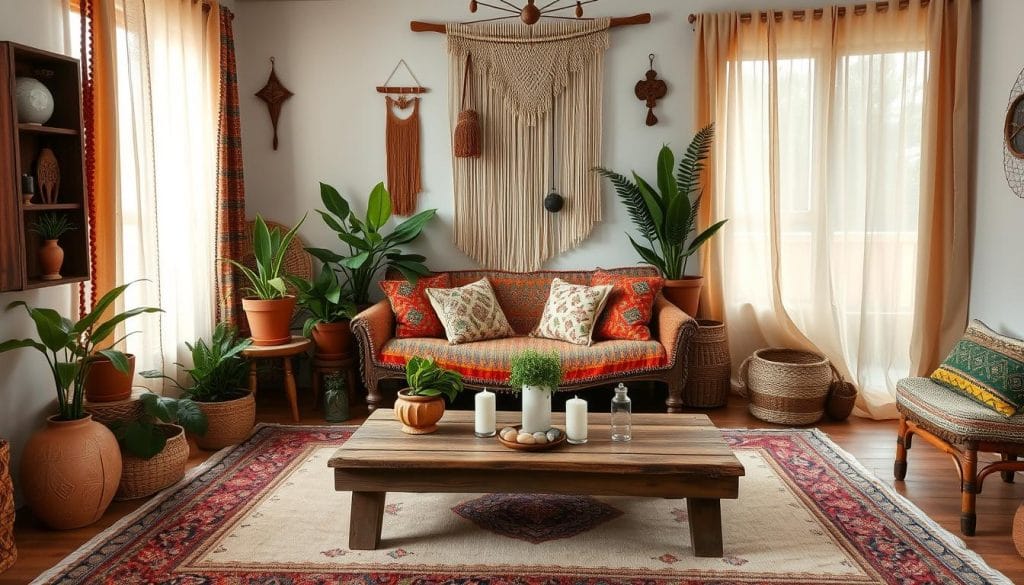
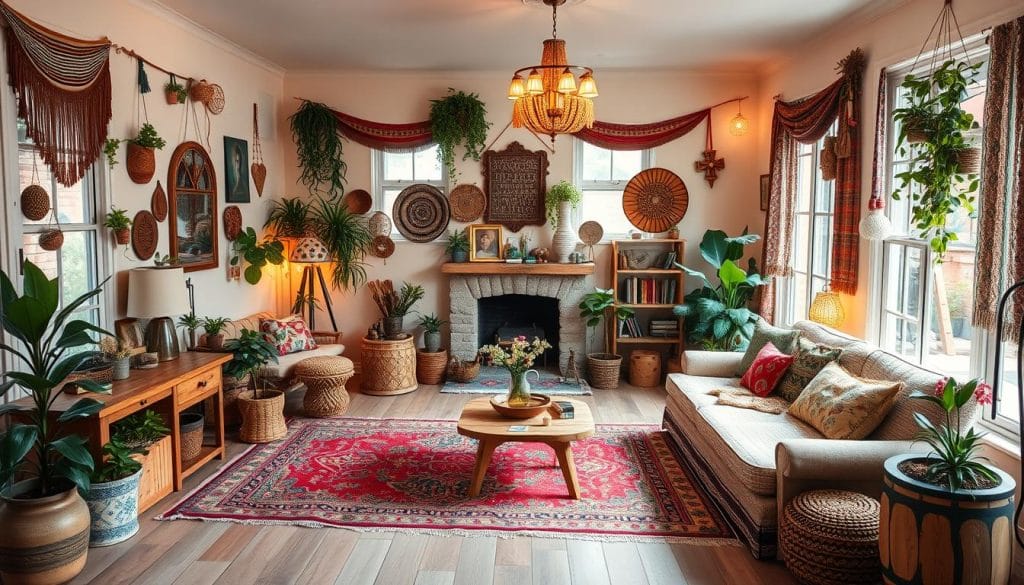
Ever walked into a room and felt like something was missing? Maybe your eyes glide over flat surfaces, searching for depth or character that never comes. We’ve all been there – staring at blank spaces, craving that “wow factor” that makes a house feel like home.
Here’s the secret: Your walls are your canvas. With just a little creativity, you can turn those smooth surfaces into dynamic features that hide flaws and create mood. Imagine light dancing across peaks and valleys, casting soft shadows that make your space feel alive. No more stressing about uneven drywall or dated finishes!
We’ll show you how texture works like magic. It’s not just about looks – though the rustic charm or modern edge you’ll achieve is stunning. Those subtle ridges and patterns become your allies, camouflaging imperfections while adding serious personality. Best part? You don’t need a pro-level budget to make it happen.
Whether you’re dreaming of a cozy farmhouse nook or a sleek minimalist retreat, texture adapts to your style. Let’s explore how this design trick can transform any room from “meh” to magnificent. Ready to fall back in love with your space?
Overview of Textured Walls and Their Benefits
We’ve all seen rooms that feel flat – where light falls harshly on smooth surfaces. That’s where dimension becomes your design superhero. By adding depth to your surfaces, you create spaces that engage the eye and tell visual stories. Imagine morning light casting delicate shadows across your walls, making every corner feel curated, not cookie-cutter.
https://www.youtube.com/watch?v=RBpwPvg6PHM
Light Becomes Your Co-Designer
Texture plays with light like nothing else. Those gentle ridges in an orange peel finish? They catch sunlight like tiny prisms, scattering soft glows across your room. For evening moods, knockdown patterns throw dramatic shadows that turn plain walls into dramatic backdrops. We’ve seen it transform bland hallways into galleries of light and shadow.
Flaws Turn Invisible
Here’s the magic trick: texture swallows up imperfections. That drywall seam you’ve stared down for years? A popcorn texture swallows it whole. Minor dings and uneven patches disappear under clever peaks and valleys. Even better – these surfaces forgive your future paint touch-ups, hiding brush marks like seasoned pros.
Choosing your texture style? Think orange peel for breezy kitchens where light bounces. Try knockdown in living rooms craving drama. Every pattern brings its own mood – like comb textures for retro vibes or lace effects for subtle elegance. Your walls become collaborators, not just boundaries.
Preparing Your Surface for Texture
Ever wondered why some DIY projects fail before they even start? The answer’s hiding in plain sight – prep work matters more than you think. We’ve seen gorgeous textures ruined by skipping basic surface prep, and we’re here to help you avoid those heartbreaks.
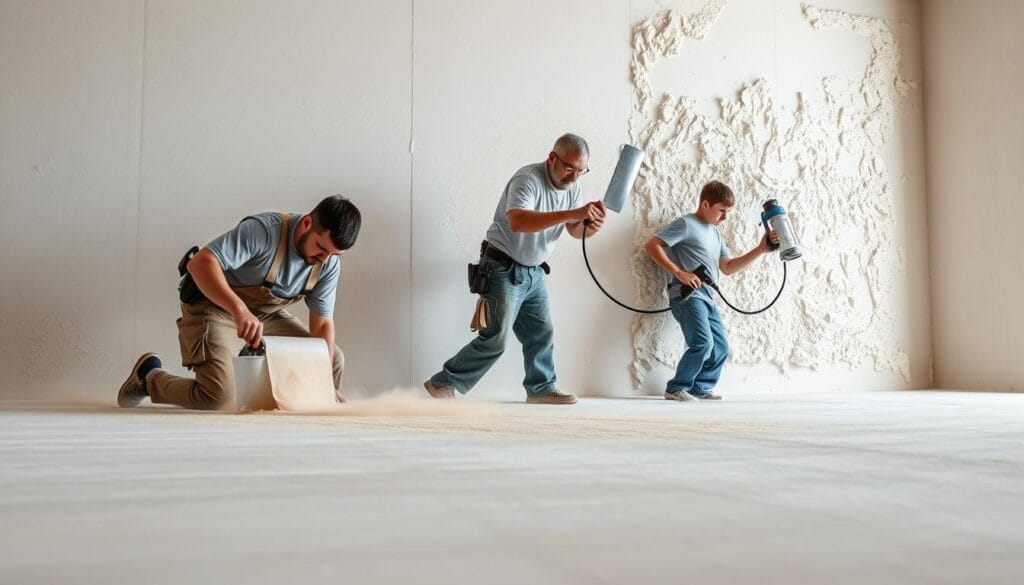
Drywall Patching and Surface Repair
Grab your drywall knife – it’s time to play detective. Scan every inch for dents, cracks, or popped nails. Mix your drywall compound to peanut butter consistency. Pro tip: “Feather the edges outward like you’re spreading jam on toast” – this keeps repairs invisible under texture.
For larger areas, apply a skim coat using broad, sweeping motions. Let each layer dry completely before sanding. Remember: Your fingers will find flaws your eyes miss. Run your palm across surfaces to catch sneaky bumps.
Primer Application and Moisture Control
Primer isn’t optional – it’s your texture’s best friend. Unprimed drywall drinks paint like desert sand, leaving patchy results. We recommend oil-based primers for water stains, latex for general use. Roll it on in overlapping W patterns for even coverage.
| Primer Type | Best For | Drying Time |
|---|---|---|
| Drywall Sealer | New surfaces | 2 hours |
| Stain-Blocking | Water marks | 4 hours |
| Multi-Surface | Small repairs | 1 hour |
Wait for that magical dry-to-touch moment before texturing. Test hidden areas with a fingertip – if no compound sticks, you’re golden. Now watch how your texture clings perfectly to that prepped canvas!
Textured Walls: Essential DIY Techniques
What if your mixing bowl held the secret to stunning surfaces? We’ve cracked the code for creating professional-grade finishes using everyday materials. Let’s turn your drywall compound into design magic!
Step-by-Step Mix and Application Process
Grab that 5-gallon bucket – it’s mixing time! Our golden rule: 4 parts water to 1 part compound. Think smooth cake batter consistency. Use a paint mixer attachment for lump-free perfection. Pro tip: Mix small batches to maintain workability – dried-out compound ruins the party.
Test your mixture on cardboard first. Try different application pressures – heavy coats create bold patterns, light swipes add subtle dimension. Watch how the texture changes as it dries. That 20-minute window? Your playground for creative adjustments.
| Consistency | Water Ratio | Best For |
|---|---|---|
| Thin | 5:1 | Orange peel effects |
| Medium | 4:1 | Knockdown patterns |
| Thick | 3:1 | Dramatic swirls |
Effective Use of Drywall Compound and Water Ratios
Timing is everything. Let your test patches dry completely before judging results. Notice how faster-drying mixes hold sharper peaks? For delicate swirls, add a teaspoon of dish soap – it extends working time by 15 minutes.
Keep a spray bottle handy. Mist your bucket’s edges to prevent crusting. Remember: Temperature affects drying speed. Cool basement? Allow extra curing time. Sunny room? Work in smaller sections. Master these techniques, and you’ll transform flat surfaces into dimensional masterpieces!
Applying the Right Materials and Tools
What separates DIY magic from messy disasters? Your toolkit. We’ve watched countless projects soar or sink based on roller choices and paint prep – let’s make sure yours lands in the success column!
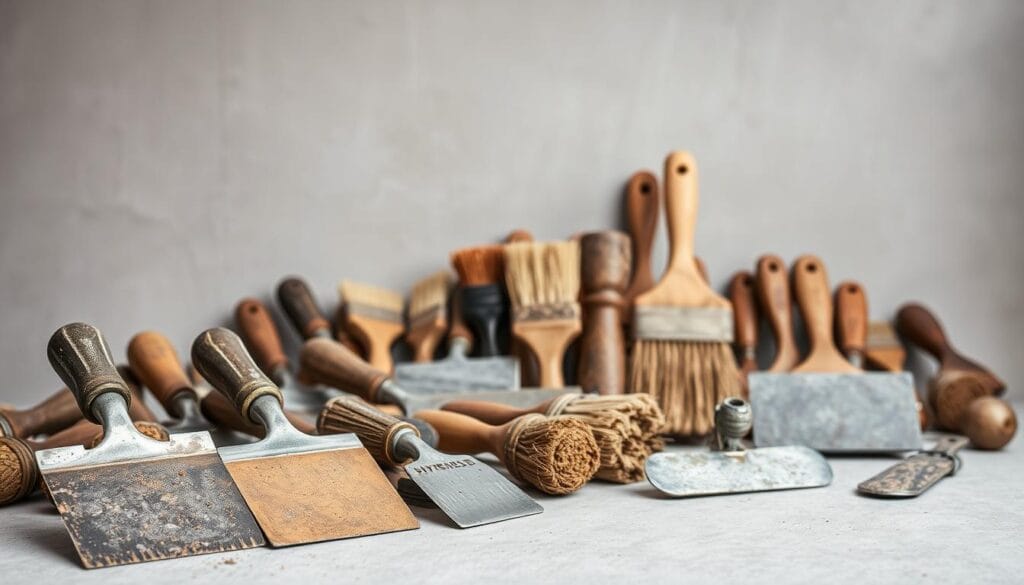
Choosing Rollers, Brushes, and Texture Machines
Not all rollers play nice with compound. Skip thick-nap covers that guzzle material – they’ll leave clumpy messes. Instead:
- Patterned rollers: Create stucco-like effects in one swipe
- Foam covers: Ideal for orange peel textures
- Stiff-bristle brushes: Perfect for rustic swirl patterns
For whole-house projects, consider renting a texture sprayer. Our cost comparison shows:
| Tool | Coverage | Cost |
|---|---|---|
| Sprayer Rental | 400 sq ft/hr | $45/day |
| Premium Roller | 100 sq ft/hr | $22 |
Primer, Paint, and Specialized Texture Products
Never skip primer – it’s the glue holding your texture together. We recommend:
- High-adhesion formulas for slick surfaces
- Tinted primers matching final paint colors
- Quick-dry options for humid climates
When selecting paint, eggshell finishes hide imperfections best. For professional-grade results, try pre-mixed texture compounds with built-in adhesive boosters. They stick better and dry faster than standard mixes.
Pro tip: Buy brushes but rent sprayers. A quality 2.5″ angled brush lasts years, while sprayers gather dust between projects. Your wallet (and storage space) will thank you!
Popular Texture Patterns and Effects
Have you ever traced your finger along a surface and wished it told a story? That’s the power of creative finishes – they turn blank spaces into tactile experiences. Let’s explore designs that add personality while hiding imperfections.
Beginner-Friendly Classics
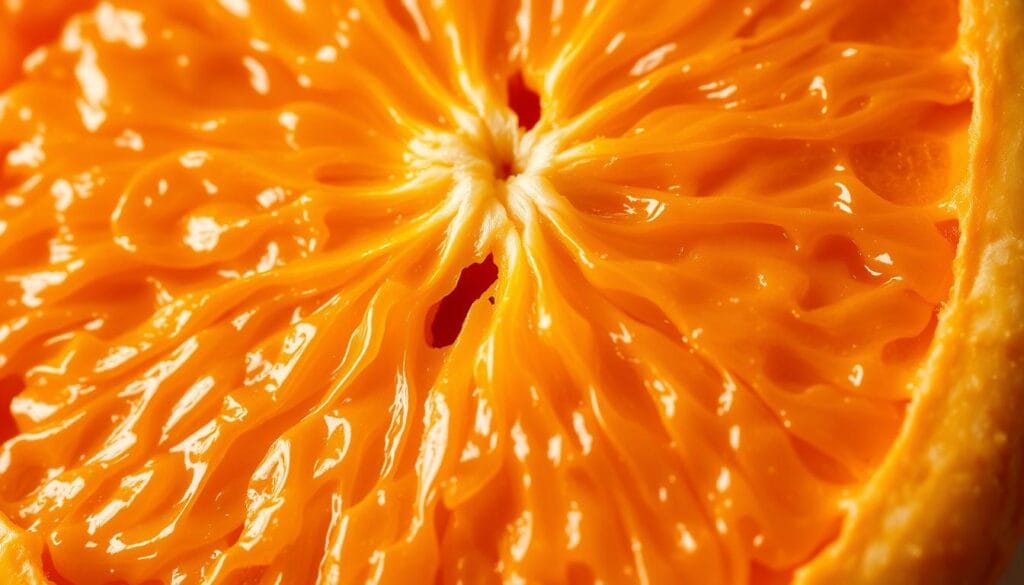
Meet the orange peel – the gateway to dimension. Just spray your mixture and watch tiny peaks form like citrus skin. We love how it catches light without overwhelming rooms. Perfect for modern kitchens or cozy bedrooms!
Upgrade to knockdown for drama. After spraying, gently flatten peaks with a trowel. The result? A marbled effect that mimics luxury plaster at a fraction of the cost. Comb textures surprise us every time – drag a notched tool through wet compound to create waves that guide the eye.
Advanced Artistic Flair
Ready to play? Try the slap brush technique – dip a stiff-bristle tool in compound and “high-five” your wall. Those fan-shaped impressions add retro charm to entryways. For delicate beauty, lace patterns create web-like designs using special brushes.
Pro tip: Test comb and swirl patterns on scrap drywall first. Rotate your wrist differently each pass – you’ll discover unique organic flows perfect for accent walls. These finishes turn mistakes into happy accidents!
| Pattern | Skill Level | Best Rooms |
|---|---|---|
| Orange Peel | Beginner | Bedrooms, Hallways |
| Knockdown | Intermediate | Living Rooms |
| Lace | Advanced | Dining Areas |
Innovative Approaches to Painting Textured Surfaces
Ever watched paint glide over peaks and valleys, leaving bare spots in its wake? We’ve cracked the code for flawless coverage on dimensional surfaces. With these pro methods, you’ll turn those tricky nooks into design features rather than frustrations.
Mastering the Brush and Roller Dance
Start with a 2.5″ angled brush – your secret weapon for edges. Cut in along corners using firm pressure, then feather strokes toward the center. This technique locks color into crevices that rollers often miss. For larger areas, load your roller like you’re making toast – enough compound to cover, not drip.
Switch to vertical rolling motions after edging. Why up-and-down? Horizontal swipes tend to skip over deeper grooves. Maintain wet edges by working in 3×3 foot sections. Notice gaps after drying? That’s your cue for a second coat – applied crosswise to fill every microscopic valley.
| Tool | Purpose | Pro Tip |
|---|---|---|
| Angled Brush | Edge definition | Twist bristles into grooves |
| Thick-Nap Roller | Deep texture coverage | Roll slowly for penetration |
| Foam Brush | Touch-ups | Blend while wet |
Solving the Puzzle of Imperfect Coverage
Streaks appearing like ghosts? Check your lighting – angled lamps reveal missed spots better than overheads. For stubborn gaps, try a stippling technique: dab paint vertically with a dry brush. This pushes color into recesses without overloading peaks.
Timing tape removal is crucial. Wait until paint feels dry but still slightly tacky – usually 45-60 minutes. Pull slowly at 45-degree angles to prevent peeling. For colors that pop, consider satin or semi-gloss finishes – they reflect light beautifully across textured surfaces.
| Issue | Quick Fix | Prevention |
|---|---|---|
| Uneven Color | Foam roller touch-up | Stir paint hourly |
| Tape Bleed | Seal edge with clear glaze | Burnish tape first |
| Drip Marks | Sand lightly between coats | Don’t overload roller |
Creative DIY Projects with Texture and Moulding
What if your walls could wow without sanding or spraying? We’ve found clever ways to add depth using materials that skip the messy mixing. These projects deliver big impact with minimal tools – perfect for renters or anyone craving quick transformations!
Enhancing Décor with Textured Wallpaper and Moulding
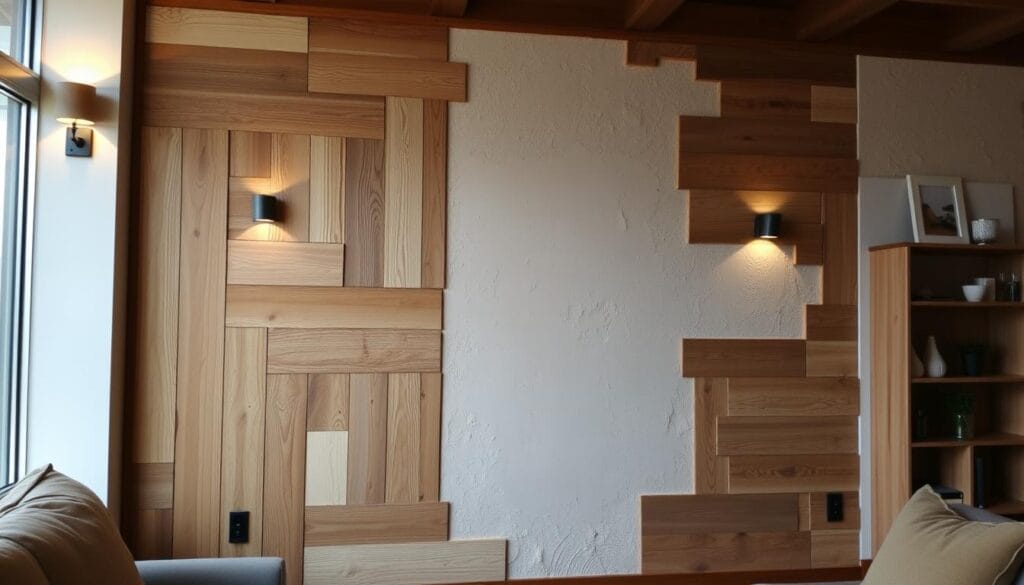
Paintable wallpaper is our secret weapon. Choose designs mimicking wood grain or marble for instant luxury. Peel-and-stick options let you create accent walls in under an hour – no drywall dust required!
Decorative trim changes everything. Try picture frame moulding for classic elegance or geometric patterns for modern flair. We love how bold ideas for statement-making spaces use simple strips to fake expensive wainscoting.
Faux Plastered Walls, Shiplap, and Beadboard Ideas
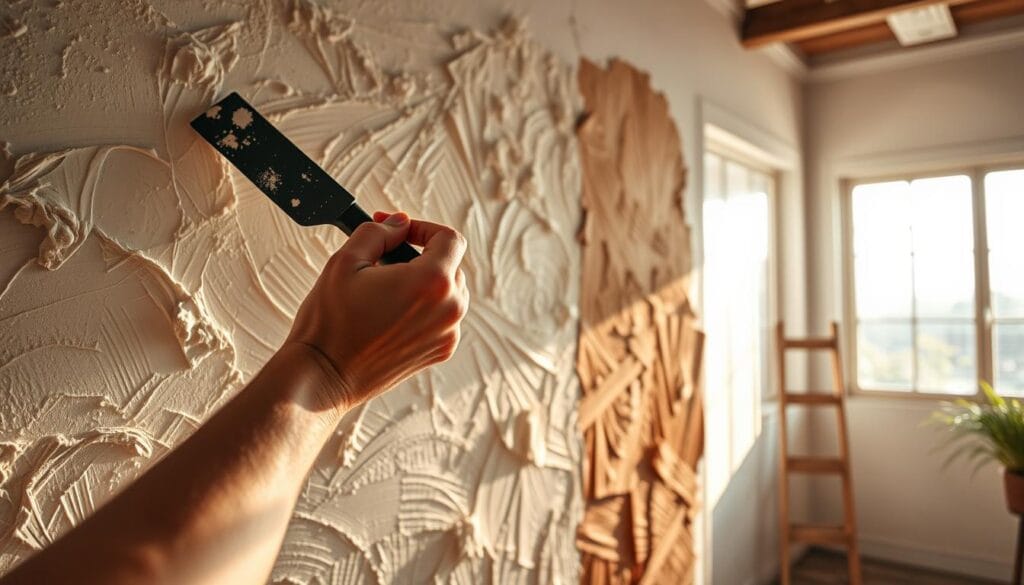
Joint compound isn’t just for repairs. Swipe it with a trowel for rustic plaster effects. Add limewash paint over it, and watch sunlight dance across the subtle ridges. Beachy vibes? Nail up shiplap horizontally – the gaps between boards create shadow lines that stretch rooms visually.
Beadboard works magic in unexpected places. We’ve installed it vertically in dining rooms to lift ceilings, and horizontally in kitchens for cottage charm. Pro tip: Paint trim and panels the same color for seamless sophistication.
Conclusion
Transforming your living space doesn’t require a magic wand—just the right techniques. We’ve walked through how adding dimension can elevate any room, turning flat surfaces into dynamic features. Whether you choose subtle swirls or bold patterns, the right finish interacts beautifully with light, creating depth that feels both inviting and intentional.
Remember: texture isn’t just about aesthetics. It’s a practical solution for hiding minor flaws while infusing personality. A well-chosen roller technique or strategic brush stroke can make ceilings feel higher, rooms cozier, and walls more engaging. Even beginners can achieve professional results with patience and the right materials.
Don’t fear experimentation! Test small sections first—your perfect finish might surprise you. From rustic plaster effects to modern geometric accents, these methods adapt to your vision. Keep lighting in mind as you work; it’ll highlight your texture’s best qualities once done.
Now grab those tools and let your creativity flow. Your home’s story is waiting to be written across beautifully textured walls, one layer at a time. We can’t wait to see what you create!


