Imagine being able to host gatherings in your outdoor space without the hassle of constantly running back and forth to the kitchen. We’ve all been there – trying to keep pets inside and pesky summer bugs outside while entertaining guests. But what if you could have everything you need right at your fingertips?
That’s where a mobile serving station comes in – a perfect solution for summer entertaining. By creating a DIY bar cart, you can enjoy your outdoor gatherings without the inconvenience. This weekend project is designed to be accessible for intermediate DIYers, and with the right preparation, it can be completed in just a single weekend.
Not only will this cart enhance your outdoor entertaining experience, but it will also add a touch of style and functionality to your space. Let’s get started on creating your perfect summer entertaining hub!
Why a DIY Bar Cart Will Transform Your Outdoor Entertaining
Discover how a DIY bar cart can revolutionize your outdoor entertaining experience! A mobile serving station like a bar cart brings numerous benefits to your gatherings, making them more enjoyable and stress-free.
Benefits of a Mobile Serving Station
A bar cart is more than just a piece of furniture; it’s a game-changer for outdoor entertaining. With a mobile serving station, you can eliminate the hassle of constantly running back and forth to the kitchen. This means you can be present with your guests, enjoying the party while keeping everything you need within reach. Your deck or patio will feel like a complete outdoor entertainment area, with a designated space for drinks and appetizers.
Versatility Beyond Summer Parties
The versatility of a cart extends far beyond summer entertaining. In the spring, it can serve as a potting bench for gardening, holding your potting soil and tools. During BBQ season, it can be used as a prep station, and the planter on the side can be used to store fresh herbs. This furniture piece is a practical investment for your outdoor space, usable year-round and adaptable to various needs. Whether you’re hosting a summer party or enjoying a quiet evening on your deck, your DIY bar cart will become an indispensable companion.
Materials and Tools You’ll Need
Before you start building your backyard bar cart, it’s essential to gather all the necessary materials and tools. Having everything on hand will make the process smoother and more enjoyable.
Wood and Hardware Shopping List
For this project, you’ll need cedar wood, which is ideal for outdoor furniture due to its durability and resistance to weathering. The total cost for the cedar is about $160.
For the top tray, you’ll need to cut two 1×4 short sides and two 1×3 long sides. The bottom tray requires short and long sides cut from 1x3s. You’ll also need 19 1×3 bottom boards (nine for the top tray and ten for the bottom). Additionally, rip a 1×2 in half to create four ledges that will support the bottom boards.
We’ll guide you through selecting the right type of paint or finish that will protect your bar cart from the elements while complementing your outdoor aesthetic.
Essential Tools for This Weekend Project
To complete this project over a weekend, you’ll need some essential tools. These include a miter saw, jigsaw, pneumatic brad nailer, wood chisel, drill/driver, and various drill bits. You’ll also need sandpaper, a flat hand file, slotted screwdriver, and hex keys.
Having the right cutting tools is crucial for creating precise pieces for the tray components and structural elements of the cart. We’ll explain how to prepare your workspace and organize your materials to make the building process more efficient and enjoyable.
By investing time in preparing your materials and tools, you’ll save time in the long run and ensure a successful project.
Backyard Bar Cart: Build Your Own Summer Entertaining Station
Ready to take your backyard entertaining to the next level? Let’s build a bar cart! This DIY project is perfect for enhancing your outdoor gatherings and making your summer parties more enjoyable.
Preparing and Cutting the Wood Pieces
Begin by cutting all the necessary pieces for your bar cart. Use a miter saw with a stop block to create consistent lengths for multiple cuts. This ensures that your tray sides and bottom boards are uniform, providing a sturdy base for your cart.
We’ll walk you through the precise cutting process, showing you how to use a stop block with your miter saw to ensure consistent lengths.
Assembling the Tray Frames
To assemble the tray frames, apply glue to the cut edge of a short side and the end of a long side. Butt these pieces together to form a corner, checking that they’re square. Use a nail gun to drive nails through the top and bottom of the long side and into the edge of the short side.
You’ll learn our step-by-step method for assembling the top and bottom tray frames, including how to properly apply glue for maximum strength.

Creating and Attaching the Legs
The legs of your bar cart require precise cutting and marking. Use a miter saw to make parallel 45-degree cuts on four 1x2s, cutting them to the size specified in your plans. Cut ¼ inch off the long points at each end for a cleaner look.
Fit the notches on the A and B legs together for one side of the cart. Drill a centered ¼-inch hole through both legs at the notched intersection.
Installing Wheels and Final Assembly
Insert a 5⁄8-inch screw post through the notch hole in the B leg. Slip the wheels onto the axle, making sure they spin freely. Insert cotter pins through the holes at the axle’s ends, then bend their legs around the axle to keep the wheels in place.
You’ll learn how to properly attach the wheels to the axle, ensuring they spin freely while remaining securely in place with cotter pins.
| Component | Quantity | Material |
|---|---|---|
| Tray Sides | 4 | Wood |
| Legs | 4 | 1×2 Wood |
| Wheels | 4 | Metal/Plastic |
For more DIY projects to refresh your home, check out our guide on 12 Weekend DIY Ideas.
Styling and Using Your Bar Cart for Outdoor Gatherings
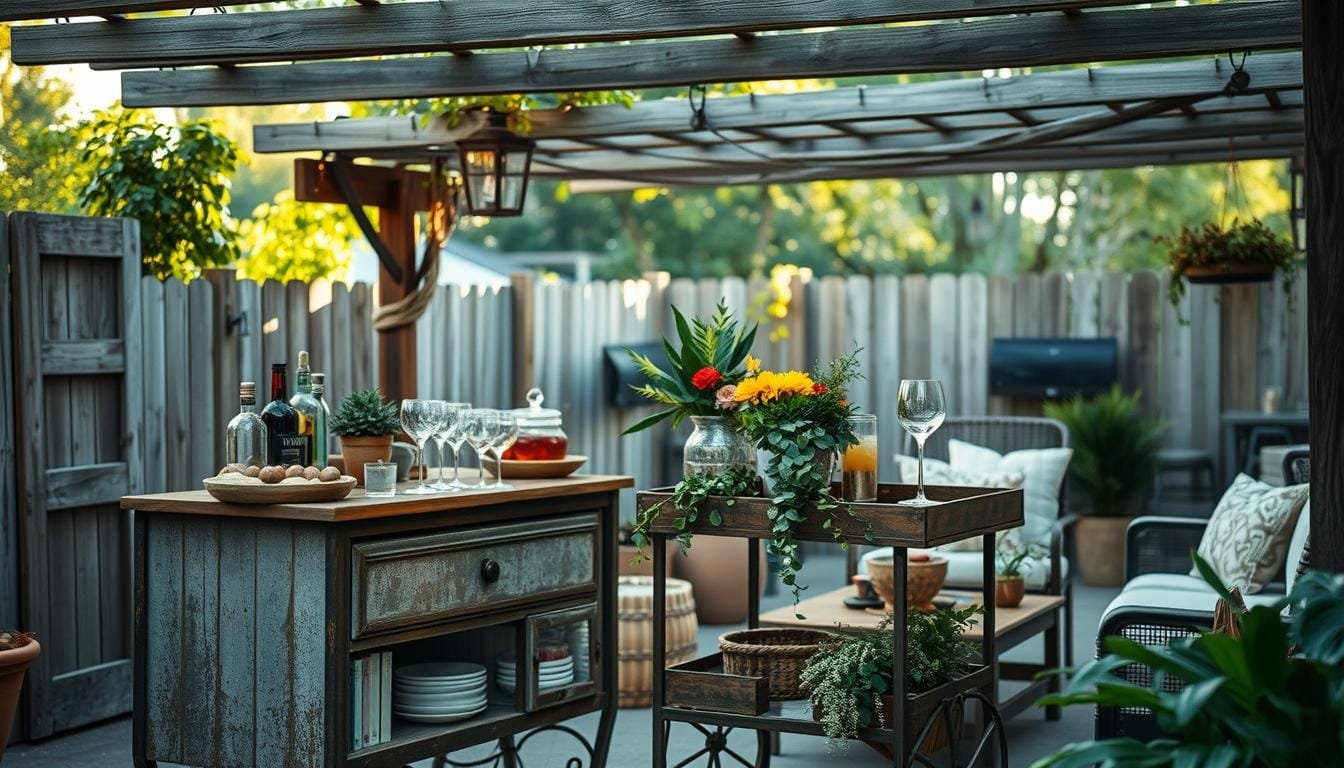
Your backyard bar cart is more than just a serving station – it’s a gathering place. As you finish your DIY project, get ready to elevate your outdoor entertaining game. We love how our bar cart turned out, with its removable tray and built-in ice bucket, making it perfect for summer parties on the deck.
To style your cart, start by stocking it with essentials like glassware, tools, and garnishes. Use trays to corral items and keep the top clear for serving drinks and appetizers. Don’t forget to add some seasonal elements like potted herbs and flowers, which can double as decoration and cocktail garnishes. For more DIY inspiration, check out our article on 8 DIY Farmhouse Projects to add rustic charm to your outdoor space.
The mobility of your cart allows you to position it in different areas of your outdoor space, depending on the type of gathering you’re hosting. Maximize the storage potential by using the shelves underneath for extra supplies. With a little creativity, your bar cart will become the centerpiece of your outdoor entertaining, making it a beautiful piece of furniture that enhances your gatherings.