Imagine wrapping yourself in a vibrant, one-of-a-kind textile that captures the essence of summer. Ice dyeing makes this possible, turning plain fabrics into stunning works of art that are as unique as they are beautiful.
We’re excited to share this DIY technique that allows you to create gorgeous, organic patterns on your fabrics. Unlike traditional dyeing methods, ice dyeing produces unpredictable, magical effects that will make your summer textiles truly special.
By following our step-by-step guide, you’ll be able to create your own unique textiles perfect for summer decor, wearables, or gifts. And, as an added bonus, we’ll show you how to repurpose leftover dye to achieve a galaxy effect on your fabrics, just like the ones you might have seen on decorative items for other seasons.
What is Ice Dyeing?
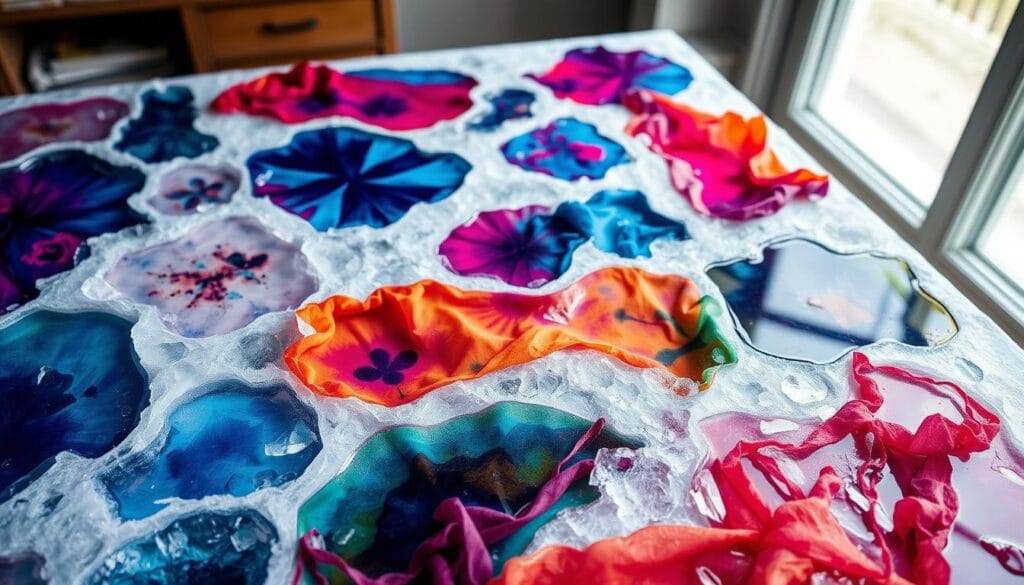
With ice dyeing, the magic happens as ice melts, transferring powdered dye onto fabric in mesmerizing patterns. This unique technique allows you to create stunning, one-of-a-kind textiles that are perfect for summer.
Ice dyeing is a form of fabric coloring that uses ice as the medium to transfer dye onto fabric, resulting in unpredictable, watercolor-like effects. Unlike traditional dyeing methods where fabric is submerged in liquid dye, ice dyeing relies on the slow melting of ice to distribute colors in beautiful, organic patterns.
- It’s a magical process that creates unique, artistic effects on fabric.
- The technique originated from snow dyeing but has evolved into a popular craft accessible to everyone.
- Each piece turns out completely unique, even when using the same colors on similar fabrics.
The Process Explained
The science behind ice dyeing is fascinating. The crystalline structure of ice, combined with the properties of fiber-reactive dyes, creates the stunning effects you achieve. As the ice melts, it slowly releases the dye onto the fabric, resulting in intricate, multi-colored patterns.
| Key Elements | Description | Effect on Fabric |
|---|---|---|
| Ice | Melts slowly to transfer dye | Creates unique, watercolor-like patterns |
| Fiber-Reactive Dyes | Binds with fabric fibers | Results in vibrant, long-lasting colors |
| Fabric | Natural fibers work best | Produces distinct textures and patterns |
As you can see, ice dyeing is not just a technique – it’s an art form that allows you to experiment with different colors and patterns, creating truly unique textiles.
Materials and Preparation
Before you begin ice dyeing, it’s essential to understand what materials you’ll need and how to prepare them. Gathering the right supplies and preparing your fabric correctly are crucial steps in achieving the desired results.

Essential Supplies
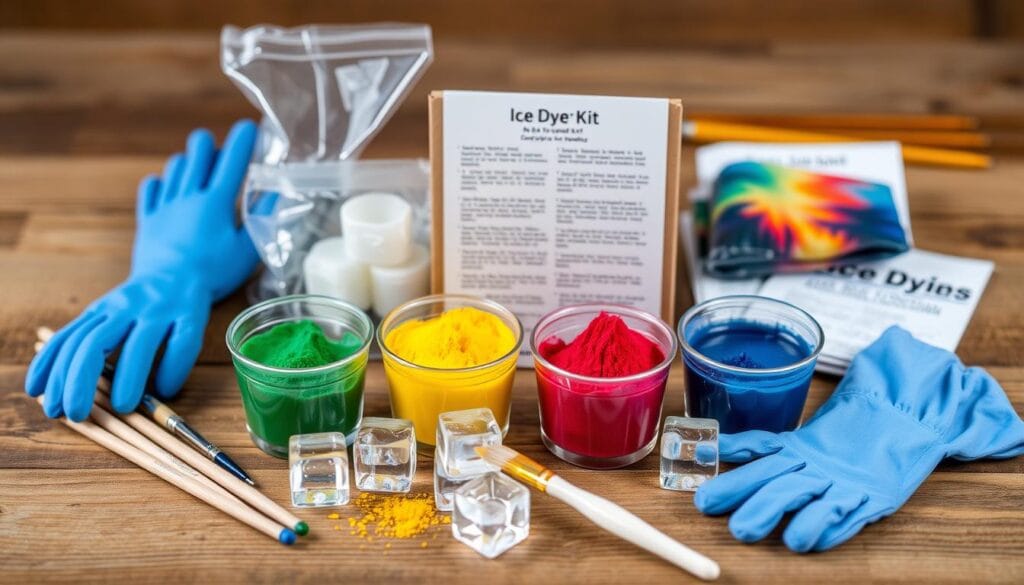
To get started, you’ll need to gather essential supplies including natural fiber fabrics like cotton, linen, or silk, fiber-reactive dyes, soda ash, gloves, and a workspace cover. We’ll guide you through selecting the best materials for your project.
Preparing Your Fabric
Proper fabric preparation is crucial for success. This involves pre-washing your fabric to remove any finishes that might affect the dye, and then soaking it in soda ash to ensure the dye bonds permanently. Let’s dive into the details!
- Before diving into the fun part, we need to gather all the right supplies to ensure your ice dyeing project turns out beautifully!
- We’ll guide you through selecting the best fabric types for ice dyeing – natural fibers like cotton, linen, and silk work wonderfully while synthetics won’t absorb the dye properly.
- You’ll learn about the specific fiber-reactive dyes that work best for this technique and why they create such vibrant, lasting colors.
- Proper fabric preparation is crucial for success – we’ll show you how to pre-wash and soda ash soak your textiles to ensure the dye bonds permanently.
- Our essential supplies list includes both must-haves and nice-to-haves, so you can start with the basics and expand your toolkit as you get more experienced.
- We’ll share our favorite folding and binding techniques that create different pattern effects when combined with the ice dyeing process.
- Safety is important when working with dyes, so we’ll cover the protective equipment you should use to keep your creative space clean and yourself healthy.
Ice Dyeing 101: Create Summer Textiles with Cool Effects
Now that we’ve covered the basics, let’s dive into the exciting process of creating your own ice-dyed summer textiles. This process involves several key steps that we’ll walk you through to achieve stunning results.
Setting Up Your Dye Station
To start, set up your dye station in a well-ventilated area. Cover your work surface with plastic or a drop cloth to protect it from stains. You’ll need a wire rack or a grid to hold your fabric above the container that will catch the melting ice and dye.
Applying Ice and Dye
Applying ice and dye is where the magic happens. Place your prepared fabric on the wire rack, and then add ice on top of it. Sprinkle powdered dye over the ice, creating patterns or covering the entire surface for different effects.
| Dye Color | Effect on Fabric | Tips for Application |
|---|---|---|
| Blue | Cool, calming tones | Apply in a gradient for ombre effects |
| Pink | Vibrant, playful hues | Sprinkle sparingly for subtle pops of color |
| Yellow | Bright, sunny shades | Mix with other colors for unique shades |
Creating Galaxy Effects with Leftover Dye
Don’t let leftover dye go to waste! Place a T-shirt or another piece of fabric at the bottom of your ice dyeing bin to capture the runoff dye. This creates a galaxy effect that’s out of this world. Experiment with different colors and fabric types to achieve unique results.

By following these steps and experimenting with different techniques, you’ll be able to create a variety of stunning summer textiles with cool effects. Happy crafting!
Conclusion
Now that you’ve mastered the art of ice dyeing, get ready to transform your summer wardrobe with vibrant, one-of-a-kind textiles! We hope you’re as excited as we are to start creating your own stunning summer textiles. With practice, you’ll discover your own signature style, and we can’t wait to see how you’ll incorporate these unique textiles into your summer style and home!
For more DIY inspiration, check out our guide on creating no-sew fabric pumpkins for fall decor. Happy crafting, and don’t forget to share your ice-dyed masterpieces with our community for inspiration and feedback!


