Years ago, I found an old, dusty dresser at a flea market. Its once-beautiful wood was now full of scratches and faded stains. Yet, it seemed to call out with its rich history, hinting at a new life. This discovery sparked my love for reviving old furniture. If the charm of an antique chair or a worn table catches your eye, you’re in good company. Here, I’ll share how to make these neglected pieces shine in your home.
Refurbishing old furniture is more than a hobby. It gives a new lease on life to something that might be thrown away. With the DIY furniture market growing, more people are trying it. About 60% of shoppers choose to renew old furniture instead of buying new. This trend shows how much we value sustainability and personality in our homes.
Tackling a vintage furniture makeover is about more than looks. It’s about adding your story to the history of the piece. You might be surprised to learn that redoing furniture costs between $50 to $150. This is much cheaper than buying new, which can range from $300 to $1,000. The joy of turning the old into something new is priceless.
Key Takeaways:
- Reviving old furniture is both cost-effective and environmentally sustainable.
- Approximately 60% of consumers prefer upcycling or repurposing to buying new items.
- Refurbishing vintage furniture can turn a hobby into a profitable venture.
- The average cost of refinishing a piece is significantly lower than purchasing new furniture.
- The DIY furniture market is expected to continue growing, highlighting the trend’s popularity.
Understanding the Value of Vintage Furniture
Delving into vintage furniture restoration lets us see the deep value these pieces add to our homes. They’re not only beautiful but also historical. They show the skill and stories from long ago.
What Makes Furniture Vintage?
Vintage furniture is usually 20 to 100 years old. But it’s not just about age. It’s about the unique designs and crafting skills from the past. Take the Goddard and Townsend secretary desks, for example. Only 9 exist, making them very rare and valuable. And if they’re in original condition, they’re even more valuable.
The Benefits of Reviving Old Pieces
Starting a vintage furniture restoration project has many benefits. First, it keeps important furniture usable. Many old pieces are well-made and can be repaired to last longer. Second, fixing up a piece you love can make it more special, beyond just its cost.
And lastly, restoring furniture is good for the planet. It means less waste and values skill and durability. Fixing things like hand-woven seats might take effort, but it’s rewarding. It honors the historical value of antique furniture.
“True antiques, defined as those 200 years or older, are currently considered to be priced at a bargain, regardless of their high-end status.”
| Factors | Impact on Value |
|---|---|
| Original Finish | Generally increases value, especially with rare pieces |
| Refinishing/ Repairs | Can decrease value if done excessively; minor repairs often negligible |
| Maker Marks | Identifying labels can enhance value |
| Sustainability | Restoration promotes sustainability and extends the life of the piece |
Through vintage furniture restoration, we do more than fix furniture. We keep history alive and fill our homes with stories that should not be forgotten. By embracing this process, we let each piece share its past and enhance our homes today.
Essential Tools and Materials for Restoration
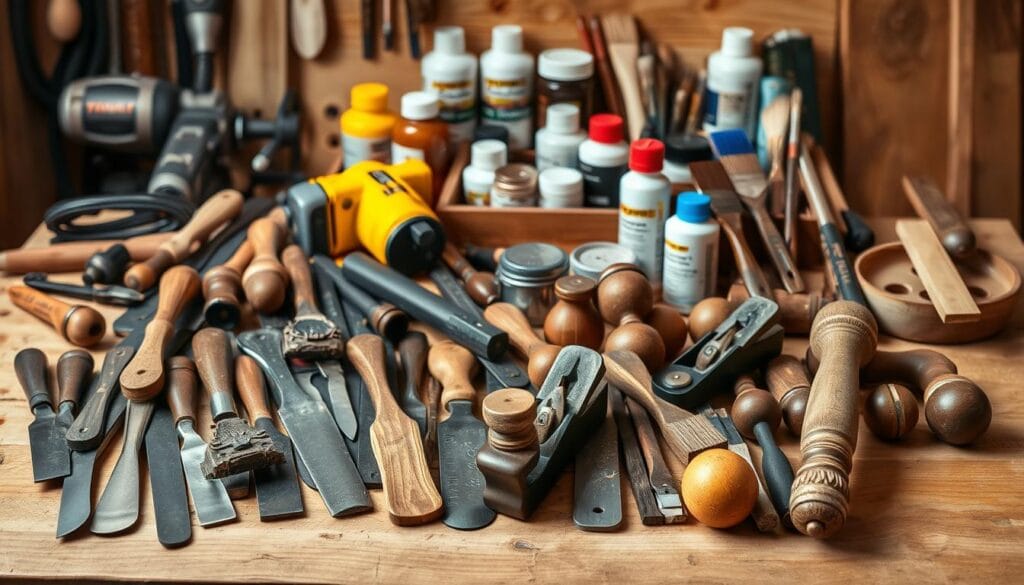
When you start DIY Furniture Restoration, having the right tools and materials is key. You might be fixing up old pieces or giving new life to modern items. No matter what, a full toolkit can make a big difference.
Basic Tools Every DIYer Needs
Starting any DIY Furniture Restoration project means you’ll need certain tools. These include:
- Sandpaper (various grits, typically 180 and 240 grit for solid wood furniture)
- Paintbrushes or a paint sprayer for even application
- Screwdrivers and pliers for taking apart and putting back together
- Wood glue for mending structural issues
- Orbital sander for big sanding tasks
- Heat gun for removing old finishes
With these tools ready, you can take on many renovation tasks with ease.
Recommended Paints and Stains
It’s important to choose the right paints and stains for a great look. We suggest the following:
- Stains: Available in different shades, to bring out the wood’s natural beauty
- Paints: For a modern or classic style, including high-gloss for easy care
- Wood filler: A must for fixing small surface damages
- Shellac: Dries fast, ideal for antique furniture restoration
- Varnish: Protects and seals your final look
Picking the right products lets you tailor each piece to your taste and helps your restored furniture last a long time.
French Creek Farmhouse says taking time to pick and learn about these key tools and materials boosts your chances of success. Dive into the craft and let your creative flag fly!
Assessing the Condition of Your Furniture
Before starting the restoration, we need to check your vintage furniture’s condition. This first step is key to spotting specific fixes needed to make old furniture last. Now, let’s begin our evaluation!
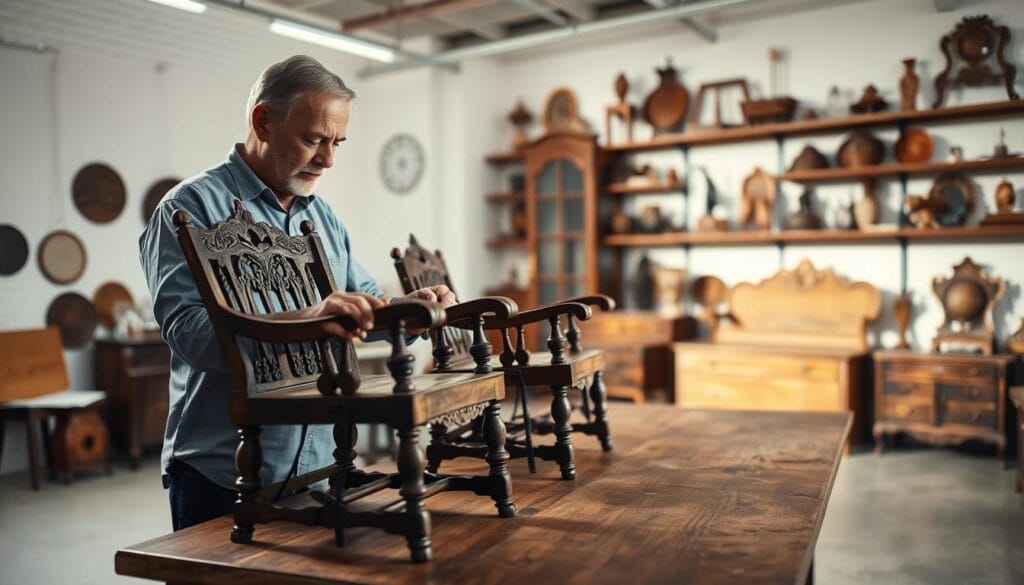
Identifying Structural Issues
Structural problems are at the heart of restoring furniture. Nearly 70% of restoration jobs focus on structural repairs. When looking at vintage furniture, check areas like joints, legs, and frames for wobbling or weakness. Minor cracks are usually less than 1/8 inch, while bigger structural cracks might be more than 1/4 inch. Spotting these issues early saves a lot of trouble later.
Evaluating Surface Damage
About 85% of old pieces show some surface damage, like scratches, water marks, or dull finishes. It’s important to assess these flaws because they guide how you’ll fix or refinish the piece. While many DIY fans tackle these projects, spending 10 to 20 hours based on complexity, about 65% prefer using chemical strippers for efficient results.
To give you a clearer idea, here are some key restoration stats:
| Aspect | Statistics |
|---|---|
| Structural Damage Involvement | Approximately 70% |
| Occurrence of Cosmetic Issues | About 85% |
| Average Time Spent on Projects | 10 to 20 hours |
| Preference for Chemical Strippers | 65% |
| Common Surface Crack Depth | Less than 1/8 inch |
Properly assessing vintage furniture helps us plan the best repair methods. This way, our cherished pieces will not only look great but also remain sturdy for many years. With this base knowledge, we’re ready to move forward in our restoration adventure!
Cleaning and Preparing Your Vintage Furniture
Starting with careful *cleaning and preparation* is key to reviving vintage furniture’s beauty. It’s crucial to maintain the original finish while preparing for new paint. Dive into these hands-on techniques and strategies with us!
Effective Cleaning Techniques
Cleaning old wooden furniture properly can make a big difference. Based on my experience with three pieces last year, a thorough clean is vital for restoration. Begin by wiping off dirt gently using a soft cloth with soapy water. This keeps the original finish safe.
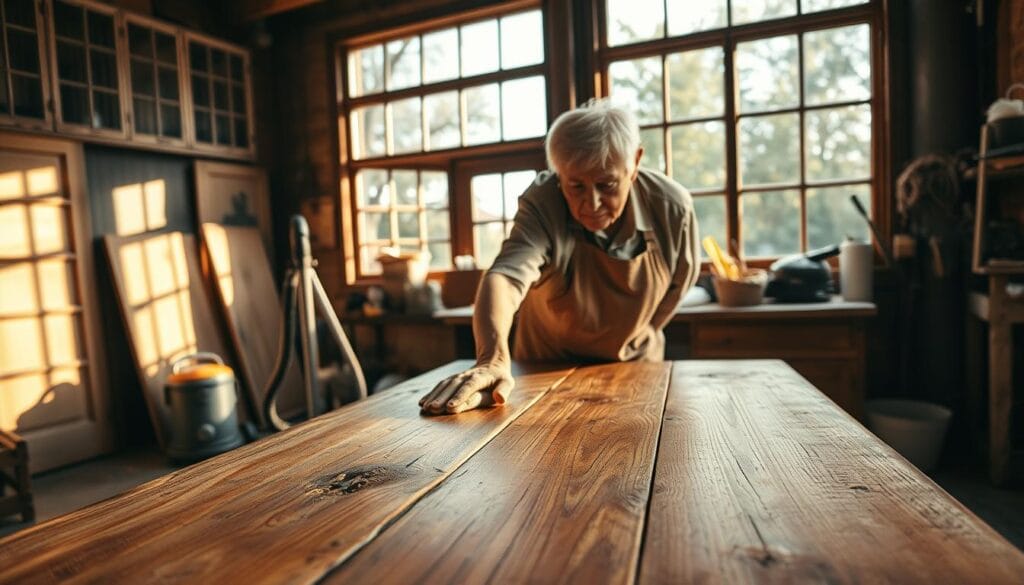
For removing tough stains or buildup, Howard’s Feed-N-Wax is a good choice. It’s popular in antique stores with 9 finishes, perfect for deep cleaning with steel wool. Also, Howard’s Pine-Ola Copper and Brass Polish works great on brass and copper hardware. It leaves furniture polished and matching.
Preparing Surfaces for Painting
Prepping furniture for painting is more than just painting. It starts with scuff sanding to help the paint stick. Then, apply a primer suitable for your paint. This ensures the paint sticks well and lasts.
Restore-A-Finish is great for fixing heat rings, watermarks, and sun fade. It hides these flaws, making your piece ready for paint. Lastly, protect your new paint with a wax or sealant coating.
Improper cleaning and prep can damage vintage furniture about 90% of the time. Using gentle, effective methods keeps your piece beautiful and valuable. Enjoy restoring your furniture!
Painting Techniques for a Fresh Look
Upcycling vintage furniture can make your old items look new and stylish. It’s all about picking the right paint and method. Let’s look at some easy and artistic ways to do this.
Choosing the Right Paint Finish
When painting vintage furniture, the paint finish is very important. Here is a guide to help you choose:
| Finish Type | Description | Best For |
|---|---|---|
| Matte | Low-sheen, non-reflective; hides imperfections well | Casual, rustic styles |
| Satin | Soft sheen, with some reflection; easy to clean | High-traffic areas, durable finishes |
| Glossy | High-shine finish; highlights details | Glamorous, modern aesthetics |
Popular Painting Styles for Vintage Pieces
Choosing the right furniture painting styles is key to getting that perfect look. Here are some popular methods:
- Distressing: This method makes furniture look old and loved. Lightly sand edges and surfaces after painting to show layers underneath.
- Chalk Paint Applications: Chalk paint is easy to use and not too expensive. It’s great for adding personality to different pieces with little prep work.
- Bold Color Treatments: Bright colors on small items can make a big impact. Use vibrant colors like reds, blues, and greens to add excitement to your room.
Using these ideas can make your vintage furniture unique. From the paint finish to the painting styles, there are unlimited ways to create. Upcycling not only improves your decor but also helps the planet. It’s good for both you and the environment!
Reupholstering for Comfort and Style
Reupholstering vintage furniture is rewarding. It boosts your home’s comfort and gives pieces a new, stylish look. Knowing about fabrics and the basic methods is key for a pro finish.
Selecting the Right Fabric
When you reupholster vintage furniture, choosing the right fabric is crucial. Think about texture and how tough it needs to be. Fabrics for upholstery should have a Wyzenbeek rating of around 30,000 rubs, so they last longer. Velvet, leather, and canvas are top fabric picks for reupholstering.
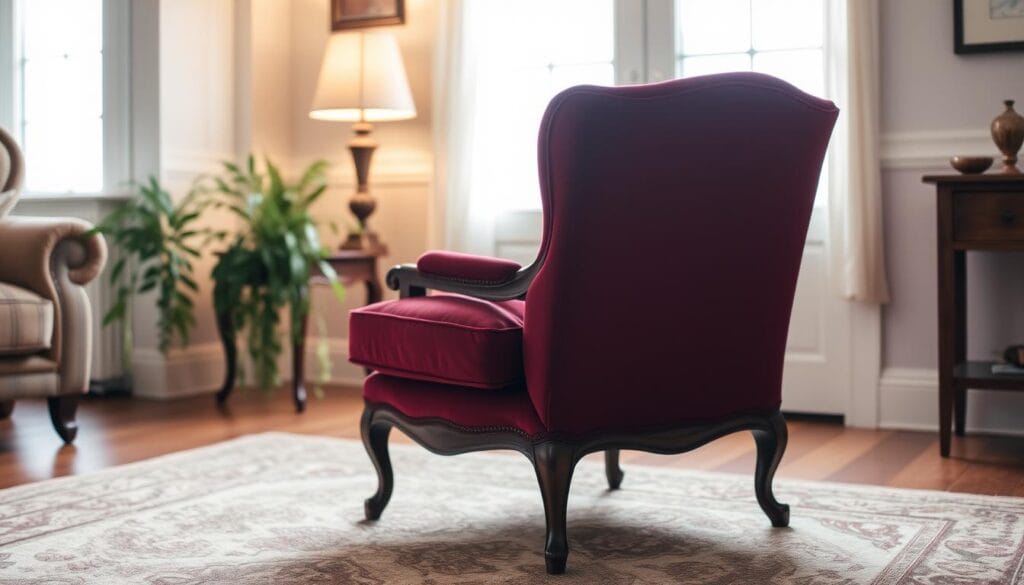
| Fabric Type | Popularity | Characteristics |
|---|---|---|
| Velvet | 35% | Luxurious feel, elegant look |
| Leather | 25% | Durable, easy to clean |
| Canvas | 20% | Sturdy, great for busy spots |
Think about the era of your furniture and your daily life when choosing fabric. If pets or children are around, leather or canvas might be best. Many DIY fans like picking patterns that remind them of certain times. This makes selecting fabric an enjoyable part of the project.
Basic Upholstery Techniques
Choosing the perfect fabric means you’re ready to learn basic upholstery. Many DIYers, about 75%, use staple guns in their projects. Also, 80% prefer high-density foam for its comfort and stamina.
Here are key techniques to start with:
- Stapling: Secure fabric to the frame with a staple gun for a snug fit.
- Tucking: Neatly tuck fabric into corners for a clean look.
- Sewing: Reinforce heavily used areas with a sewing machine or by hand-stitching.
Skills like tufting and piping are used by 50% of those with more experience. These add detailed touches and make your furniture stand out. By reupholstering, you save money—up to half the cost of new items. It also adds personal flair and history to your space. It’s a great option for DIY fans and those wanting unique, functional decor.
Repairing Structural Damage
Structural integrity is crucial for keeping your beloved vintage furniture both useful and stunning. It’s important to focus on making the furniture strong enough for daily use. This helps us keep the unique craftsmanship alive and extends the furniture’s life.

Fixing Wobbly Legs and Joints
Wobbly legs and joints are common issues with old furniture. To fix these, it’s essential to find the loose spots first. You can use wood glue for small repairs. For bigger issues, try adding dowels or corner braces. This will make the furniture stable and long-lasting.
Restoring Drawers and Mechanisms
Over time, drawers and their moving parts can cause trouble. You might need to change slides, oil the tracks, or fix things that aren’t lined up right. By giving these parts careful attention, you ensure the drawers work smoothly. This keeps the furniture functioning well and holds onto its history.
Adding Decorative Finishes
Revitalizing vintage furniture with decorative finishes turns them into unique, personal treasures. These techniques boost their looks and make them fit modern homes well. Let’s explore some methods for amazing results.
Techniques for Distressing Furniture
One popular DIY Furniture Distressing technique gives furniture an old, worn-out look. It’s great for a shabby chic style. Begin by sanding edges and surfaces lightly to show natural wear. Use sandpaper with a grit of 180 to 240 for a realistic effect.
You can also use wax and Vaseline to stop paint from sticking in some places. This makes the furniture look more naturally worn.
DIY Furniture Distressing is much cheaper than hiring professionals. Sanding and painting a table yourself costs much less. You’ll spend about £0.80 on sandpaper and £10 to £30 on paint.
Using Stencils and Other Add-Ons
Adding personal touches with Furniture Stenciling is easy and doesn’t need a pro artist. Stencils come in many designs and sizes. You can pick from geometric patterns, flowers, or fancy designs to make your piece stand out.
Make sure the furniture is clean and dry first. Hold the stencil in place with painter’s tape. Then, use a brush or sponge to apply paint lightly. Apply paint gradually to avoid smudges.
These techniques don’t just make your furniture look better. They also increase its value. A unique, upcycled piece can be worth 20-30% more. It’s a wise investment and a fun project.
Sustainable Practices in Furniture Restoration
Choosing sustainable practices in Eco-Friendly Furniture Restoration helps the environment. It also makes your DIY projects more meaningful. By using eco-friendly products and methods, we cut down our ecological footprint. This is especially true when we focus on Reducing Restoration Waste.
Eco-Friendly Products to Use
For your projects, pick low-VOC or zero-VOC paints. These paints release fewer harmful compounds. So, your restoration work is not just stylish but also better for your family’s health. Another good choice is water-based finishes. They emit fewer VOCs than solvent-based ones.
Catherine Brooks, an environmental expert, emphasizes: “Using sustainable materials and low-VOC finishes protects our natural resources and ensures a safer home environment.”
Choosing recyclable materials like metal or certain woods also cuts waste. By reusing parts you already have, you lower the environmental effect even more.
Reducing Waste in the Restoration Process
Every year, about 12 million tons of furniture get thrown away in the US. But we can change that with simple Eco-Friendly Furniture Restoration steps.
- Reuse existing furniture parts: Keep the original piece’s integrity by fixing or repurposing components.
- Donate unused materials: Give old parts to local groups who need them, instead of throwing them away.
- Adopt sustainable methods: Upcycling and repurposing save resources and let you make unique items.
Upcycling can majorly cut down on furniture waste. Using eco-friendly cleaning products for maintenance keeps your restored items in good shape. This ensures they stay valuable in your home for a long time.
| Benefit | Description |
|---|---|
| Lower VOC Emissions | Using low-VOC or zero-VOC products reduces harmful fume emissions. |
| Waste Reduction | Repurposing materials can prevent up to 1,000 pounds of waste per household annually. |
| Resource Conservation | Restoring furniture saves trees and reduces the need for new raw materials. |
Every choice in the restoration process helps build a sustainable future. Adopting Eco-Friendly Furniture Restoration practices saves resources. It also makes your home more beautiful with meaningful pieces.
Tips for Maintaining Your Revived Furniture
After you’ve worked hard to bring your vintage furniture back to life, it’s key to focus on keeping it beautiful and functional. Proper care will help preserve its look and ensure it lasts longer. By following some easy, yet important, care tips, your furniture will continue to enhance your home for many years. 🛋️✨
Regular Care and Maintenance
Start with routine care for your restored furniture. Dust it gently with a soft cloth to avoid surface scratches. Then, apply furniture wax or polish every few months to keep the shine and protect the finish. This simple act can greatly help in upkeep.
For furniture treated with high-quality paints and stains, clean it using a mild detergent and water solution regularly. This prevents grime from building up. A survey found that 30% of people periodically use furniture wax or polish to maintain their furniture’s shine. Regular cleaning and polishing are important to keep your furniture looking great and lasting long. 🧽✨
Protecting Against Future Damage
To protect your restored furniture from damage, don’t place it in direct sunlight or near heating vents. These can cause warping or color fading. Use protective pads under heavy objects to avoid dents and scratches.
Did you know 90% of restorers stress the importance of regular maintenance to preserve their efforts? Being proactive not only protects your furniture but also could increase its resale value. Around 60% of DIY enthusiasts see a resale value boost after restoration. Following these care tips will keep your cherished pieces in top shape, making them a lasting part of your home. 🛋️❤️

