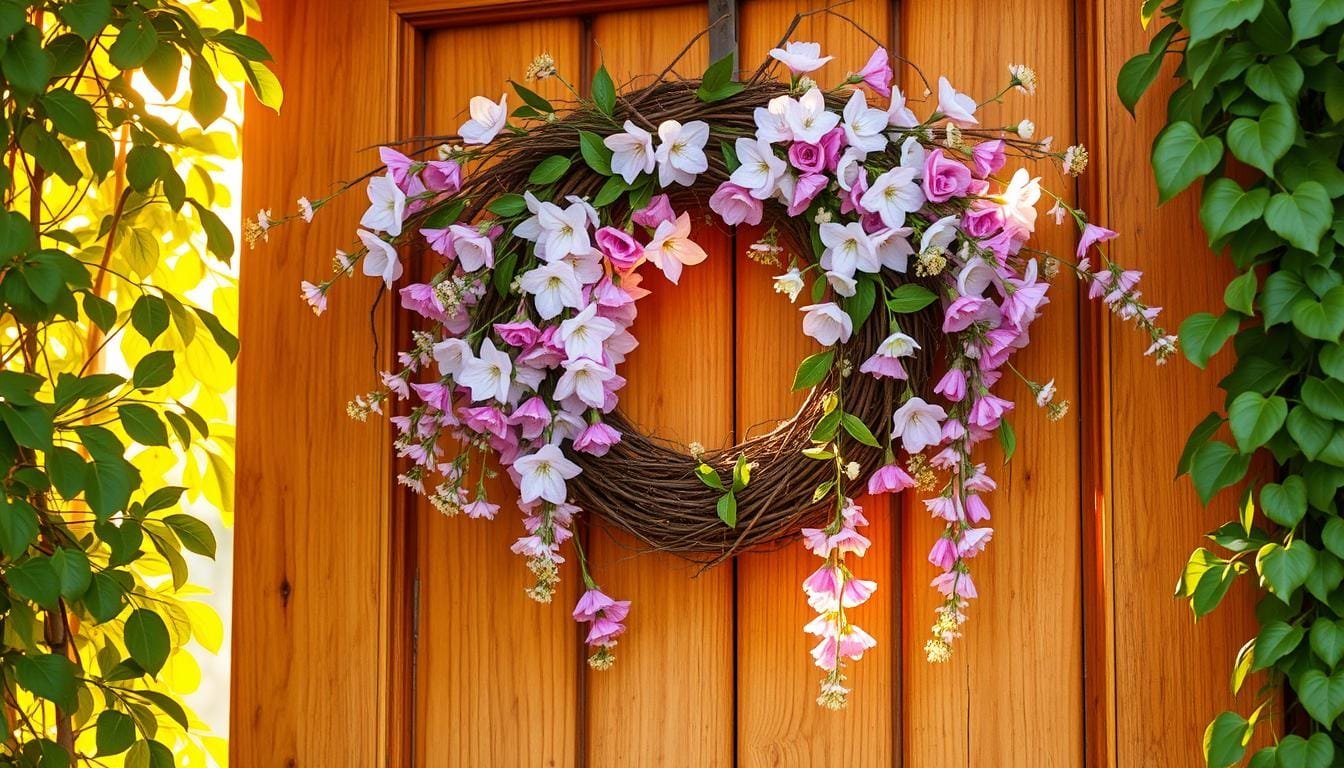
Spring’s first signs are truly magical. After a long, cold winter, seeing flowers bloom and smelling fresh grass is wonderful. One morning, I felt inspired to bring spring’s magic to my door. So, I decided to make a spring wreath with our craft supplies. 🌸
I started with faux peonies, a grapevine wreath, and colorful ribbons. This wreath would make our home look cheerful. It would also be a fun project to do with friends and family.
Imagine opening your door to a beautiful wreath made by you. It’s not just decoration; it’s a celebration of spring. Our guide shows you how to make DIY spring wreaths easily and affordably. It’s perfect for both seasoned crafters and beginners!
So, are you ready to make your own wreath designs? Let’s add some personalized charm and spring energy to your home together! 🌷
Introduction to DIY Spring Wreaths
Welcome spring by making a vibrant DIY wreath for your space. These colorful wreaths add warmth and creativity to our homes. They show why seasonal decor matters and the joys of DIY projects.
Importance of Seasonal Decor
Seasonal decor makes our homes lively and fresh. Adding a spring wreath brings the joy of the season to our doors. Wreaths mean continuity and new starts, just like spring.
More people now enjoy changing their spaces with DIY decor. It’s a popular way to add a personal touch.
Benefits of DIY Projects
DIY projects, like making wreaths, offer many good points. They let us customize our decor and give us a way to create. Making a wreath is relaxing and feels rewarding.
These projects are also easy on the wallet. For example, you can make a spring wreath in 30 minutes with just $20. It’s a great way to improve your home affordably.
You can use things like faux flowers and grapevine bases to make your wreath. Whether for inside or out, they look great. Looking for more ideas? This list might inspire you. DIY is getting more popular as folks want to make their homes special.
Materials Needed for Spring Wreaths
Before making a spring wreath, you need the right materials. Getting what you need helps whether you are following instructions or being creative. This makes crafting easier.
Basic Supplies for Beginners
Starting with simple supplies is best for newcomers. Here is a list to begin with:
- Wreath base (foam, grapevine, or embroidery hoop)
- Floral wire (suggested: green floral wire)
- Hot glue gun with glue sticks
- Wire cutters and scissors
- Assortment of artificial or fresh spring blooms

Optional Decorative Items
If you want your wreath to stand out, add these things:
- Felt balls
- Burlap ribbons
- Mini galvanized metal watering cans
- Vintage seed packets (12-14 recommended for a 12-inch foam wreath base)
- Paper egg cartons for crafting unique shapes
- Small glass tubes for keeping fresh flowers hydrated longer
Sustainable Material Options
For those who prefer eco-friendly options, you can use these materials:
- Dried flowers, which are beautiful and last long
- Recycled paper egg cartons, great for making flowers or decorations
- Vintage tart tins and seed packets, for a nostalgic feel
The market for DIY craft kits has expanded, offering lots of options for spring. These kits include everything from fake flowers to craft tools. They make creating easy and fun.
Popular Styles of Spring Wreaths
Adding a beautiful wreath to your door welcomes spring in style. There are many types, from classic flowers to rustic grapevines and colorful fabrics. Let’s look at some favorites for your next floral wreath DIY project.
Floral Wreaths
Floral wreaths capture spring’s beauty. Use an 18-inch wire frame to start. They mix flowers like tulips and hydrangeas with fake fruits. Ranging from 16″ to 32″, these wreaths are eye-catching.

Grapevine Wreaths
Grapevine wreaths have a natural look. They’re made from twisted vines. Add dried branches or faux tulips for a simple touch. You can also include Easter eggs or bunnies for a unique look.
Fabric and Ribbon Wreaths
Fabric and ribbon wreaths let you play with colors. They often use 2-inch wide ribbons in various shades. Making a floral wreath DIY with fabric is affordable. Use faux flowers and ribbons to make a welcoming piece for your door.
Spring wreaths come in different styles for fun DIY front door decor. You can go with fresh flowers, rustic grapevines, or colorful fabrics. Each style offers a special way to say hello to spring.
Step-by-Step Guide to Making a Floral Wreath
Making a floral wreath is great for welcoming spring. These wreaths bring a bit of nature indoors. Plus, making one is fun and relaxing. This tutorial helps everyone, whether you’re new or experienced, make a lovely wreath. You’ll learn to pick flowers, make a strong base, and put it all together.
Selecting Flowers and Foliage
Choosing the right flowers and foliage is key. Include 5-7 types of flowers, like bright hydrangeas and gentle peonies. Most people like fake flowers because they last long and look good. Greenery fills spaces and makes the wreath look real. Odd designs are in, with many choosing them for a unique look.

Creating the Base
With your green picks ready, it’s base building time. There are many base types to choose from. Grapevine bases are easy and often don’t need glue. Foam bases might need hot glue to hold everything. Metal bases are good for a solid wreath structure.
Assembling the Wreath
Now, get ready to put your wreath together. Start with the greens, using wire or glue to fix them. Place long stems at an angle. This keeps the back neat, a common wreath trick. Then, add your flowers. Aim to cover two-thirds of the base for a natural look. This method is quick, and your wreath will be ready in no time.
Tips for Adding a Personal Touch
Making your wreath unique can really show off who you are. It’s a chance to let your creativity shine and to add items that mean a lot to you. Here are some great wreath making tips and ideas for making your homemade wreath designs truly yours.
Personalization Ideas
Adding monograms or letters for your last name is a popular idea. You can attach a big initial using floral wire or glue. Also, add things that reflect your style, like your favorite colors or themes. Trying new textures and materials can be fun for those who love DIY projects.
Give your wreath more appeal by using different faux flowers. It’s good to use at least five kinds for a lively look. With floral wire rolls, you have plenty for your projects. Adding greenery or filler flowers is also a good idea to make your wreath pop.

Using Family Keepsakes
Adding personal keepsakes can turn a simple wreath into something very special. Use vintage fabrics or pieces from meaningful clothes. Attach older brooches or keepsakes to tell a story. These items make your wreath unique and a great talking point.
Try safety pins for attaching precious items safely. Adding faux hydrangeas brings beauty and realism to your wreath. Make sure your arrangement looks good from all angles. Feel free to adjust things until it looks just right.
| Aspect | DIY Wreath | Store-Bought Wreath |
|---|---|---|
| Cost | $20 – $50 | $40 – $150 |
| Time to Create | 15 minutes | N/A |
| Personalization | High | Low |
| Sentimental Value | High | Low |
| Durability | 1-3 years | Varies |
Seasonal Color Palettes to Consider
Picking the right colors for your DIY wreaths can really help your house stand out. We’ll look at three color schemes for your wreath projects.
Bright and Bold
If you want to be bold, choose bright colors. Colors like blush pink, sky blue, mossy green, sunshine yellow, peach, lavender, and coral bring life to your door. Start with big items like bases, then add bright flowers. Don’t stop at the wreath. Add colorful pillows, curtains, and rugs for a full look.

Soft Pastels
For a softer look, go with pastels. Soft pinks, blues, and greens are great for spring. They make everything feel calm and gentle. To keep the vibe going inside, use pastel decorations like throws and candles. Soft colors are great for adding light without overpowering.
Earthy Tones
For a natural look, choose earthy colors. Muted browns, greens, and beiges give a sophisticated feel. Try a eucalyptus wreath for elegance. Adding old-timey items like white containers can look great. For more ideas, see our DIY centerpiece guide.
Whether you like bold colors, pastels, or earthy tones, there’s a palette for you. Have fun creating!
Incorporating Natural Elements
Adding natural elements to your DIY front door decor is not just beautiful. It also makes your projects eco-friendly. Materials like dried flowers and twigs create a rustic feel. They are perfect for spring celebrations. Let’s see how dried flowers and twigs can make stunning wreaths.
Dried Flowers
Dried flowers make spring wreaths special. They bring in colors and textures that last. Sunflowers, hydrangeas, and daffodils are popular because they add different looks. Adding dried flowers is easy and rewarding for eco-friendly designs.
Start by picking various dried flowers. Use a hot glue gun to attach them to the wreath base. This ensures even spread. Dried flowers stay beautiful over many seasons. For ideas, see these spring wreath ideas that use natural elements.
Twigs and Branches
Twigs and branches make your wreaths look rustic. They’re cheap and eco-friendly if you find them in your yard. Choose flexible twigs and branches for the base. This adds texture and a natural look for spring.
Making the wreath base is simple. Shape the twigs into a circle and use floral wire to hold it. Then, add more twigs, branches, and things like pinecones or dried oranges. Mix in dried flowers and greenery for extra beauty. Here are some natural materials for spring wreaths:
| Material | Quantity |
|---|---|
| 12-inch Burlap Mesh Strips | 12 pieces |
| Coral Bella Rose Stems | 3 stems |
| Cabbage Rose Bush | 1 bush |
| Eucalyptus Floral Picks | 3 picks |
| Light Green Fern Spray | 1 spray |
| Ficus Bush | 1 bush |
| Mini English Ivy Bush | 1 bush |
| Olive Leaf Stems | 3 stems |
| Queen Anne’s Lace Stems | 3 stems |
| Wooden Sign (Approx. 0.5 inches thick) | 1 sign |
| Florist Wire (For attaching sign) | 4 pieces |
| Mesh for Outer Ring | 7 pieces |
| Mesh for Inner Ring | 4 pieces |
When you carefully choose and use these natural parts, you create a unique wreath. It beautifies your home and respects nature. Enjoy making it and happy crafting!
How to Hang Your Wreath Properly
Hanging your spring wreath might seem easy. Yet, there are key points to make sure it stays up and looks great. This guide has all you need to know!
Choosing the Right Location
First, think about where you want your wreath. You might hang it on your front door, a window, or over your fireplace. Think about how much sun and weather it will see. If it has fragile flowers, avoid direct sun to stop them from fading.
Tools Needed for Hanging
You’ll need a few tools to hang your wreath easily and without damage:
- Over-the-door hooks: Great for standard doors, handling wreaths up to 2 kg or more.
- Command Hooks: These self-adhesive hooks, like Command Designer Hooks, support 1 to 7.2 kg and avoid wall damage.
- Suction cups: Perfect for uPVC doors in tough weather. They leave no marks.
- Magnetic wreath hangers: Strong and flexible for metal doors or windows, with double-magnetic locking through glass.
- Double-sided heavy-duty tape: Offers extra hold without damaging the door, costing around $10.
- Felt or foam padding: Use these on your wreath’s back to avoid scratches, providing protection.
Picking the right spot and the correct tools means your wreath will look amazing and stay put. Follow this guide for perfect placement every time!
Caring for Your DIY Wreath
Keeping your DIY wreath looking great includes some important steps. It doesn’t matter if you’re a pro or just starting. These tips will help your wreath look amazing for a long time. Here is some good advice for cleaning and storing your wreath so it stays beautiful.
Cleaning and Maintenance Tips
Cleaning often is key to keeping your wreath beautiful. Dirt and dust can build up and make it look old. Here are easy steps to take care of your DIY wreaths:
- Light Dusting: Use a soft brush or feather duster to gently remove dust. Avoid using harsh chemicals as they can damage delicate materials.
- Misting for Freshness: For live wreaths, mist the back every 2 to 3 days. This keeps the leaves looking good and lasts longer.
- Morning Mist: Spray your wreath in the morning and around 1 p.m., then again in the evening for best results.
- Cover at Night: Cover your wreath with a light plastic bag at night to keep it moist and fresh.
- Use Anti-transpirants: These sprays help keep the leaves from drying out too quickly. Watch your wreath to see how it does.
Storage Solutions
Storing your wreath right when not showing it is very important. Here are tips to keep it in good shape:
- Wrap Carefully: Use tissue paper or plastic bags to cover your wreath. This keeps it from getting dusty and damaged.
- Store in a Cool, Dry Place: Stay away from places that are very humid or very hot or cold. It’s best to keep your wreath where the climate is controlled.
- Keep Out of Direct Sunlight: Too much sun can fade the colors and damage the materials. Keep your wreath where it’s shaded.
- Handle with Care: Be gentle when you move or touch your wreath to avoid breaking decorations.
By using these tips and taking care of your DIY crafts, you can keep your wreath looking lovely for a long time. With regular care and smart storing, your handmade decorations can make you happy year after year. Enjoy your crafting!
Inspiring DIY Spring Wreath Trends
Stepping into new trends makes your DIY spring wreaths unique. Embracing unique themes and eco-friendly designs is great for your home and Earth.
Eco-Friendly Designs
Eco-conscious crafting is growing in popularity. Using recycled or biodegradable materials, you can make beautiful spring wreaths. This helps our planet.
Choose upcycled materials like old fabrics or thrift store finds. Add fresh flowers for a stunning look that also reduces waste. The Watering Can Wreath uses fresh flowers to add a natural touch.
Unique Themes
Getting creative with your wreaths makes them special. Explore different themes instead of just flowers. Try seasonal or quirky themes.
An Easter wreath with pastel eggs or one with eucalyptus is memorable. There are many styles, from rustic to year-round themes. Adding a unique theme makes your wreath reflect your style.
New wreath trends offer different prices. You can find something from $17 to $69. This lets everyone stick to their budget while being eco-friendly and creative.
Conclusion: Celebrate Spring with Your Creations
Spring is a time of starting fresh. What better way to welcome it than making your own spring wreaths! 😍 We hope you feel inspired to create colorful wreaths to make your front door shine. Each wreath shows off your creativity, making your home special.
Encouragement to Share Your Wreaths
We’d love to see your creations! Feel free to share them with friends, family, and on social media. Whether they’re full of tulips and daffodils or have a rustic look with burlap, each wreath shows your hard work. 🎨 Plus, you might encourage someone else to start their DIY journey!
Future DIY Projects to Try
Don’t stop after your spring wreath! There are many more DIY projects to explore. Try making summer wreaths or try new home decor projects. Each project lets you express yourself and add joy to your home. Happy crafting! 🌸