Spring is here, and it’s the perfect time to brighten up your dining area. Just imagine this: all the snow is gone. You and your loved ones sit around a table. It’s decorated with beautiful DIY Easter Napkin Rings. These hand-crafted rings are full of color—bright yellows, lovely purples, cheerful oranges, and soft pinks. They take less than 15 minutes to make! They add a special touch to your holiday table, making it warm and joyful.
Making DIY Easter Napkin Rings is not only fun, but also saves you money. Hobby Lobby might charge $15 for one fancy napkin ring. But you can make your own for much less—saving about 66.67%! For example, a set of 4 napkin rings could cost $60 in stores. But you can make them for only $20. Think of all the money you’ll save for other holidays!
For this project, you can find all you need easily. Things like wood bunny slices and Mod Podge are available at local Dollar Stores, craft stores, or Amazon. Also, for extra ideas, check out The Graphics Fairy and Pinterest. They have beautiful free graphics that can inspire your designs.
Now, let’s get ready, put some paint on our hands, and enjoy this project. You’ll end up with a lovely decorated table. And you’ll feel great because you made something special and personal. Let’s start the steps to make this Easter unforgettable!
Introduction to DIY Easter Napkin Rings
Winter is leaving, and spring is coming. It’s a fresh start. A perfect time for Easter crafts, like making napkin rings. This craft is simple but makes a big difference. It personalizes your table and brings the spirit of the season.
Creating these pieces can be rewarding. They make meals festive. 60% of hosts think decor like this is key for a great meal. Let’s jump into this craft and see how simple materials turn into something beautiful.
DIY Easter decor saves money too. For example, making a set of bunny napkin rings costs about $0.40 each. A similar set from a store can be around $32. You save a lot, which is great for parties.
We can be both creative and practical. Use things like burlap and cardboard. With these, you can make amazing decor. And it’s cheaper. Making a burlap napkin ring costs just $0.40. That includes everything you need.
Napkin rings started in the 18th century. They were for marking napkins for reuse. Now, they’re a big part of table decor. The DIY home decor market is booming, growing 25% each year. About 75% of people say unique table settings make dining special.
Are you ready to be creative for Easter? For great ideas, check spring table settings. Start your Easter projects now. Make this Easter a chance to show your creative side and love for design.
Supplies Needed for Easter Napkin Rings
We’re starting a fun journey to make DIY Easter Napkin Rings. Here’s everything you need. Let’s grab our supplies and enjoy making something beautiful!
Basic Supplies
First, here’s what you’ll need for our Napkin Rings project:
- Wood bunny slices (available at craft stores or Amazon)
- Mod Podge with a matte finish
- Craft paints in various Easter-themed colors
- Ribbons of your choice
- Toilet paper rolls (cut into four even pieces)
- Burlap sheets for the bunny ears
- Glue gun and sticks
Additional Creative Tools
For extra flair in your Napkin Ring Ideas, add these tools:
- Decoupage scissors for precision cutting
- Craft brushes for painting and applying Mod Podge
- Vintage graphics (check resources like The Graphics Fairy)

With these supplies, you can make amazing DIY Easter Napkin Rings for under four dollars. Each one uses a small grapevine wreath and pearl seed garland. This lets you customize each ring for your table beautifully.
You can use these Napkin Rings with any napkins, cloth or paper. They look great on the plate or beside your forks and knives. For a special touch, space your pearls evenly. This easy step makes your holiday table look stunning.
Step-by-Step Guide to Making Wood Bunny Napkin Rings
Making wood bunny napkin rings is a fun way to spruce up your Easter table. This easy DIY project fits well with your other homemade Easter decorations. Your table will look lovely and inviting. Let’s start making these beautiful napkin rings together!
Painting the Wooden Bunny Slices
First, paint the wood slices white. These slices will become our bunny napkin rings. Cover each slice with white paint and let them dry. The white paint makes a great background for adding cute details later. Tip: Painting all slices at once saves time and makes them look the same.

Adding Details with Craft Paint
After the paint dries, it’s time to add details. Mix some brown paint with water. Use a small brush to paint the bunny’s ears, eyes, nose, and mouth. These details will make your bunnies come alive. Each one will be its own little masterpiece.
Decoupage Techniques
Now, let’s add some unique touches with decoupage. Cut out pictures or patterns from pretty paper. Flowers or dots work well. Glue these pieces onto your bunnies using Mod Podge. This step lets you customize each ring to fit your table perfectly. Finish with another Mod Podge coat for toughness.
Here’s what you need and how to do it:
| Material | Description |
|---|---|
| Wooden Slices | Base for bunny napkin rings, 2¼ inches in diameter |
| White Craft Paint | Base coat for wooden slices |
| Raw Umber Paint | Accent color for bunny details |
| Decorative Paper | Images for decoupage design |
| Mod Podge | Adhesive for decoupage |
| Fine Paint Brushes | For detail work on the bunny |
Follow these steps to make unique wooden bunny napkin rings for your Easter table. Dive into this enjoyable DIY project. Bring a special, homemade flair to your celebration!
Creating Burlap Bunny-Ear Napkin Rings
Welcome to the enchanting world of Burlap Bunny Napkin Rings! They’re perfect for a holiday table. We’ll guide you through making these rustic, chic napkin rings. Your table decor will surely stand out. Let’s dive into these DIY Easter Napkin Rings!
Making the Burlap Ears
To begin, gather burlap fabric and strong fabric glue. Each bunny ear is 4-1/4 inches by 1-5/8 inches at its widest. Use Heat N Bond Ultra for extra hold. Cut the bunny ears with a template for uniform size. Glue the edges and let them dry; Fabri-Tac glue is quick to dry and safer than a glue gun!
Covering the Tissue Roll Base
Start with an empty tissue roll cut into 1.5-inch sections. Wrap a 6-inch by 4-inch burlap strip around the roll. Secure it with fabric glue. These bases are the core of your DIY Easter Napkin Rings. This step is like making Starfish Napkin Rings.
Attaching the Bunny Ears
Once your burlap ring is ready, attach the bunny ears. Use plenty of fabric glue on the top of the napkin ring. Try different positions for the ears. You can also add a flower or lace for extra charm. Even Pottery Barn’s burlap bunny-ear napkin rings were a hit, selling out months before Easter.
Enjoy making them and be proud of your work. Burlap Bunny Napkin Rings are a lovely addition to any table. They also show the joy of crafting. Happy creating!
Additional Napkin Ring Ideas for a Beautiful Holiday Table
To make your Easter table look special, check out these *Napkin Ring Ideas*. They’re DIY *Easter DIY Projects* that are both pretty and practical. Your guests will love seeing your creations.
Start with simple things like toilet paper rolls. You can make four Napkin Rings from one paper towel roll. Just cut it, wrap with 3.5-inch ribbons, and add small faux flowers. This idea is great for those who care about the environment.
Try making napkin rings from clay for another fun project. Shape them to fit most napkins. Once baked, paint them in soft colors or marble them for a fancy look. They’re durable and can be used for many holidays.

If you like the rustic look, go for wooden bead napkin rings. Thread beads on wire, making a natural-looking ring. Paint them in colors you like. This quick project takes less than ten minutes for a set of six.
For more *Table Setting Inspiration*, use things like yarn or scraps of fabric. Wrap the rings in yarn to match your decor. Or, cut out felt in shapes like bunny ears for a fun twist. It adds a playful note to your table.
You can choose clay, wooden beads, or cute felt for your Easter *Table Setting Inspiration*. These *Easter DIY Projects* are fun and won’t break the bank. They also offer a chance for everyone to enjoy crafting together this season.
Themed Table Setting Inspiration
The joyous season of Easter brings many ideas to make your dining area lovely. Let’s see how to make your Easter Table Decor magical with nice colors and seasonal touches. We have put together useful tips and fun ideas for a memorable holiday.
Color Schemes
Picking the right colors is important for a beautiful table. Use pastel colors like lavender and white for a calm, fresh look. Or, bright spring colors like teal and gold for a fun, lively feel. Here are some great color mixes:
| Color Palette | Key Elements |
|---|---|
| Pastel Shades | Ivory chargers, pink beaded napkin rings, fine china |
| Vibrant Spring Colors | Teal dinnerware, gold placemats, macrame table runner |
| Neutral Tones with a Pop | Sage green dinnerware, natural wood napkin rings, bird nest accents |
Seasonal Elements
Add seasonal details to make your Easter table shine. Use fresh flowers, Easter eggs, and themed items for joy. Here are three elements to think about:
- Floral Arrangements: Use plum blossom sprays or faux cherry blossom branches in vases for beauty and freshness.
- Unique Napkin Rings: Pink bead or wooden bunny napkin rings make nice gifts for guests.
- Centerpieces: Try glass cloches or vintage items like antique china as a key feature. Mixing plates can also look good.

Your goal is a Beautiful Holiday Table that feels as good as it looks. Use these ideas to bring joy and style to your Easter! 🌸🍴
DIY Easter Napkin Rings for a Beautiful Holiday Table
Enjoy the Easter DIY Projects and show them off on your table! Your guests will love seeing your DIY Easter Napkin Rings. This makes dinner special. You only need about $10 for materials, which is much cheaper than buying them. Pre-made rings can cost over $20 for six.
Creating your decor makes your table look better and more personal. A survey showed 75% of people like DIY decorations for events. Spring decor sales are even up by 20% after winter. DIY Easter Napkin Rings could make guests 40% happier. They add a special touch.

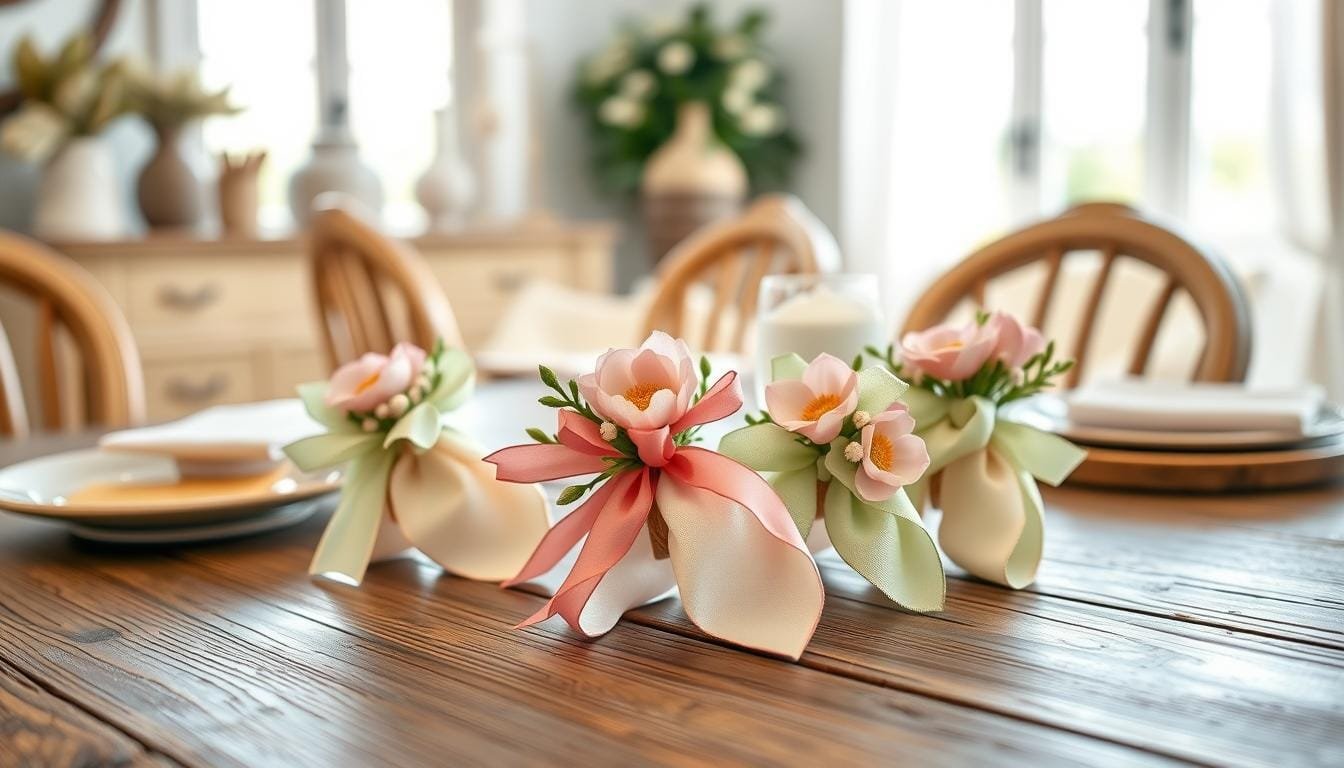
You’ll love adding these to your table. Use floral moss to make cute moss bunny napkin rings. You need two packages of moss bunnies and one of steel rings. Adding faux blossoms, like popular Forsythia flowers, can make your project pop. They could make meals 25% more enjoyable.
Get creative with friends and reuse old decorations, like DIY Firework Napkin Rings. Crafting these saves money, up to 66.67%, and brings people together. For more ideas, check out this awesome guide on holiday centerpieces!
We’re excited to see your unique Easter table settings. Let’s make every meal a celebration with your DIY Easter Napkin Rings. Make your holiday table truly shine!
Benefits of Homemade Easter Decor
Creating your own Easter decor has lots of great benefits. It makes the holiday even more special. Making things by hand adds a personal touch that you can’t get from stores. Your table will look better, and you can make unique DIY Easter Napkin Rings.
Doing Easter crafts can bring your family closer. A study shows that 75% of families feel closer after making things together. It makes getting ready for Easter fun and full of togetherness. Also, 80% of people want to be eco-friendly, and homemade decor does just that.
DIY projects can save you money. The materials usually cost between $25-$50. This is cheaper than buying decorations. Adding your own touches, like napkin rings, makes guests 20% happier. As 60% of people like to make their own holiday decorations, you’re not alone in valuing uniqueness.