Store-bought dye kits can’t match the earthy, beautiful color you get from natural ingredients — and you probably already have everything you need in the kitchen. Natural Easter egg decorating is eco-friendly, kid-safe, and genuinely gorgeous, with soft, sophisticated tones you can’t buy in a box. Here’s how.
Key Takeaways
- Common kitchen items make beautiful dyes — cabbage, onion skins, turmeric, beets.
- Add a splash of vinegar to help the color set, and soak longer for deeper tones.
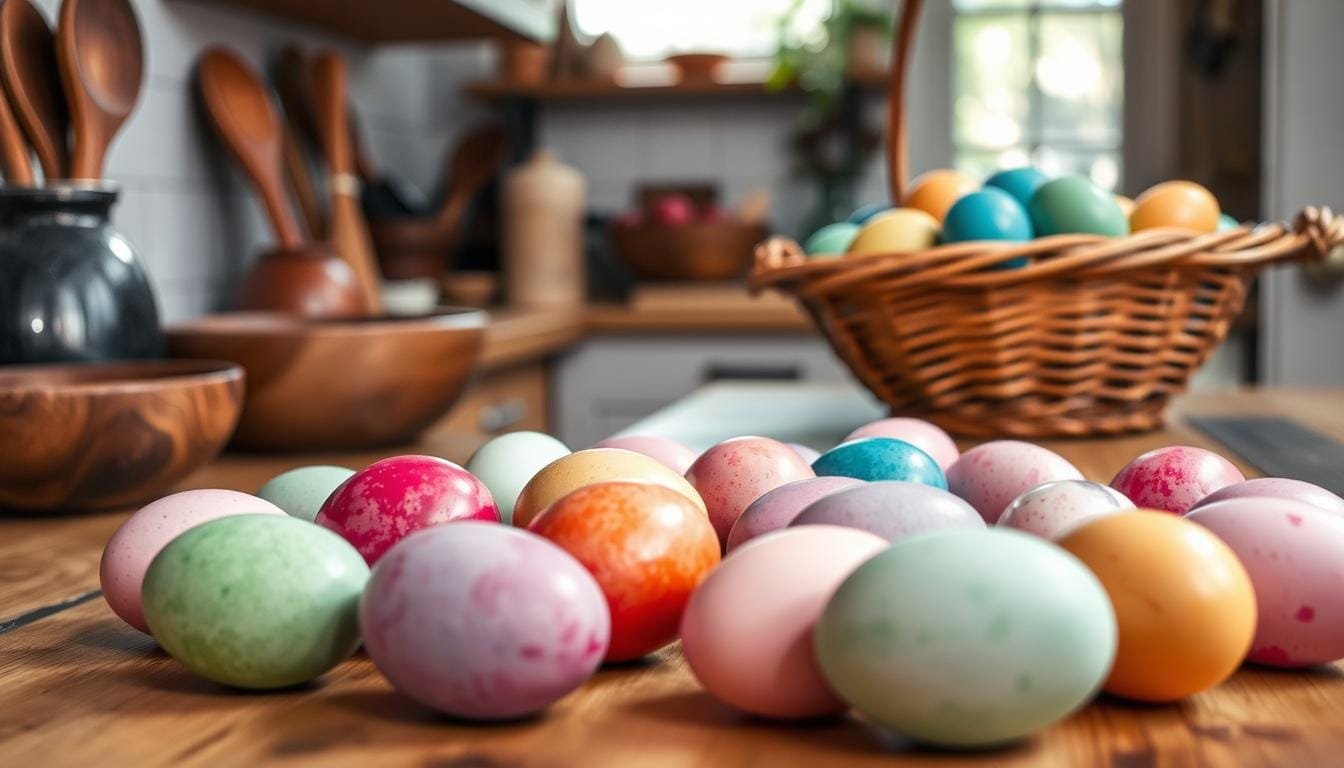
- Natural dyes give soft, earthy colors that look more elegant than neon kits.
- Great as a slow, eco-friendly activity to do with kids.
Natural Dye Colors
Each ingredient yields a different hue:
- Blue: chopped red cabbage
- Yellow: ground turmeric
- Amber/orange: yellow onion skins
- Pink/red: beets
- Soft green: spinach or matcha
- Brown: strong brewed coffee
How to Make the Dye
Simmer about a cup of your dye ingredient in 2 cups of water for 15–30 minutes, strain, and stir in a tablespoon of white vinegar (which helps the color bind). Let the dye cool before using.
Dyeing the Eggs
Use hard-boiled or blown eggs. Submerge them in the cooled dye and soak — a few minutes for pastel, several hours or overnight in the fridge for deep, saturated color. Pat dry and rub with a little oil for a soft sheen.
Patterns and Finishes
For designs, wrap eggs with rubber bands, lace, or leaves before dyeing to create resist patterns. Onion-skin wrapping makes beautiful marbled effects. Once dry, a light buff with oil makes the colors glow.
Frequently Asked Questions
How do you dye Easter eggs naturally?
Simmer a natural ingredient (cabbage, onion skins, turmeric, beets) in water, strain, add a splash of vinegar, cool, then soak eggs from a few minutes to overnight for deeper color.
What makes blue natural egg dye?
Red cabbage — it produces a beautiful soft blue (and surprisingly, not purple) once eggs soak in it.
Are natural egg dyes safe for kids?
Yes — they’re made from food, which makes this a great low-mess, eco-friendly activity to do together.
Looking for more projects? See our full DIY Easter decorations & crafts guide.