There’s a special satisfaction in homemade Easter decor — a felt garland, a hand-dyed egg, a wreath you made yourself. This is your hub for making Easter decorations: easy, mostly budget-friendly projects for every skill level, with links to our full step-by-step guides. If you’d rather style store-bought decor, see our Easter decorating ideas guide instead.
Key Takeaways
- Most Easter crafts use cheap, forgiving materials — felt, paper, eggs, fabric scraps.
- Start with one project per area: a wreath for the door, a centerpiece for the table.
- Natural dyes and foraged greenery make beautiful, low-cost decorations.
- Simple crafts double as kid-friendly activities — the fun is in the making.
Easter Eggs
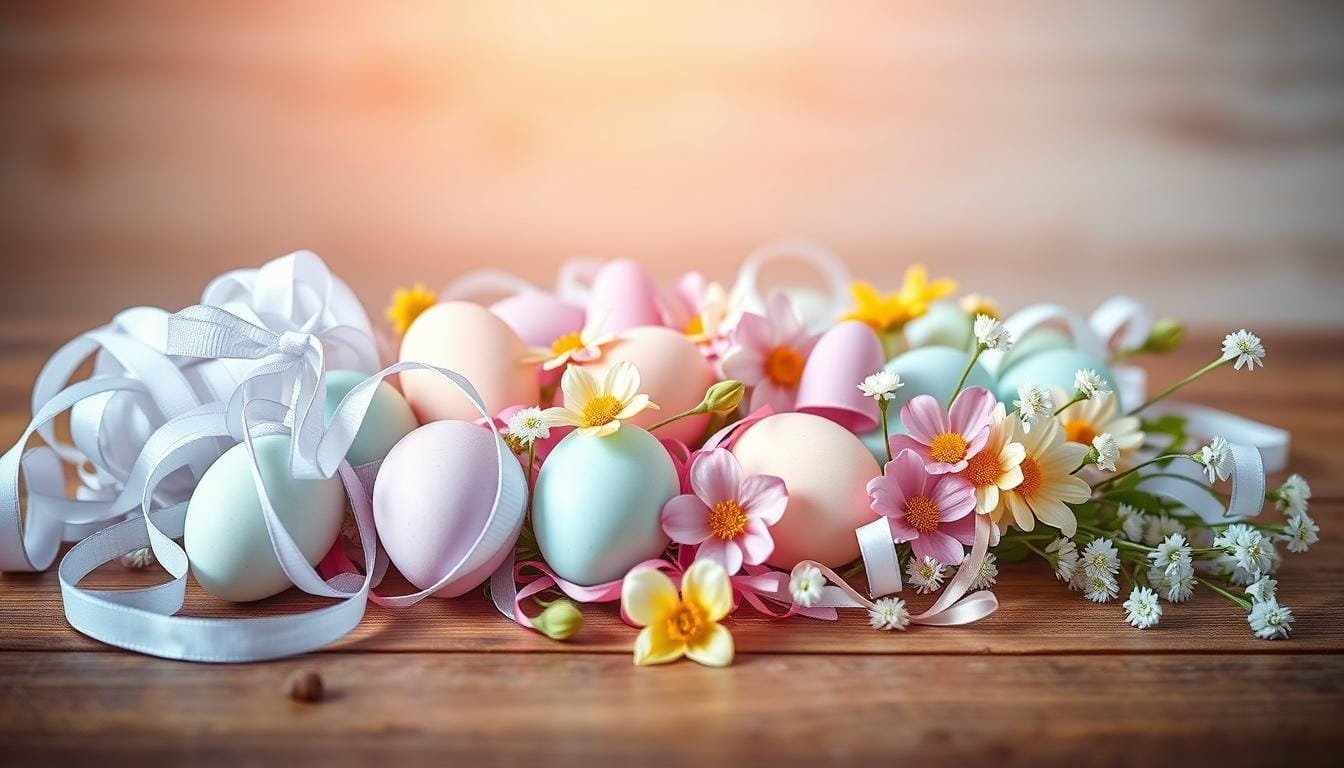
Decorated eggs are the heart of Easter crafting. Skip the store kits and use what’s in your kitchen for gorgeous, eco-friendly color. See our guide to natural Easter egg decorating for dye recipes and techniques.
Wreaths for the Door
A handmade wreath is the easiest way to welcome spring. From pastel egg wreaths to pom-pom bunny wreaths, our DIY Easter wreath guide walks through several styles on a grapevine base.
Centerpieces & Table Crafts
Bring the table to life with a handmade centerpiece of fresh flowers, moss, and eggs — our DIY Easter centerpiece guide shows how. Round it out with felt garlands, napkin rings, and egg-shaped candles for a cohesive tablescape.
Crafts for Kids
Easter is made for crafting with little ones. Bunny-ear headbands, sock bunnies, and no-sew fabric carrots are simple, mess-friendly, and fun — see our DIY Easter crafts for kids.
More Quick Projects
Feeling crafty? A felt Easter garland, an upcycled Easter basket, clay ornaments for a spring tree, hand-painted wooden eggs, watercolor Easter cards, or a balloon arch for the party — all come together with basic supplies and an afternoon.
Frequently Asked Questions
What are easy DIY Easter decorations to make?
A grapevine egg wreath, a felt garland, naturally dyed eggs, and a fresh-flower centerpiece are all beginner-friendly and inexpensive.
How do I dye Easter eggs naturally?
Simmer eggs with kitchen ingredients — red cabbage for blue, onion skins for amber, turmeric for yellow, beets for pink — then soak for deeper color. Full method in our natural egg decorating guide.
What are good Easter crafts for kids?
Bunny-ear headbands, sock bunnies, and no-sew fabric carrots are simple, safe, and fun for all ages.
What’s the difference between this and Easter decorating?
This is about making your decor; to style store-bought pieces, see our Easter decorating ideas guide.
Prefer to style rather than make? See our Easter decorating ideas guide.