Imagine relaxing in your cozy living room with hot coffee. Your coffee table looks perfect, with each item reflecting your style. Suddenly, you spot those annoying rings from cups and glasses. That’s where we start!
Today, let’s explore making elegant beaded coasters. It’s fun and useful, whether you’re skilled or new to DIY. These coasters keep your table clean and add style. Plus, it’s exciting to tap into your creativity with this project.
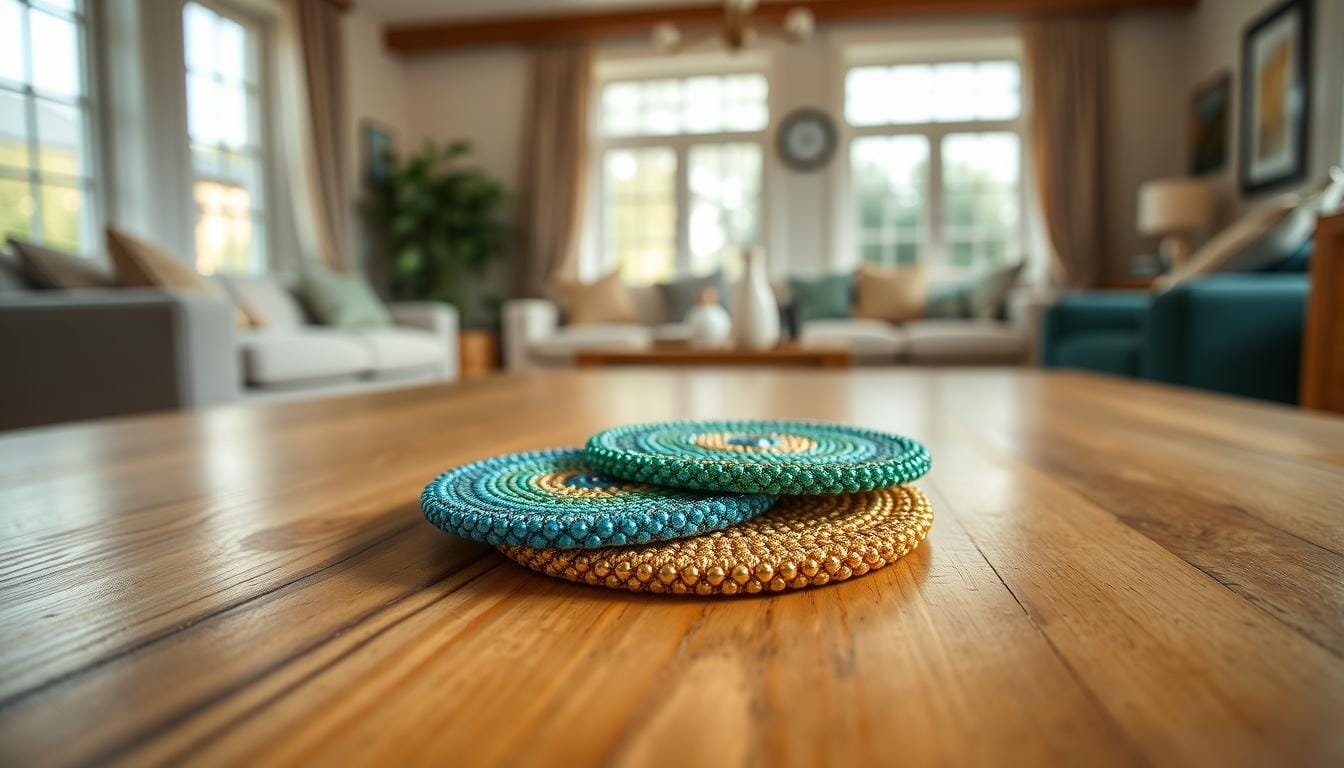
Warren round coffee tables look amazing with the right decor. Using the rule of three, add your coasters with a vase and candle for appeal. Imagine the pride in telling guests you made those stunning coasters!
If you adore making trendy yet useful decor, this is for you. Let’s dive into this DIY beaded coaster project to beautify your coffee table!
Introduction to Beaded Coasters
Beaded coasters bring art and function to your home. They make your coffee table look elegant and protect it from damage. Whether you’re experienced or new to crafting, our guide helps you create unique coasters.
What Are Beaded Coasters?
Beaded coasters are both decorative and practical. They are made from beads woven into patterns. These coasters add style to your home while protecting your furniture. You can make them in simple or complex designs, using different types of beads. This lets you match them with your home’s look, from vintage to modern.
Importance of Coasters
Coasters do more than just decorate; they keep your furniture safe. When you place a beaded coaster under a hot drink, it prevents damage. Beaded coasters also bring a special touch to your spaces. As beaded décor becomes popular, using coasters is a smart way to update your home’s style.
Materials Needed for Beaded Coasters
Making beaded coasters starts with a few key supplies. It doesn’t matter if it’s for a special day or just to add something unique to your space. Finding the right materials is the first step. Let’s talk about what you need to begin!
Types of Beads You Can Use
Choosing beads might seem hard, but keep calm! Some favorites will make your coasters pop. Glass beads give a sleek look, while wooden beads add a cozy vibe. Pearls are perfect for a touch of luxury. Mixing different kinds can create cool textures and designs on your coasters.
Essential Tools for Crafting
Having the best tools makes crafting easier. Here are some you must have:
- Ribbon: Adds a pretty edge to your coasters.
- Felt: Creates a gentle base to protect surfaces.
- Glue gun: Keeps the beads in place.
- Scissors: For cutting ribbon and felt neatly.
- Needle and thread: Great for detailed work.
With the right beaded coaster materials and tools, you’re ready to start. Our step-by-step beaded coaster instructions will help you make coasters that are both useful and beautiful. Excited to begin? Let’s look at how to pick beads and the steps to make your coasters flawless from start to finish!
Choosing a Design for Your Coaster
When crafting your beaded coasters, picking the right design makes a big difference. It makes your DIY project both elegant and useful. Think about the patterns and colors that match your home’s style.

Popular Patterns and Styles
Beaded coasters come in many designs, from simple shapes to detailed flowers. Easy patterns like circles and stripes are great for beginners. They can be done in 1 to 3 hours.
More complex designs, like flowers, take longer but add a fancy touch.
How to Select Colors
Choosing the right colors is key to making your coasters look good. Think about the colors in your space.
Soft pastels and neutrals look subtle and elegant. Bright colors make a bold statement. Remember, painted coasters must dry for 48 hours before you can use them. Coating them with clear sealer makes them last longer.
We suggest trying different materials like cork, ceramic, or resin for your coasters. Cork is good for absorbing liquid and is eco-friendly. Ceramic tiles are strong and work well for fancy designs. Resin is great for creative projects because you can add colors and flowers.
| Material | Benefits | Recommended Use |
|---|---|---|
| Cork | Absorbent, eco-friendly | Simple, practical designs |
| Ceramic Tiles | Durable, versatile | Elegant and intricate patterns |
| Resin | Customizable, artistic | Unique, personalized styles |
Using these materials and color tips will help you make an elegant coaster design. It’s a way to protect your table and show your style. With careful choices, even beginners can create lovely, useful coasters.
Preparing Your Workspace
Setting up a well-organized crafting area is key to enjoying making DIY beaded coasters. A tidy space helps you work better and enjoy the process more. Everything in its place makes your craft time smooth and fun.
Organizing Your Materials
Pick a spot just for making your DIY beaded coasters. Use containers to sort your beads by color and size. This saves time and cuts down on stress. Always have scissors, string, and other tools close by. This keeps you moving smoothly through each step.
Tips for a Clean Work Environment
Keep your craft area clean to boost creativity and prevent losing small beads. Clean surfaces before starting and lay down a mat to catch stray beads. Tidy up often to keep focused on crafting. For more tips on a clean crafting area, see this guide on organizing your space.

A well-organized workspace makes crafting DIY beaded coasters better. Enjoy your crafting!
Crafting the Base of the Coasters
Making a strong and good-looking base is key for your bead coaster project. The right base isn’t just about looks. It also makes your coaster last longer and work better. Picking a solid base means your coaster will be stable and strong.
Choosing the Right Base Material
Think about different materials like felt, cork sheets, ceramic tiles, wood, or old CDs. Cork is great because it soaks up liquids well. Ceramic tiles last a long time and are smooth, so they’re perfect for beads. Wood sealed with varnish keeps water out and lasts a long time. For a shiny look, resin is the way to go. And fabric, with batting underneath, makes for a soft, washable coaster.
Cutting and Shaping the Base
After picking your material, you need to cut and shape it for your coaster. Here’s what to do:
- Trace Your Design: Use something round, like a glass or can, to draw your shape on the material.
- Cut Carefully: Cut along the lines with sharp scissors or a craft knife. For hard materials like tiles, you might need special cutters.
- Smooth the Edges: Make sure the edges are not rough. Sandpaper is good for wood and ceramic. Fabric edges might need some fray check.
Choosing the right base carefully is critical for a great-looking and functional coaster. Take your time with this step to get the best outcome.

Stringing the Beads
Stringing the beads is a key step in making pretty beaded coasters. It’s important whether your design is detailed or simple. Knowing different ways to string beads can really make your project stand out.

Types of Stringing Techniques
There are many ways to string beads, depending on your design. Beginners might start with strong thread. You could use ribbons for a soft feel or memory wire to keep shapes perfect. Choosing the best method can make your coasters look great and last long.
Tips for Even Spacing
Getting beads evenly spaced can be tough, but it’s worth it. Here are some useful tips:
- Use a bead mat to keep beads from rolling and your space tidy.
- Mark your thread or ribbon at even spots before adding beads.
- Use bead stops to keep beads in place and spaces even.
- Check your bead spacing often to keep the whole coaster consistent.
These methods will help you make coasters that look professional and add beauty to your table. Remember, practice will make your beading skills better. Enjoy your beading journey!
Adding Personal Touches
Making beaded coasters personal means adding your unique style. Use creative beading techniques to make them into art. They’ll protect your furniture and look amazing.
Incorporating Unique Beads
Use special beads to make your coasters stand out. Miyuki beads offer lots of colors and sizes. They make your coasters look better, whether you want something shiny or colorful.
Try different bead shapes like seed, bugle, and crystal beads. They add texture and depth to your design.

Stitching Techniques for Detail
Try different creative beading techniques for more detail. Peyote stitch creates a flat surface. Brick stitch gives a grid look. Loom beading makes designs symmetrical.
Combine these techniques with unique beads for amazing coasters. Picture a coaster with a seasonal theme in Miyuki beads colors. Or a geometric pattern made with loom beading. They turn into great conversation pieces.
Securing the Beads
It’s vital to make sure your beads stay put on your coaster. Whether you use glue or other options, keeping everything in place is key. Let’s look at different ways to keep beads secure.
Adhesives to Use
Using glue is a quick way to secure beads. Pick a glue that’s made for crafts and matches your materials. E6000 and Aleene’s Tacky Glue are great for these projects.
Alternative Methods for Bead Security
If you’re not into glue, there are other solid ways to keep your project intact. Sewing the beads with strong thread and small stitches can really hold them tight. Techniques like weaving or knotting work well too.
| Materials | Total Count |
|---|---|
| Beads | 19 |
| Knots | 4 |
| Strings | 2 |
| Wooden Beads | 66 |
| Leather Strip | 10mm x 160mm |
Choosing how to secure beads depends on what look you want and the materials you have. It’s important to try different methods and see what fits. A solid finish is crucial for your coasters’ endurance and beauty.
Finishing Your Coasters
After you’ve made your beautiful beaded coasters, it’s time for the final touches on beaded coasters. You’ll want to trim extra stuff and adjust everything. That way, each coaster looks just right.
Trimming and Final Adjustments
First, take a good look at your coasters. Check for any beads that are out of place or extra strings. Use scissors or a bead trimmer to carefully remove any extras. This might seem like a small step, but it makes your coasters look much better.
Ensure your coasters are even and look neat. This adds to their beauty and usefulness. Fix any beads that moved out of place. The more careful you are now, the better your coasters will look in the end.
Protecting Your Coasters
To make your coasters last longer, you should follow some coaster protection tips. Putting a thin clear sealant on them helps guard against spills and stains. This also makes them shiny and tougher.
Think about adding a felt backing too. It stops the coasters from sliding and keeps your tables scratch-free. Protecting your coasters keeps them looking good and practical.
Suggested Patterns for Beginners
Making beaded coasters can add a unique touch to your home. Starting with easy patterns helps new crafters learn and succeed. Begin with simple designs and move to more complex ones later.
Simple Designs to Start With
Begin with simple coaster designs to get the hang of it. Basic shapes like circles and squares are good starters. Here are some easy patterns to try:
- Basic Circular Coaster: This simple technique lets you make stylish circular coasters.
- Square Tile Coaster: Square patterns are easy and fun to play with colors and beads.
- Single Color Palette: Starting with one color helps you focus on learning the technique first.
We recommend cotton yarn for coasters. It’s great for absorbing spills and withstanding heat.
Gradually Increasing Complexity
After mastering the basics, try out more advanced beginner patterns. Tackle projects with multiple stitches or designs:
- Striped Pattern Coaster: Mix colors for a striped look. It’s an easy step up in complexity.
- Diamond and Hexagon Shapes: These geometric patterns are still easy for starters.
- Adding Decorative Elements: Most find that adding features like tassels can beautify coasters easily.
| Pattern | Complexity Level | Time Investment |
|---|---|---|
| Basic Circular Coaster | Easy | 1 Hour |
| Square Tile Coaster | Easy | 1 Hour |
| Striped Pattern Coaster | Intermediate | 2 Hours |
| Diamond Shape Coaster | Intermediate | 2-3 Hours |
Care and Maintenance of Beaded Coasters
Keeping your beaded coasters looking great is key. Whether used daily or for special events, they add charm. Here’s how to clean and store your beaded coasters properly.
Cleaning Instructions
Cleaning your beaded coasters is easy. Just follow a few steps:
- Gently Wipe: Use a soft, damp cloth to wipe them gently. Avoid hard scrubbing to protect the beads.
- Spot Cleaning: For hard stains, mix mild soap with water. Clean the spot with a cloth and dry it right away.
- Air Dry: Place the coasters on a towel and let them air dry. Make sure they’re completely dry before you use or store them.
Storage Tips
Storing your bead coasters right keeps them in top shape. Check out these tips:
- Separate Coasters: Put a soft cloth or paper towel between each coaster. It stops the beads from rubbing and getting damaged.
- Cool and Dry Place: Keep your coasters somewhere cool and dry. This avoids moisture or heat, which can harm the beads.
- Protective Box: A box meant for fragile items is best for storage. Some coaster sets come with their own box, perfect for this.
By using these maintaining bead coasters tips, your handcrafted coasters will keep adding beauty to your home for many years. Just a bit of care helps keep their looks and use.
Where to Display Your Beaded Coasters
After making your beaded coasters, it’s time to find the perfect spot for them. They are more than just useful items. They’re also art pieces that can make your home look better. Coaster display ideas can help you choose the best place.
Best Locations in Your Home
Your coffee table is a great place to start. Beaded coasters can make it look charming, whether the setting is classic or modern. Adding them to a tray setup can make your coffee table more interesting. This can impress up to 80% of people who see it.
Don’t forget about your dining table, where coasters protect the surface and add to your decor. They also work well on nightstands, side tables, or kitchen counters. Their design can blend with items of different shapes and textures. This keeps your home looking fresh all year.
Gifting Ideas
Beaded coasters make wonderful gifts. They are practical and have a personal touch. Customizing them makes the gift even more special. Adding them to a beautiful tray or a coffee table display idea set can make your gift stand out.
| Location | Benefits | Style Tips |
|---|---|---|
| Coffee Table | Combines function and decor | Mix with books, candles, and plants |
| Dining Table | Protects surfaces | Coordinate with table settings |
| Nightstands | Convenient for nightly drinks | Match with lamp and decor |
Beaded coasters fit well in many spots in your home. They complement your decor and add something special. Whether you keep them or give them as gifts, they’ll surely be memorable.
Conclusion
As we finish our DIY project, let’s celebrate the journey we’ve shared. Making beaded coasters is more than creating something to use. It’s about the skills we’ve developed and the joy we’ve found. These coasters are proof of your creativity and effort, whether they decorate your table or are gifts for friends. How amazing is it that such a simple project can bring so much happiness? 😊
Final Thoughts on Your DIY Project
Working on beaded coasters offered us a chance to mix beauty with use. We learned to pick colorful beads and use eco-friendly materials. We also mastered stitching techniques that make our work stand out. This project was inspired by Bohemian decor, which values personal expression and sustainability. A survey showed that 85% of people doing DIY projects feel they add warmth to their homes. Upcycling has also let us care for the planet while decorating on a budget. 😍
Encouragement for Future Crafting
Keep diving into the DIY world. This coaster project is just the start. Did you know that 65% of homeowners do crafts or improvements each year? The craft market is growing fast, expecting to hit $45 billion by 2025. So, why stop now? You can try making macrame, beaded jewelry, or new coasters. Approach each project with joy and confidence. Every piece you make is art from your hands. 🌟