There’s magic in turning simple things into something fun. One afternoon, I found an odd sock. I decided to make a sock bunny instead of throwing it out. With just rice, rubber bands, and creativity, a cuddly bunny was born. It made both me and my kids happy. We laughed and made our own bunnies together.
Want a fun DIY project? This is it. Making a sock bunny is about fun and togetherness. It’s great for anyone. Plus, these bunnies are wonderful gifts and decor. Let’s start!
Pick out a sock to transform into happiness. We’ll show you every step, from materials to the finishing touches. Make them for Easter, to brighten your home, or just for a good time. Follow this DIY sock bunny guide. Let’s get crafty with these cute sock bunny crafts!
Introduction to Sock Bunnies
Welcome to our delightful world of sock bunnies! Whether you’re new or skilled in DIY, our sock bunny tutorial for beginners will help you create a cute sock bunny. Dive into this crafty sock bunny project and set your creativity free!
What is a Sock Bunny?
A sock bunny is a fun, homemade craft from regular socks. Stuff socks with rice or padding and shape them into bunnies. This homemade sock bunny is cute and a great way to reuse old socks.
The Appeal of Crafting
Crafting turns simple materials into wonderful things. Our homemade sock bunny instructions bring a sense of achievement. Crafting sparks creativity, eases stress, and is a great hobby. Plus, this sock bunny tutorial for beginners lets you make a bunny that’s uniquely yours.
Ideal for All Ages
The crafty sock bunny project is loved by both kids and adults. Kids get to be creative, and adults find it relaxing. So, bring together your friends and family, and create sock bunnies that will be cherished.
Materials Needed for Your Sock Bunny
Making a cute sock bunny is a fun DIY project. First, let’s get some materials. We’ll need these things and some tips for making the bunny.
Types of Socks to Use
Choosing the right sock is important for your bunny’s look. Soft, stretchy socks work best. They make the bunny cuddly. You can pick:
- Crew socks for a medium-sized bunny
- Ankle socks for a smaller bunny
Choose fun colors and prints to give your bunny character!
Essential Craft Supplies
To make crafting smooth, here are some must-have items:
- Socks: Two socks for each bunny
- Rice or other stuffing: For the body, head, and tail
- Scissors: Sharp ones for clean cuts
- Hot glue gun: For putting parts together
- Thread and needle: Optional, for sturdy assembly
- Black jewels or buttons: For the eyes
- Twine or ribbons: For decoration
With these supplies, you’re ready for a great project.
Optional Decorative Items
Add your own touch with these extras:
- Colorful buttons for a fun look
- Black jewels for eyes, or safe eyes for kids
- Fabric pieces for clothes or accessories
- Pom-poms for tails or decorations
- Glitter glue and markers for artistic touches

Follow this material list and tips for a fun crafting time. Be creative and see where your imagination goes!
| Item | Quantity | Best Practice |
|---|---|---|
| Socks | 2 | Use crew or ankle socks for variety |
| Rice or stuffing | Small Amount | Use small pieces to avoid overstuffing |
| Scissors | 1 Pair | Ensure they’re sharp for clean cuts |
| Hot glue gun | 1 | Helps in quick and firm assembly |
| Thread and needle | Optional | Use matching thread for a clean finish |
| Decorative buttons/jewels | Optional | Adds charm and character |
| Twine or ribbons | Optional | For tying and decoration |
Step-by-Step Instructions
Welcome to our guide on making a sock bunny. We’ll show you how to make a cute sock bunny friend. You’ll learn from starting with a sock to adding sweet final touches.

Preparing the Sock
Choose thicker socks for the best bunny. Use one men’s crew sock and one women’s ankle sock. Cut off the toe of the sock. It will become the ears.
Filling the Sock
Stuff the sock with rice and filling, mixing them for a firm feel. This mix makes the bunny hold its shape better. Work the stuffing with your hands to avoid any lumps.
Tie a small band to mark the bunny’s head. Use another band to shape its body. A tip: tweezers help with small fixes!
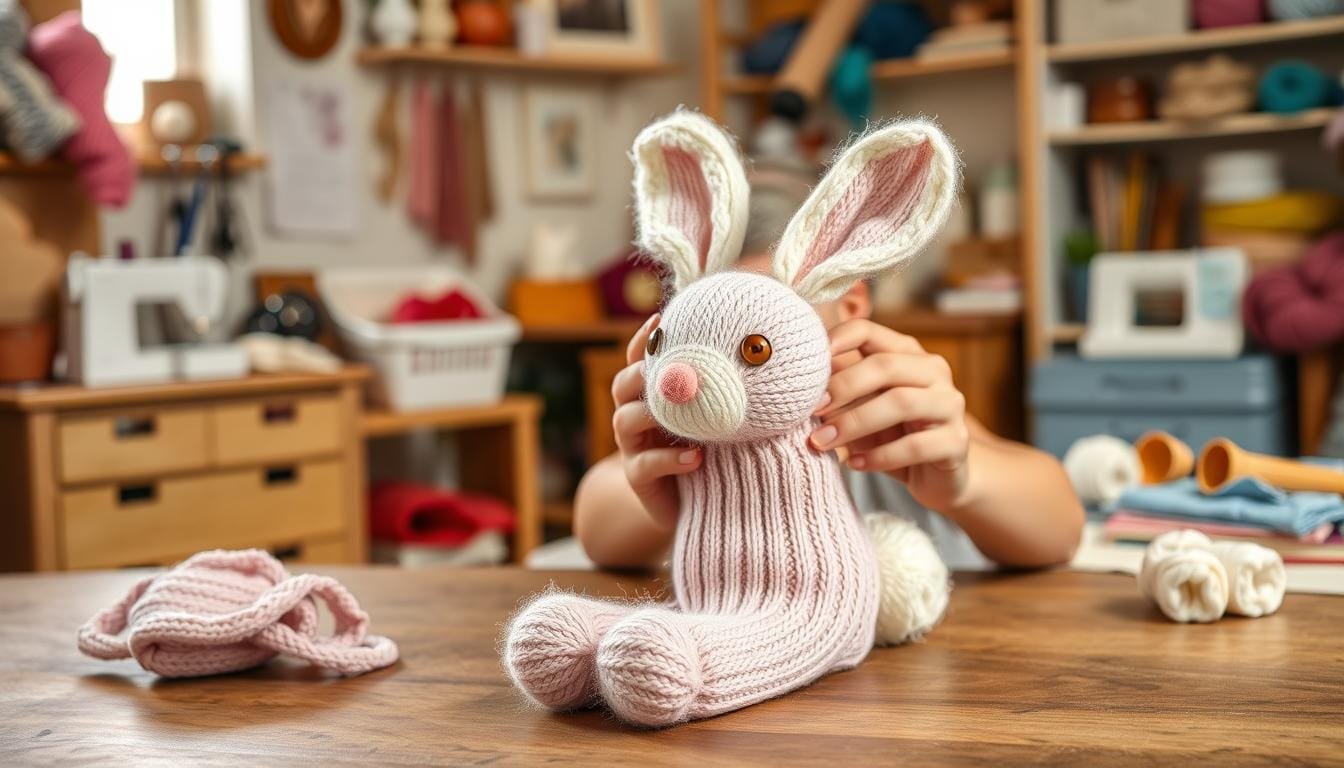
Forming the Bunny Shape
Now, shape your bunny. Turn the toe part into two ears. Make bunny arms and legs from the second sock. Fill them and attach them to the body. Sew carefully, making sure everything stays together well.
Adding Features
Here comes the fun part of making your bunny. Use buttons for eyes and floss for its face. Add neat touches like jewels for charm. Tie a ribbon around its neck for beauty.
If you follow these steps, you’ll make a special sock bunny. It’s a great gift or a cute item for your room. These bunnies showcase your craft skill and care.
Personalizing Your Sock Bunny
Making your sock bunny special is about adding your own touches. It’s also easy on the wallet, needing just socks, rice, string, and some fun extras. Let’s explore how to make each bunny a one-of-a-kind!

Choosing Colors and Patterns
Pick socks that are colorful or have cool patterns. Your sock bunny can show off your style or a special theme. Use odd socks of different sizes. This is a great way to use up those single socks.
About 15% of homes have socks they don’t use. So, turning those leftovers into adorable bunnies is a smart idea.
Accessorizing with Ribbons and Buttons
Add ribbons, bows, and buttons to make your bunny stand out. These touches add color and character. Around 80% of people who craft like adding their own twist to projects. Look in your craft drawer or visit a store for ideas.
Discover even more creative ideas for making crafts unique.
Creating Unique Facial Expressions
Designing the face is another fun step. Use different styles for eyes, noses, and mouths to show its personality. Googly eyes or stitched smiles make each bunny unique. Adding baby barrettes or flowers makes them even more special.
This customization makes crafting more fun. And everyone can join in, no matter their crafting level. So, gather your materials and start making bunnies that reflect you!
Tips for Making a Sock Bunny
Making a sock bunny is fun and rewarding. Follow these tips for the best results. Learn to dodge common mistakes and stick to trusted methods.
Common Mistakes to Avoid
Overstuffing the sock is a common error. It makes the bunny look odd. Use just enough stuffing for the body and less for the head. This keeps your bunny looking cute and well-proportioned.
Be careful with the ears’ fastening. Change them to create perky or droopy ears. Using different colors adds charm. Try pastel for Easter or bright for birthdays.
Best Practices for Crafting
For a great crafting experience, follow these best practices. Choose women’s or kids’ socks because they’re easy to work with. Use strong and safe materials. This makes your bunny durable. Plus, the materials are cheap, around $1 per sock.
- Turn extra sock material into hearts or egg pillows.
- Use 2-3 tiny elastics to keep the bunny’s shape.
- A glue gun works great for a no-sew bunny—glue sets fast.
- One pair of fuzzy socks can make two bunnies.
Storage and Care Tips
After making your sock bunny, care for it properly to make it last. Store it in a dry, clean place away from sun and moisture. Handle it gently to keep it looking its best.
For detailed care instructions, see our full DIY guide here. With these tips, you will have fun making cute bunnies that everyone loves.
Alternative Sock Bunny Variations
Let’s explore the world of sock bunny crafts! There are so many creative ideas to try. From holiday themes to puppet fun, your DIY projects will always be exciting.
Easter Sock Bunny Ideas
Make your sock bunny special for Easter. Use pastel colors and spring designs. Fill it about two-thirds with rice for a soft, perfect shape.
Add a few drops of essential oil for a nice smell. Decorate with ribbons and small Easter eggs. This makes them perfect for Easter décor or as gifts.

Sock Bunny Hand Puppets
Turn your sock bunny into a fun hand puppet. Follow easy instructions to create a storytime hit. Start with a colorful sock that fits over your hand.
Use fabric markers for faces that show different emotions. This makes storytime with your puppet special. Your puppet will be a hit, making storytelling magical.
No-Sew Sock Bunny Options
If you don’t like to sew, try no-sew bunnies. Use fabric glue and simple tricks to make your bunny. Add character with fabric markers, buttons, or ribbons.
These bunnies are easy and fun to make. They’re as cuddly as sewn bunnies, perfect for beginners or quick projects.
With these ideas, you’ll find a sock bunny style you love. Get ready for Easter, puppet shows, or easy crafts. There’s something special about making bunnies from socks. 🐰✨
Creative Uses for Sock Bunnies
Sock bunnies are not just for fun; they’re great for many things. You can make them for gifts, decorations, or even party favors. They bring happiness and spark creativity no matter the occasion.

Fun Gifts for Kids
Giving sock bunnies as presents for children is a fantastic idea. They are perfect for special days like birthdays. Kids love their soft, customizable look. You can make them together, adding a personal touch of love and creativity.
Home Decor Ideas
You can also use sock bunnies to decorate your home. They add a playful vibe to any room. Place them on shelves, in cozy spots, or on a windowsill. For holidays like Easter, they make your home feel warm and welcoming.
Themed Party Favors
Got a party? Use sock bunnies as special party favors. They are great for birthdays, baby showers, or holiday parties. Make them in colors to fit your party theme. Your guests will love these unique and creative favors.
Making sock bunnies is affordable and uses up single socks. You only need simple materials and an easy no-sew method. This way, you can quickly make many bunnies. It’s both fun and useful for your crafting projects.
Troubleshooting Common Issues
Making a sock bunny is usually quite easy. However, like all DIY projects, you might run into some snags. We’re here to help solve common issues so your sock bunnies turn out just right.
Fixing a Lopsided Bunny
Sometimes, a sock bunny might not look balanced. This can happen if it’s not stuffed evenly. Just move the stuffing around until it looks right. You might also need to change your stitches a bit to get it looking perfect.
Dealing with Unruly Features
Sometimes, parts like eyes, noses, and ears don’t stay where they should. For eyes or noses, try using stronger glue or more stitches. To fix droopy ears, slip a little wire inside them for support.
Reviving Older Sock Bunnies
Want to spruce up old sock bunnies? A little care can make a big difference. Tighten any loose stitches and add new touches like ribbons or buttons. This makes your old friends look new and keeps them around longer.
Conclusion and Final Thoughts
We’ve come to the end of our DIY sock bunny guide. This fun project shows the joy of creating something unique from scraps. It’s a great break from the daily routine, boosting creativity and fun at home.
Encouragement to Get Crafting
Finished this guide? You’re likely eager to start. Making a sock bunny is fun and cheap. It just takes an afternoon, 10 easy items, and some rice for weight. Filling, shaping, and decorating these bunnies feels so rewarding. This project suits both experts and beginners, letting you use your imagination. 😌
Sharing Your Sock Bunny Creations
Sharing crafts is a highlight. You’ve shared this guide 2,680 times! Whether with loved ones or online, you help build community. Social media and forums are great places to show your bunnies, offer tips, and inspire others.
The Joy of Handmade Gifts
Handmade gifts have a special charm that store-bought ones lack. Giving or receiving something made by hand brings unmatched joy. You can personalize your sock bunnies, making them even more special. These creative moments become precious memories. Happy crafting! 🎨