
This is one of the most-loved posts on Design and Dwelling — and for a long time it deserved only half that love. It was full of pretty ideas and short on actual instructions. So we’ve rebuilt it from the ground up: eight book upcycling projects, each with a real materials list, honest time and cost estimates, and step-by-step directions you can follow at the kitchen table this weekend.
Old books are one of the best free craft supplies there is. Thrift stores sell them for a dollar, they’re beautiful before you even touch them, and turning one into decor feels a lot better than dropping it in the recycling bin. Here’s exactly how to do it.
Key Takeaways
- Every project below includes materials, cost, time, difficulty, and numbered steps — no guesswork.
- A basic kit covers almost everything: a sharp utility knife, metal ruler, hot glue gun, and white PVA glue or Mod Podge.
- Start with the wreath or framed page art if you’re new to book crafts — both are hard to mess up.
- Use thrifted, damaged, or mass-market books; check anything old or unusual for value before you cut.
Before You Start: Books, Tools, and a Quick Conscience Check
Which books to use. The best candidates are thrift-store finds ($0.50–$2), water-damaged or broken-spined books headed for the bin, outdated reference books, and mass-market paperbacks printed in the millions. Yellowed pages are a feature, not a flaw — that warm ivory tone is what makes these projects look good. Two quick rules: don’t cut a book that might be valuable (thirty seconds searching the title on a used-book site will tell you), and don’t cut one you’d rather read.
The basic kit. Nearly every project here uses some combination of: a sharp utility knife with fresh blades, a metal ruler, a cutting mat or scrap cardboard, a hot glue gun with a bag of sticks, white PVA glue or Mod Podge, and a pencil. If you own those, most of these projects cost almost nothing.
1. Framed Book Page Art
Easy · about 30 minutes · roughly $15 with thrifted frames

You’ll need: a book with attractive pages (poetry, sheet music, botanical or field-guide illustrations, or just lovely typography), 3 matching frames with mats (8×10 works well — thrift stores are full of them), a craft knife, and acid-free tape.
- Choose and remove your pages. Pick three pages that look good together — a set of illustrations, or three pages from the same chapter. Open the book flat and run a craft knife slowly along the inside margin, close to the spine, to release each page cleanly.
- Flatten them. Press the pages under a stack of heavy books overnight so they hang flat in the frame.
- Optional — age them further. Brew strong black tea, brush it lightly over each page, and let them dry flat on a towel. It deepens the ivory tone and evens out any bright spots.
- Mount and hang. Center each page behind the mat and secure the top edge with two small pieces of acid-free tape (taping only the top lets the paper expand without rippling). Hang the three frames in a row or column, about 2–3 inches apart.
Tip: odd numbers hang better than even ones. Three frames over a console or bed reads intentional; two reads unfinished.
2. The Book Page Wreath
Easy but patient · about 90 minutes · under $10
This is the project everyone pins, so let’s do it properly.
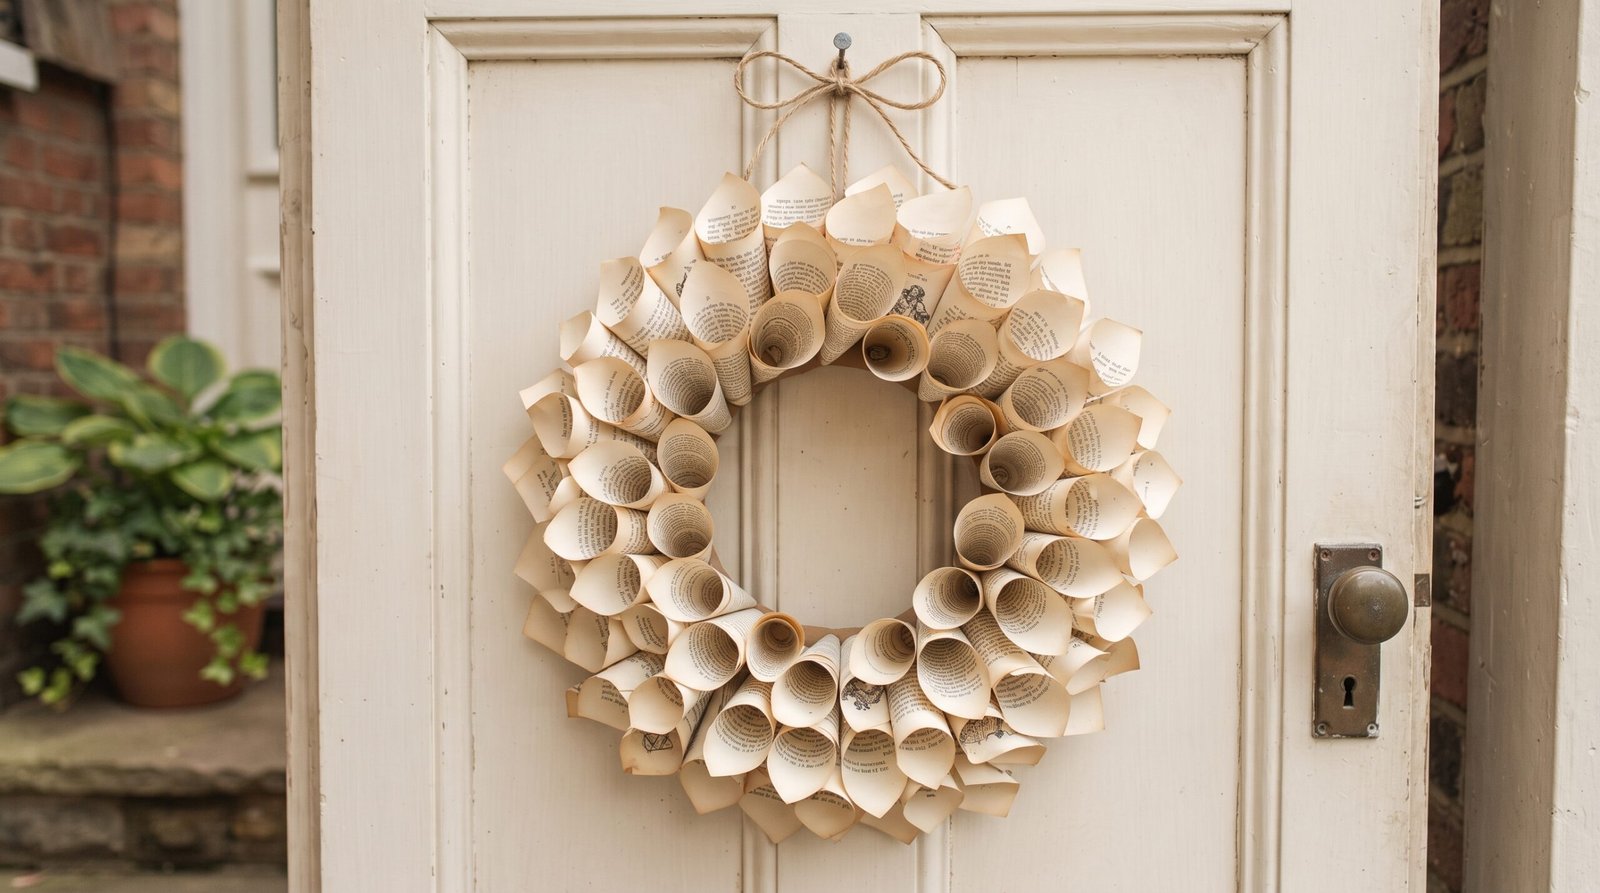
You’ll need: one old book (you’ll use 60–80 pages), a 12-inch wreath ring — cardboard cut from a shipping box works perfectly (12-inch outer circle, 8-inch inner), a hot glue gun with 15–20 glue sticks, and about 12 inches of twine.
- Cut your ring. Trace a 12-inch circle (a large mixing bowl works), then an 8-inch circle inside it (a dinner plate, roughly). Cut out the ring with your utility knife.
- Roll your cones. Remove pages from the book. Starting at one corner, roll each page diagonally into a cone with a point at one end and an opening about 1.5 inches wide at the other. Put a dab of hot glue on the loose corner to hold the seam. Roll 60–80 of these; it goes fast once your hands learn the motion, and slightly irregular cones look better than perfect ones.
- Glue the first layer. Lay the ring flat. Glue cones around the outer edge, points facing outward, open ends toward the center, about half an inch apart. This layer sets the wreath’s diameter, so let the points overhang the cardboard by a few inches.
- Add the second layer. Glue a second round of cones on top, offset so each cone covers the gap between two below it. Angle this layer up slightly for fullness.
- Fill the center. Cover the remaining visible cardboard with short, tightly rolled page tubes, or roll one page into a loose spiral rosette and glue it at the center bottom.
- Add the hanger. Hot-glue a loop of twine to the back of the ring. Let everything cool for ten minutes before hanging.
Tip: hang it away from direct rain — paper wreaths are for doors with cover, interior doors, or above a mantel.
3. Book Page Garland
Easy · about 45 minutes · under $5

You’ll need: 10–20 book pages, scissors or a 2.5–3 inch craft punch (hearts and circles are the classics), twine (6–8 feet), and a glue stick or sewing machine.
- Cut your shapes. Fold pages in half and cut hearts or circles about 3 inches across — you’ll want 20–30 shapes for an 8-foot garland. A craft punch speeds this up dramatically if you have one.
- Attach them to the twine. The no-sew way: fold each shape gently over the twine and glue it to itself, spacing shapes every 4–5 inches. The fast way: run the shapes through a sewing machine in a chain, straight stitch down the middle, feeding the next shape in as the last one exits.
- Hang with slack. Garlands look best draped, not taut — let it swag between two points on a mantel, bookcase, or table edge.
Tip: for parties, pull pages from a book that fits the occasion — a romance novel for an anniversary dinner, a favorite childhood story for a birthday. It’s a five-second detail people genuinely notice.
4. The Hollowed-Out Book Planter
Medium · 1–2 hours plus drying time · about $12 with plants
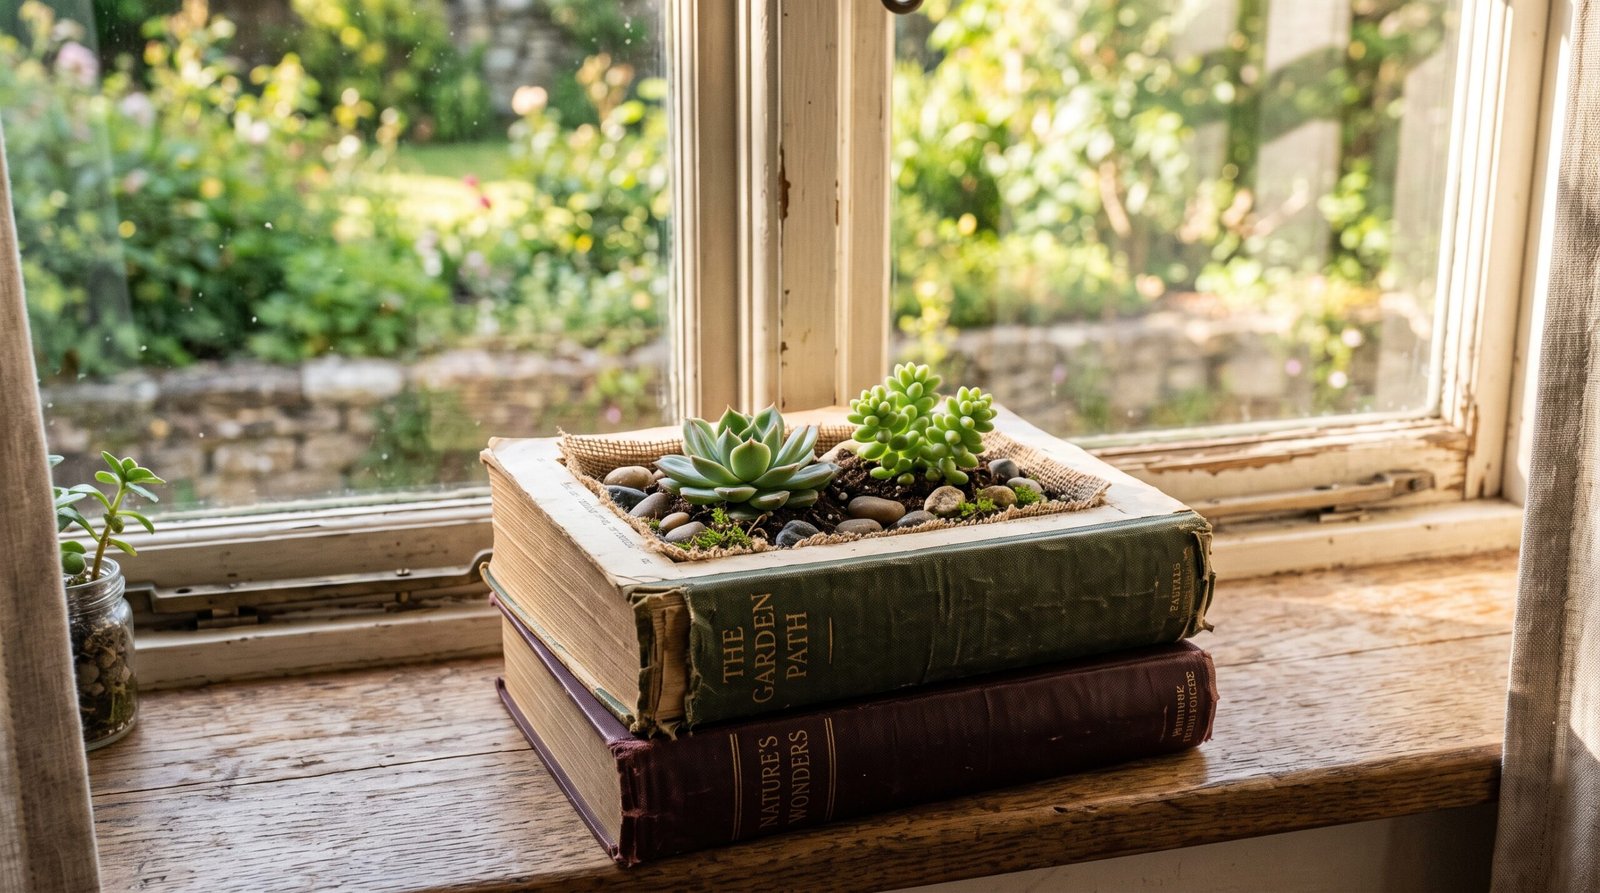
You’ll need: a thick hardcover (at least 2 inches of pages), Mod Podge or PVA glue and a brush, a sharp utility knife with spare blades, a metal ruler, a plastic freezer bag, hot glue, a handful of small pebbles, cactus soil, and 1–2 small succulents.
- Turn the pages into a block. Close the book and brush Mod Podge along all three exposed page edges. Put a plastic bag between the cover and the pages (so the cover doesn’t stick), close it, weight it with a couple of heavy books, and let it dry for an hour. This glues the pages into one solid block you can carve.
- Mark the cavity. Open the front cover. On the first glued page, draw a rectangle leaving at least a 1-inch border on all sides.
- Cut the cavity. With the ruler as a guide, cut along your lines with firm strokes, removing 20–30 pages at a time. Keep the blade vertical so the walls stay straight, and swap blades as soon as cutting feels like tearing. Stop about half an inch above the back cover.
- Seal and line it. Brush the inside walls and floor of the cavity with Mod Podge and let it dry. Then line the cavity with plastic cut from the freezer bag, secured at the corners with dots of hot glue — this is your waterproofing, so don’t skip it.
- Plant it. Add a half-inch layer of pebbles for drainage, then cactus soil, then your succulents. Firm them in gently.
- Water carefully. A tablespoon of water per plant every week or two, ideally from a spray bottle or spoon, aimed at the soil. Succulents want dry conditions anyway, which is exactly why they’re the right plant for this job.
Tip: if the idea of watering a book makes you nervous, use good faux succulents and skip the pebbles and soil for a zero-risk version. Same look, no maintenance. And that same hollowing technique makes a classic secret-storage book — just skip the plastic liner.
5. The Invisible Floating Bookshelf
Medium · about 30 minutes · about $10 per shelf
The famous one: a stack of books that appears to float on the wall with no visible support.
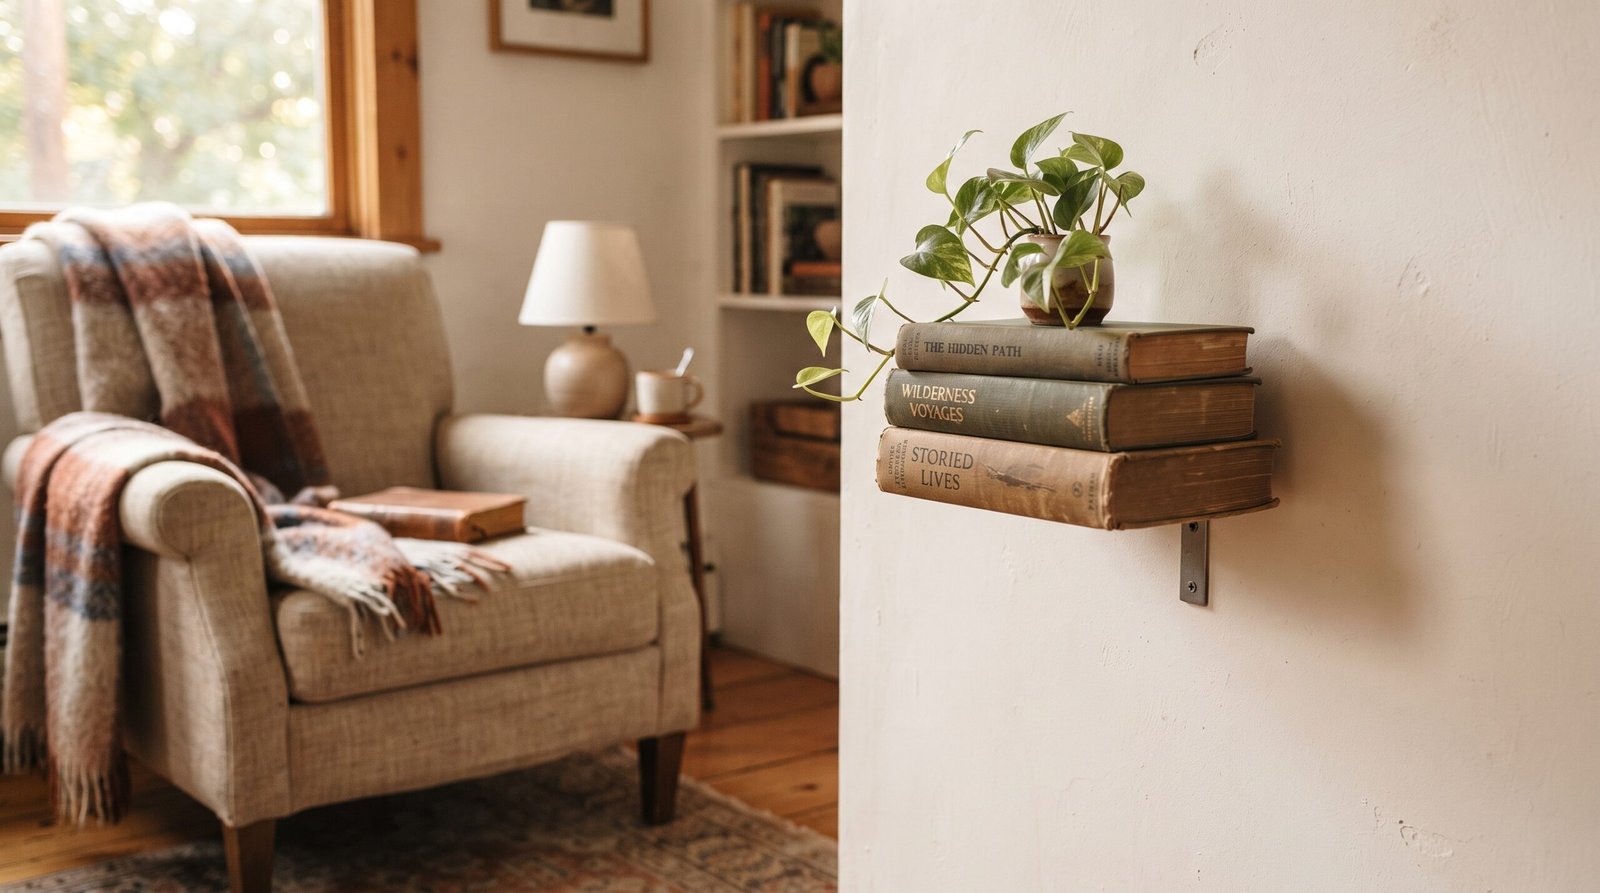
You’ll need: one sturdy hardcover you’re willing to sacrifice (this becomes the hidden bracket book), a concealed floating-book bracket or a plain 4–6 inch metal L-bracket, four 1/2-inch screws with washers, PVA glue, wall anchors rated for at least 15 pounds (or a screw into a stud), and 2–3 more hardcovers for stacking.
- Mount the bracket. Screw the L-bracket to the wall — into a stud if you can, or with rated anchors — with the horizontal arm pointing out like a little shelf, at least 4 feet off the floor if you have small kids or curious pets.
- Attach the book. Open the sacrificial book’s back cover. Sit the book on the bracket arm and mark where the arm lands on the inside of the back cover. Screw through the back cover into the bracket arm using two short screws with washers (the washers stop the screws pulling through the cardboard).
- Glue the book shut. Run PVA glue along the inside edges of the page block and press the last page down over the bracket arm and screw heads. Close the book and let it dry under weight for an hour. The book now hides the bracket completely.
- Stack and style. Place 2–3 more hardcovers on top. Their weight keeps everything stable and hides the mounted book’s roofline. Keep the total stack under about 10 pounds, and put the prettiest spine at eye level.
Tip: two or three of these staggered up a wall beside a reading chair makes the nook — and costs less than one store-bought shelf.
6. The Book Stack Lamp
Medium · 1–2 hours · about $25
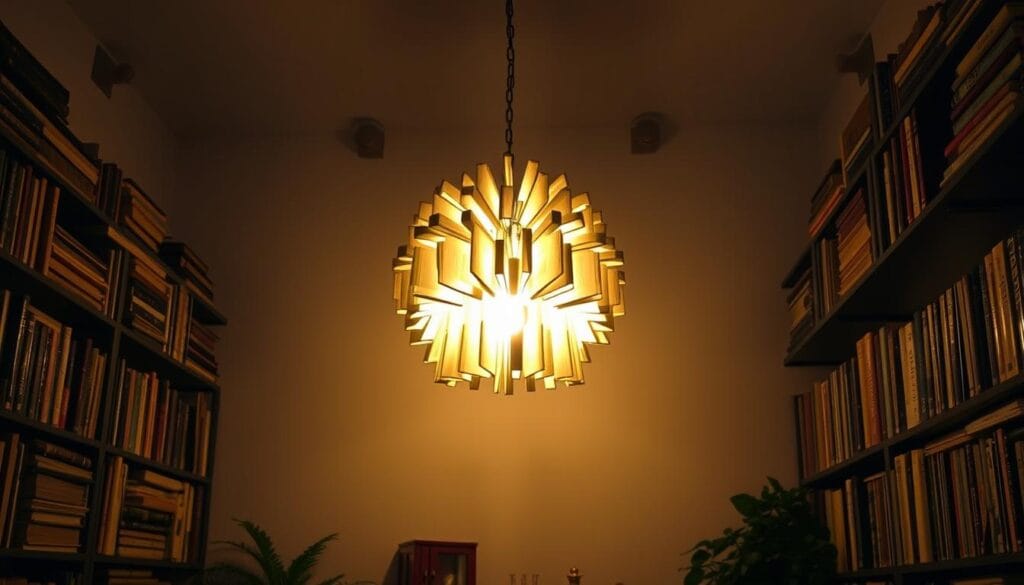
You’ll need: 3–4 hardcovers that stack nicely (largest on the bottom), a pre-wired bottle lamp kit with a threaded rod — about $12–15 at the hardware store, and buying pre-wired means zero electrical work — a drill with a 3/8-inch bit (check your kit’s rod diameter), PVA glue, a lampshade, and an LED bulb.
- Plan the stack. Arrange your books largest to smallest, squaring the spines or fanning them slightly. Mark the center point on the top book.
- Drill the channel. Clamp each book shut (or have a helper press down hard) and drill straight down through the center, one book at a time, at slow speed. Paper drills easily; the covers need slightly more patience.
- Glue the stack. Brush PVA between each book, restack them aligned on the holes, and dry under weight for an hour. This keeps the lamp from twisting.
- Assemble the lamp. Thread the kit’s rod down through the channel, secure the washer and nut at the bottom, and screw the socket onto the top per the kit’s two-minute instructions. The cord exits under the bottom book; if it sits unevenly, notch a small channel for the cord in the bottom cover with your knife.
- Finish. Add the harp, shade, and an LED bulb. LED is the right call here — it stays cool, which is what you want in a lamp made of paper.
7. Folded Book Art
Medium, mostly patience · 2–4 hours · free

Those sculptural fanned books you see on mantels everywhere are made one fold at a time — no glue, no cutting, weirdly meditative.
You’ll need: a hardcover with 300+ pages (the more pages, the fuller the sculpture). That’s it.
- Start the no-pattern version. Open to the first page. Fold the top corner down so the page’s top edge lines up with the spine, creasing firmly — like starting a paper airplane.
- Repeat on every page. Same fold, same angle, every page. Consistency is the whole trick; the repetition is what creates the clean sculptural sweep.
- Vary it if you like. Folding top corners down for the first half of the book and bottom corners up for the second half creates a chevron effect. Folding each page in half toward the spine makes a fuller, rounder fan.
- Display it standing. Open the finished book to a full fan and stand it on a shelf or mantel, covers as the base.
Tip: want a heart or a word folded into the page edges? That takes a printable pattern — search “book folding pattern free” and pick a beginner one; each pattern lists exactly how many pages the book needs and gives you two fold marks per page. Budget an afternoon.
8. Sturdy DIY Bookends
Easy · 1 hour plus overnight drying · about $10
You’ll need: a pair of plain metal L-bookends ($8 or so, or free if you have scrap wood and cut two L-shapes), 4–6 small vintage hardcovers, E6000 or another strong adhesive, and felt pads.
- Build each side. Stack 2–3 small hardcovers on the base plate of each metal bookend, spines facing out, and check they sit level.
- Glue the stack. Run adhesive between each book and between the bottom book and the metal plate. E6000 needs a full 24 hours to cure — don’t rush it.
- Finish the base. Stick felt pads under the metal plate so the bookends slide without scratching the shelf.
Tip: this is where a couple of thrifted wooden letters and a coat of chalk paint earn their keep — an “A” glued to one stack and a “Z” to the other is the classic library look.
Five-Minute Extras
Once you have a book apart, the leftover pages are a craft supply in their own right. Three quick wins:

Bookmarks: cut a page into 2×6-inch strips, glue two back-to-back for stiffness, round the corners, and punch a hole at the top for a ribbon or a bit of twine. A laminator or clear packing tape makes them last for years.
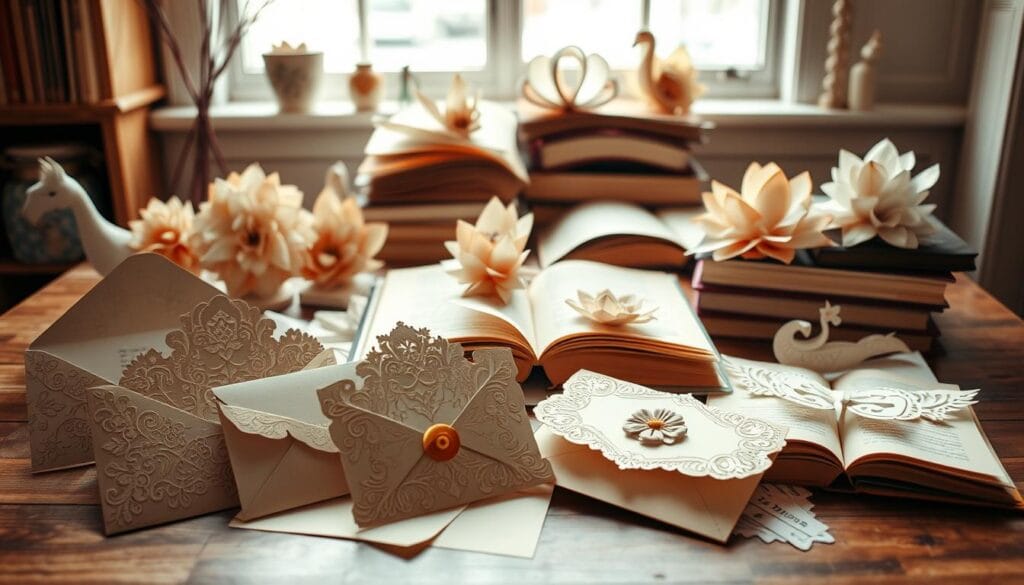
Cards and envelopes: glue a trimmed page panel to the front of a folded piece of cardstock for an instant literary greeting card, or unfold any envelope you already have, trace it onto a book page, cut, refold, and glue the seams. Address labels solve the “can’t write over text” problem.
Gift wrap: pages taped together wrap small gifts beautifully — finish with twine and a sprig of rosemary. An old atlas page on a going-away gift is the kind of touch people keep.
If a whole afternoon of this sounds like your kind of Saturday, invite people over, put the glue guns out, and make it a craft night — everything above works brilliantly with a group and a thrift-store book haul. For more projects in this spirit, our guides to upcycling furniture, organic modern DIY projects, and handmade home projects are the natural next stops.