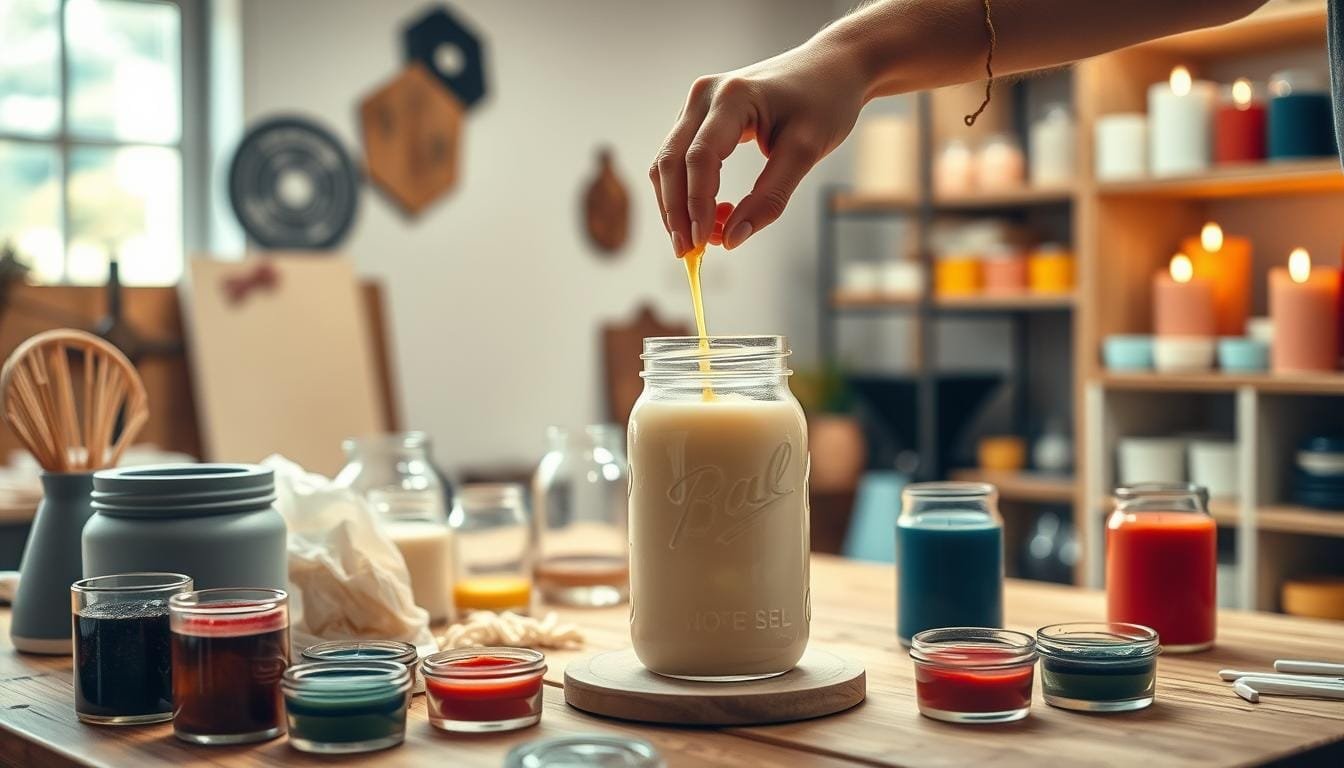
Do you remember getting a handmade gift? It could have been a cozy knit scarf, a jar of homemade jam, or a crafted candle. Knowing someone made something just for you feels special. Now, think about making those special gifts for others. 😊
We’ve posted lots of DIY candle making tutorials over the years. You, our amazing readers, have loved them. Picture spending a cozy afternoon in your kitchen, with the smell of fragrant oils in the air, pouring your creativity into each homemade candle. Sounds great, doesn’t it?
This hand-poured candle guide will show you how to make candles. You’ll learn to pick the right materials and add personal touches to make your candles special. Candle making is an art that’s also functional. It’s great for personal use or as gifts for events like housewarmings or holidays.
If you’re an experienced artist or just starting, this guide is for you. It will help you make beautiful hand-poured candles at home. Let’s light up your world, one candle at a time!
Introduction to Candle Making
Welcome to the world of candle making! It’s perfect for DIY enthusiasts or those seeking a new hobby. Candle making is both fun and fulfilling. Here, we’ll look at what hand-poured candles are and the benefits of making them yourself.
What Are Hand-Poured Candles?
Hand-poured candles are made by melting wax and pouring it into molds. Wick is placed in the center. This method allows for endless creativity. In ancient times, candles were used for light and in rituals. Today, we can enjoy candle making in our own homes. Looking to start? Check out this guide on how to make candles.
Benefits of Making Candles at Home
Making candles at home has many perks. You get the cozy glow of a candle and the pride of creating something by hand. Here are some key benefits:
- Personalization: Mix and match waxes, scents, and colors to make a candle that truly represents you.
- Cost-Effective: Making your candles can be up to 50% cheaper than buying them.
- Health Benefits: Candle making can cut stress by about 30%, says studies on creative activities.
- Eco-Friendly: Using materials like soy wax can lessen your environmental impact by 25%.
- Gift-Worthy: Over 70% of candle makers enjoy making candles as unique gifts.
Learning to make candles step-by-step can also spark new interests or business ideas.
Essential Tools and Materials
Ready to start the exciting journey of making hand-poured candles? First, collect your candle making supplies and set up your DIY candle making tools. The right tools and materials make candle-making smoother and more fun.
List of Supplies Needed
Here are the must-have supplies for your candle-making project:
- Wax: 1 pound (454 g) of IGI 4630 wax, enough for two 12 oz container candles.
- Wicks: Use pre-tabbed wicks, and cut them to 1/4 inch (6 mm) after the wax cools.
- Melting Pot: Opt for a double boiler or specific melting pot for wax safety.
- Fragrance Oils: Add about 1 oz (28 g) to each batch of wax for a strong scent.
- Containers: Select jars or molds for your candles.
- Thermometer: A thermometer is crucial for checking the wax’s melting (around 185°F or 85°C) and pouring (about 170°F or 76.7°C) temperatures.
- Liquid Dye: 3-4 drops will give your candles deep, rich colors.
Recommended Candle-making Kits
For newbies, getting a candle-making kit is a smart move. Kits come with all the candle making supplies and DIY candle making tools you need. They also have easy instructions to help you confidently make your first beautiful candles.
Enjoy making candles! Remember, the process is just as meaningful as the outcome. Each step in learning crafts something unique and special.
Choosing the Right Wax
Starting a candle making tutorial means picking the best wax. Your wax choice impacts how long your candle burns, its scent, and performance. Let’s explore the natural candle waxes out there and what makes each special.
Types of Wax for Candle Making
Each wax type adds something special to your candles:
Soy Wax: Made from soybeans, this 100% natural wax is perfect for container candles. It burns cleanly and holds scents well. It’s also budget-friendly, which makes it a hit with DIY fans.
Paraffin Wax: This common candle wax traps a lot of fragrance and color. It’s cheap and melts at a lower temperature, making it versatile for many candle types.
Beeswax: An ancient and green option, beeswax candles burn longer due to a higher melting point. It’s costlier and not vegan but very eco-friendly.
Coconut Wax: A new, eco-friendly choice, coconut wax burns very cleanly. It’s the most expensive but offers high quality and sustainability for green crafters.
Comparing Soy, Paraffin, and Beeswax
| Wax Type | Melting Point | Burn Time | Cost | Eco-Friendliness |
|---|---|---|---|---|
| Soy Wax | 124°F (51°C) | Slow burn | Mid-range | Moderate (concerns of deforestation and pesticides) |
| Paraffin Wax | 100°F (38°C) | Quick burn | Inexpensive | Low |
| Beeswax | 145°F (63°C) | Very slow burn | High | High |
Every wax type has its upsides and downsides. Soy wax burns clean and suits container candles, but think about its eco impact. Paraffin wax is user-friendly and wallet-friendly, great for those just starting. Beeswax shines for its long burn and eco-friendliness, but it costs more.
Knowing these differences helps you choose wisely in your candle making. It’s good whether you want natural waxes or to mix types for the ideal candle.
Selecting Fragrance Oils
Choosing the right fragrance oils is vital for delightful homemade candle scents. You might like the calming smell of lavender, the energy of citrus, or rosemary’s fresh, herbal touch. Let’s look into the popular fragrance choices and learn how to mix them.
Popular Fragrance Options
The choices for homemade candle scents are almost endless. To start, here are some favored fragrances:
- Lavender: Known for its calming effects, lavender is perfect for a relaxing vibe.
- Citrus: With a zesty aroma, scents like lemon, orange, and grapefruit bring freshness.
- Rosemary: This herbal scent gives a refreshing and earthy blend, great for nature lovers.
These fragrances are lovely by themselves and can be mixed to create special scents.
How to Blend Scents
Mixing fragrance oils is a fun step in making candles, allowing you to create special scents. Here are some blending tips:
- Start with a Base Note: Choose a solid base scent like sandalwood or vanilla.
- Add Middle Notes: Scents like lavender or eucalyptus add depth to your blend.
- Finish with Top Notes: Add hints of citrus or mint for a fresh top layer.
For good blending, stick to the 8:92 oil-to-wax ratio. This means using 1 oz of fragrance oil for every pound of wax. It makes sure your scent is just right—not too strong or too faint.
Also, temperature matters when adding fragrance oils. To avoid losing scent, don’t go over 200°F (93°C). Mixing your oils at this temperature makes sure your candles smell great and are balanced.
Choosing Candle Colors
Adding color to handmade candles makes them look better. When making DIY colored candles, you need to know the different dyes and how to mix them for the perfect color.
Using Dyes in Candle Making
You can choose from granular dye, liquid dye, and mica powder for DIY candles. Each one works best with certain waxes:
- Granular Dye: Works with all waxes. You need 3g of dye for each 1kg of wax for a bright color.
- Liquid Dye: Good for paraffin and gel wax. Use 15ml to color 1kg of wax, making it easy for 70% of candle makers.
- Mica Powder: Adds a shimmer but use only 2-3g per 100g of wax to keep the wick clear.
It’s key to pick dyes that match your wax to get even colors. For example, vegetable wax might need more granular dye than paraffin wax for a deep color.
Tips for Color Mixing
Making your own colors means trying things out and knowing how to mix well. Here are tips for good color mixing:
- Start Small: Try a little batch first to see the color before using more wax.
- Color Blending: With liquid dyes, you can mix colors to get special shades that are all your own.
- Marbling Effect: For a marbled look, dip the candle in water with dye, swirl with a stick, and you’re done in minutes.
- Test Burn: Always burn a little to make sure the color spreads right and doesn’t affect the candle’s quality.
Keeping creativity and practicality in mind is important. For instance, too much mica can make the color uneven or block the wick, so use it carefully.
Getting your candles to have the perfect color is both art and science. With practice, you’ll get better at coloring your homemade candles.
Types of Candle Molds
When you start making unique candles, picking the right candle molds is key. The type and shape of your molds can hugely impact your candle’s final look. Let’s look at the different materials and shapes that can add a special touch to your homemade candles.
Comparison of Mold Materials
Molds come in various materials, mainly silicone and metal. Each has its benefits and drawbacks.
| Material | Features | Pros | Cons |
|---|---|---|---|
| Silicone | Flexible, durable, withstanding temperatures over 200°F | Easy to use, no need for mold release agents, long lifespan, reusable | Higher initial cost |
| Metal | Rigid, inexpensive, produces crisp shapes | Cost-effective for basic shapes, has collectible value | Can rust if not maintained, needs mold release agents |
Silicone molds are popular because they’re flexible and easy to use, despite costing more. They are great for making detailed designs without the wax sticking. On the other hand, metal molds are more affordable and can be collectibles. But, they must be taken care of to prevent rust.
Creative Candle Shapes to Consider
Trying different candle molds lets us be creative with our candle shapes. Here are some fun designs you can try:
- Stars and Hearts: Perfect for occasions like Valentine’s Day and Christmas.
- Abstract Forms: Unleash your creativity with geometric or fluid shapes.
- Series and Collections: Try making sets of candles that fit together for a thematic display.
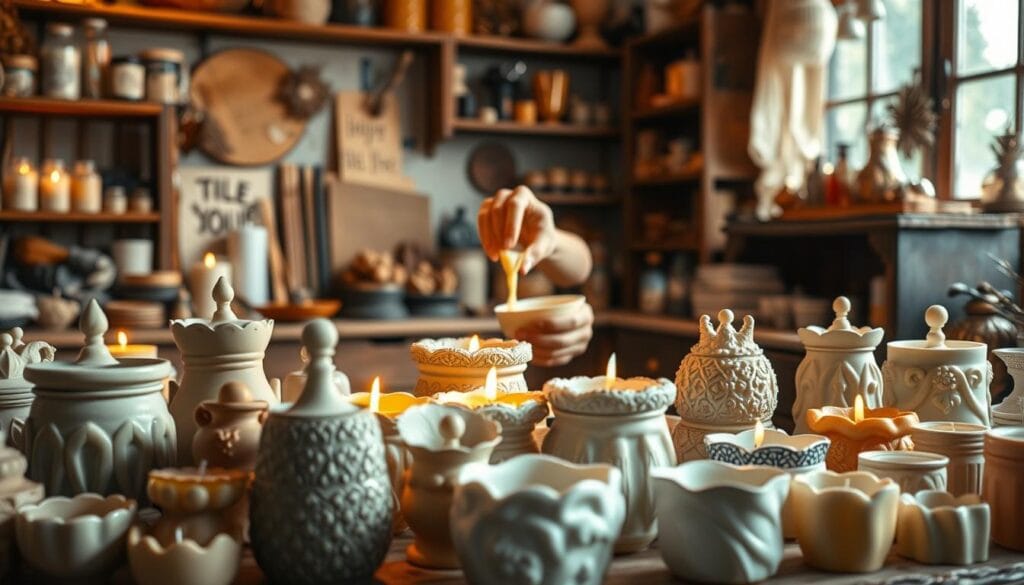
Making candles in adventurous shapes and themes turns them into art pieces for any home decor. Remember, the success of using silicone or metal molds depends on getting the wax temperature right (around 170°F) and choosing the correct wick. This helps avoid problems like tunneling or uneven burning.
Preparing Your Workspace
It’s key to set up a special candle making area to make sure you work safely and efficiently. We’ll explore how to get your workspace ready, touching on important candle making safety tips and the best way to arrange your stuff.
Safety Precautions
For candle making safety tips, start by working in a space with good air flow. This stops you from breathing in bad stuff. Always have a fire extinguisher close, and wear gear that protects you, like gloves that can take the heat and eye protection.
It’s also smart to keep your work area neat and away from anything that can catch fire.
Organizing Your Tools and Materials
Getting your tools and stuff in order makes making candles easier and more fun. Make sure you have a special place for everything: your wax, smells, colors, molds, and strings. This way, you can grab what you need without looking.
Using storage bins or shelves with labels helps keep your setting up candle making area neat and working well.
When you set up your workspace right, you make a safe and good place for candle-making. Enjoy making your candles!
Melting the Wax
Learning the right way to melt wax is key in candle making. It doesn’t matter if you choose soy, paraffin, or beeswax. Understanding the recommended melting methods and the right temperatures is essential.
Recommended Melting Methods
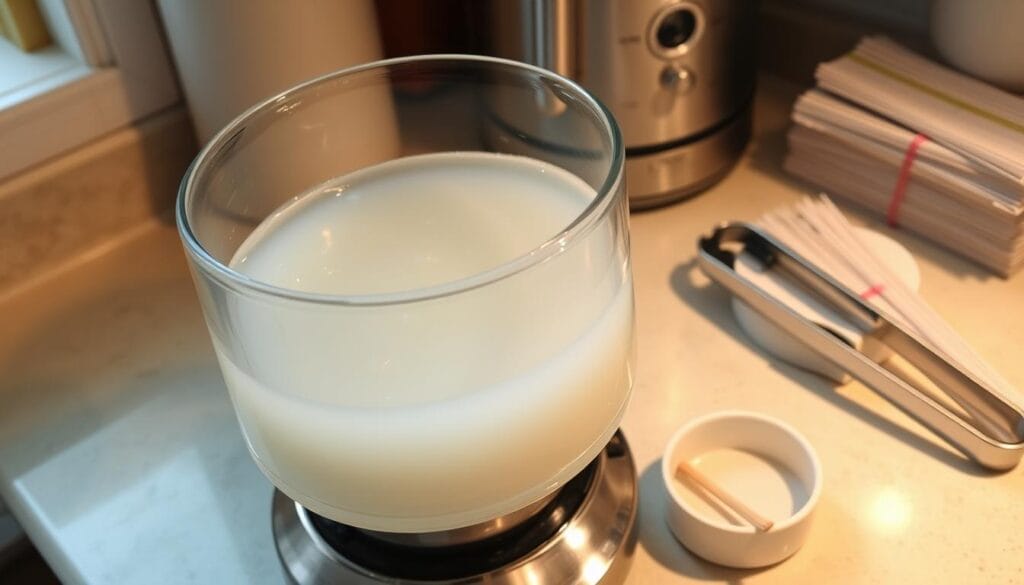
- Double Boiler Method: This is a safe way to melt wax by placing a smaller pot within a larger boiling water pot. It’s slow and steady, ideal for those just starting. You could get a double boiler just for making candles.
- Microwave Method: This faster, more modern technique uses a microwave. You melt the wax in brief intervals, stirring often to prevent it from getting too hot. Keeping an eye on it is crucial to avoid accidents.
Temperature Guidelines for Different Waxes
Controlling the temperature is a big part of mastering candle making. Here’s a table with the melting points for some waxes you might use:
| Wax Type | Melting Point | Notes |
|---|---|---|
| Soy Wax | 120ºF – 180ºF | Pour at 140ºF for great results |
| Paraffin Wax | 120ºF – 160ºF | Too hot might ruin the fragrance |
| Beeswax | 145ºF – 170ºF | It has a natural scent |
Melting wax right means it pours smoothly. This is key for perfect candles. The best range to pour is 120ºF to 140ºF. That helps mix in colors and scents well, keeping them strong.
For those who want to know more about making soy candles, here’s a complete DIY guide.
Adding Fragrance and Color
One of the most enjoyable parts of making candles is adding your own scents and colors. This personal touch makes each candle special. You must know the best times and methods for adding these elements.
When to Add Scents and Dyes
The right timing is key for adding fragrance and color. Add essential or fragrance oils at about 185°F (85°C) to make sure they mix well with the wax. Dyes should go in while the wax is melting to dissolve fully and color evenly.
Techniques for Even Distribution
To evenly spread fragrance and color in your candles, you need to stir well and control the temperature. Here are important techniques:
- Stirring thoroughly: Always stir while adding fragrances and dyes. This stops them from settling at the bottom or forming clumps. It helps the color spread evenly and improves the scent.
- Maintaining proper temperature: After adding dyes, cool the wax to about 185°F (85°C) before putting in fragrance oils. Then cool it to around 135°F (57°C) before pouring. This ensures everything is distributed well.
- Using the right tools: Use a dedicated thermometer and stirring tools for consistency. Don’t use kitchen utensils that may affect your wax mix.
| Wax Type | Melting Point (°F) | Recommended Fragrance Load (%) | Cooling Temperature (°F) | Curing Time |
|---|---|---|---|---|
| Soy Wax | 124 | 7 | 135 | 3-4 days |
| Paraffin Wax | 100 | 7 | 135 | 2 days |
| Beeswax | 145 | N/A | 135 | 10 days |
With these steps, you’ll make beautiful candles that smell great and have even colors. As you get better, adding scents and colors will become easier. Enjoy your candle making! 🌟
Pouring the Wax
Pouring the wax must be done carefully. It’s key to a successful candle-making experience. Knowing how to pour candle wax the right way ensures a smooth, good-looking finish. This impresses anyone who sees your candles. Also, doing it right from the start reduces the need to fix problems later, saving you time when you follow troubleshooting candle making tips.
Best Practices for Pouring
Start by pouring the wax slowly and without hurry. The best temperature for getting wax into jars is 135°F (57.2°C). Tilting your container as you pour helps spread out the wax nicely. The goal is to keep it smooth by avoiding fast moves that can trap air.
Using a thermometer will help keep your wax at the right temperature. This small step makes a big difference in how to pour candle wax. Fill the jar carefully to prevent any empty spots that could cause problems.
Tips for Avoiding Air Bubbles
Air bubbles in candles are common but can be easily prevented. After pouring, gently tap the container on a solid surface. This gets rid of trapped air for a smoother candle. When the wax cools, that’s when bubbles and other issues might appear.
Letting the candles cool slowly at normal room temperature is essential. Don’t rush the cooling process. This prevents unwanted cracks and uneven surfaces from happening. A consistent room temperature helps the wax cool evenly.
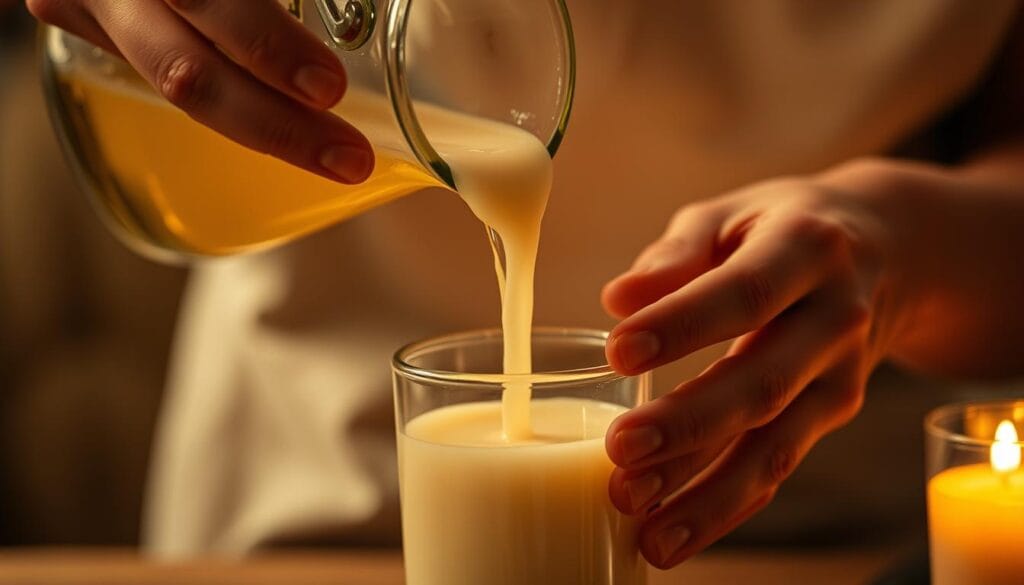
Keeping an eye on the wick’s length as your candle cools is important, too. Making sure it’s at 1/4 inch prevents problems and ensures your candle looks its best. This little detail can really make your DIY candles stand out, adding a professional touch to your decor without spending a lot.
Making Unique Candle Designs
Creating unique candle designs can make your home look better and feel rewarding. Let’s look at some cool candle design ideas and techniques. They’ll spark your creativity! 🌟
Layering Techniques
Layering different colored waxes is a fun way to make candles look special. It makes your candles have more depth and lets you play with colors. Here’s how to start:
- Melt your base wax and let it cool a bit before adding the next one.
- Keep adding layers, letting them cool each time to stop colors from mixing.
- Choosing contrasting colors makes the candle look even cooler.
Add fragrance to each layer for a special scent as the candle burns. This brings an extra touch.
Introducing Textures and Patterns
Adding textures and patterns sets your candles apart. You can swirl the wax or put objects in it for uniqueness:
- Swirling: Stir the wax to make pretty swirls. This is great for candles with two colors.
- Embedding: Put in things like dried flowers or small, safe items. Make sure they can’t catch fire and are not near the wick.
- Molding Patterns: Use special candle molds to put cool patterns on your candles. You can make lots of different shapes or even letters for gifts.
Using these ideas and adding your style makes each candle unique. It’ll show off what you love and how creative you can be. ✨
Decorating Your Candles
Adding a personal touch to your home-crafted candles turns them into stunning pieces of art. It not only makes them look better, but different decorating techniques make each candle a memorable gift or centerpiece. Let’s dive into some fun ways to wrap, package, and naturally decorate your candles.
Wrapping and Packaging Ideas
Presentation matters a lot! Thoughtfully wrapping your candles boosts their charm and makes them ready to be given as gifts. Here are a few ideas to try:
- Use burlap for an earthy, rustic wrap. It’s simple but adds an elegant touch, giving candles a cozy feel.
- Twine or raffia can secure the burlap, offering a bit of the countryside chic. Adding a small sprig of lavender or rosemary brings a charming fragrance and look.
- Decorative boxes or pouches lined with tissue paper are great. They protect your candles and give the recipient a luxury surprise.
Using Natural Embellishments
Natural decorations can add both beauty and a pleasant aroma to your candles.
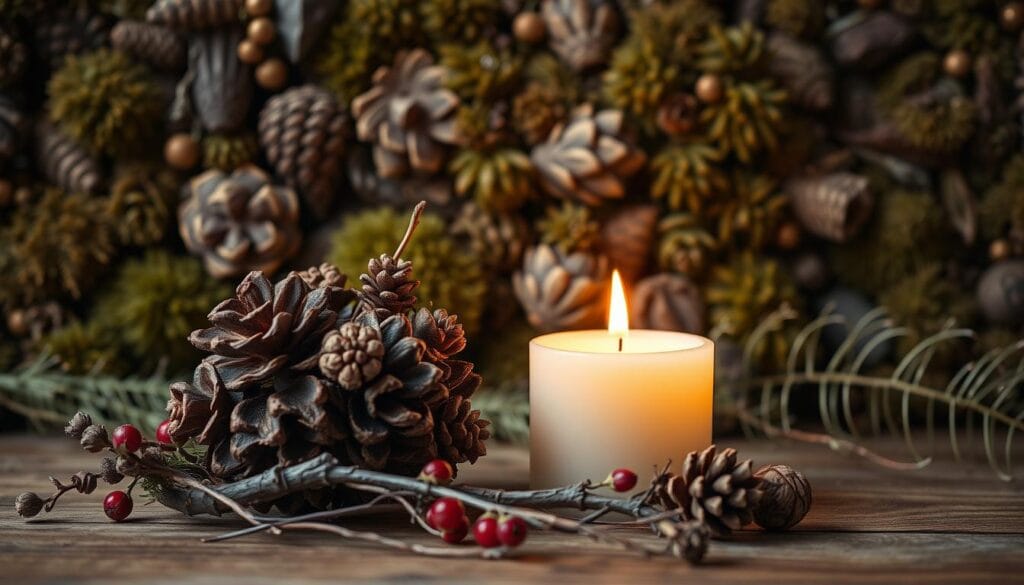
- Dried botanicals like rose petals or eucalyptus leaves can be glued to your candles. Sealing them with clear wax keeps the decorations in place.
- A frosted look is achievable with Epsom salts and a bit of food coloring. Just coat the candle with glue and roll it for an even shimmer.
- To add a rustic charm, attach small pinecones, cinnamon sticks, or star anise to your candles. They look beautiful and make your candle smell great when lit.
Thoughtful wraps and natural decorations turn simple candles into artistic creations. Whether you choose burlap and twine or natural elements, these decorating ideas will surely impress. So, unleash your creativity and personalize each candle you craft!
| Item | Cost | Time |
|---|---|---|
| Wax (soy or beeswax) | $20-30 (5-pound bag of soy flakes) | 15-20 minutes to completely melt 4 cups |
| Fragrance oils | Approx. $10 for multiple wicks | About 1 minute per candle to add 60 drops |
| Natural decorations | $5-10 | 10 minutes to decorate |
| Wrapping materials | $5-15 | 10 minutes per candle |
Common Candle Making Mistakes
Making candles is a fun journey, but sometimes you hit snags. Most issues aren’t big and can be fixed easily. We’ll look at common problems and how to solve them together!
Troubleshooting Tips
Uneven burning and cracks are issues candle makers often see. Tunneling happens if the wick is too small or the candle wasn’t burned long enough. To avoid this, let your candle burn for 3-4 hours the first time. This helps the wax pool reach the edges. For larger candles, a thicker wick can help achieve an even burn.
Cracks in candles usually form if they cool too fast. Keep the room around 64°F–68°F for slow cooling and no cracks. If cracks do form, gently reheat the top layer and let it cool slowly.
Wet spots can show up in any wax candle. Heating the glass before pouring and using lower temperatures can help. For soy wax, adding some paraffin or coconut wax can smooth out bumpy tops. This happens because of how the wax cools.
How to Fix Candle Flaws
To fix homemade candles, we tackle common problems like mushrooming wicks and sinkholes. Mushrooming, when the wick gets too big, can be stopped by trimming the wick to 1/4” before burning. For sinkholes, pour the wax at a cooler temperature. Then fill any holes with melted wax after the candle cools.
Soy candles can get frosty, showing white crystals on the surface. To fix this, lower your fragrance oil by 1-2% or mix in a harder wax. A well-made candle smells better after it cures for 2 weeks. This waiting time can really improve the scent.
These tips will not only fix any candle flaws but also make your homemade candles last longer and look better. As you make more candles, you’ll get better at solving these problems. You’ll handle candle making challenges with ease and confidence!
Storing and Caring for Your Candles
Handmade candles need special care to stay beautiful and functional. With good candle storage solutions and proper care, you’ll greatly maximize candle lifespan.
Best Ways to Store Handmade Candles
Keep your candles in a cool, dark place to keep them nice. Sunlight or bright lights can make their colors fade. Use a paper topper, lid, or cotton bag to protect them from dust and keep them away from high humidity and sudden changes in temperature to avoid damage.
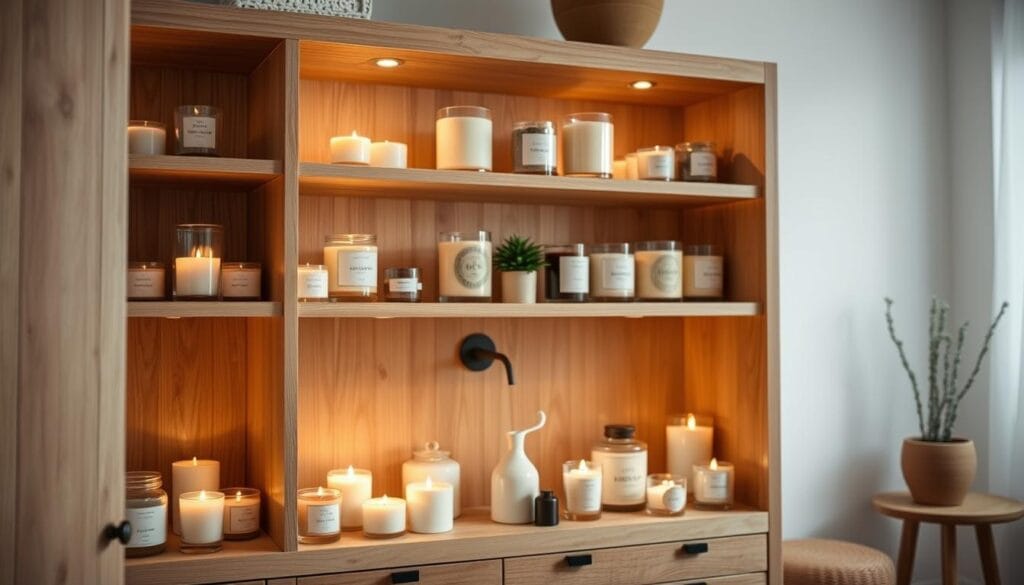
Put candles on stable, heat-resistant surfaces. Burning them in a well-ventilated area stops soot and uneven burning. Keep candles away from kids and pets to keep them safe.
Tips for Extending Burn Life
To make candles last longer, trim the wick to about ¼ inch before lighting it. This helps the candle burn clean and prevents too much soot. Burn your candle for 3 to 4 hours at a time. Let the wax melt to the edges, which should take around one hour, to avoid tunneling.
Stop using the candle when there’s only ½ inch of wax left. This prevents overheating and possible dangers. A wick trimmer is the best tool for trimming because of its angled design. To put out the candle with less smoke, use a wick snuffer or dipper.
| Aspect | Recommended Action |
|---|---|
| Burn Duration | No more than 3-4 hours |
| Wax Melt Time | Around 1 hour to edges |
| Optimal Wick Height | Approximately ¼ inch |
| Remaining Wax | Stop at ½ inch |
| Wick Trimming Tool | Wick trimmer preferred |
| Dust Protection | Paper topper, lid, or cotton bag |
| Surface | Stable, heat-resistant |
| Extinguishing Tool | Wick snuffer or dipper |
With the right storage and care, a candle can last up to 80 hours. Use your candles within a year for the best scent and look. Using these candle storage solutions and tips will help keep your candles in great shape. You’ll get to enjoy their light and scent for a long time.
Conclusion and Next Steps
We’re finishing our dive into hand-poured candle making. This craft mixes creativity with practical use. You might love the pleasant smells or how the candles look. Making your own is truly fulfilling. The whole process, from heating the wax (about 10-15 minutes) to cooling (usually four hours), is fun to do.
Encouraging Experimentation in Candle Making
Don’t hesitate to try new things! Use various waxes, like clean-burning soy or traditional paraffin. Change up scents and colors to make your candles stand out. If you want bright colors, try adding 12 to 15 crayons. Always use double the wax needed for your container. Watch the temperature when you pour; 140°F works best. Your creativity sets the boundaries, so each effort teaches you more.
Resources for Further Learning
If you’re looking to get better at this, lots of resources are available. Search for workshops or online tutorials that teach advanced skills and safety tips. Reading books and blogs about candle making is also helpful. This can turn a hobby into a passion. By improving our skills, we not only learn about candle making but also decorate our homes with our art.
Exploring these resources and continuously experimenting will let your candle-making skills blossom. This brings endless happiness and fulfillment to your creative endeavors!

